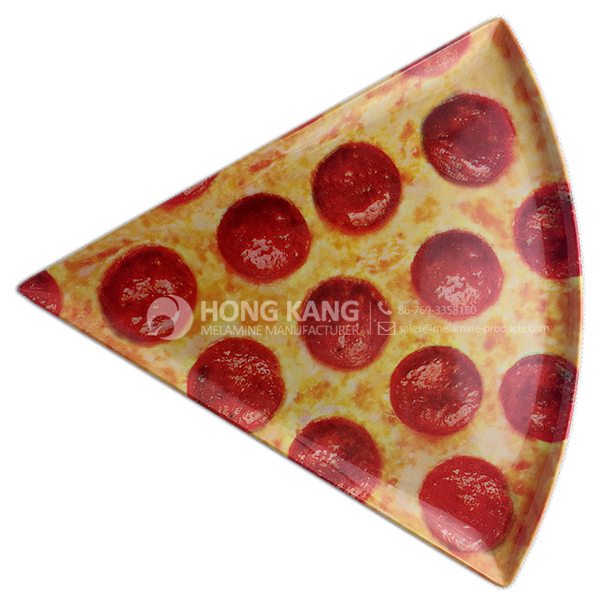
Manufacturing Companies for 8inch Melamine Fruit Plate to Singapore Importers
Manufacturing Companies for 8inch Melamine Fruit Plate to Singapore Importers Detail:
| Specification | |
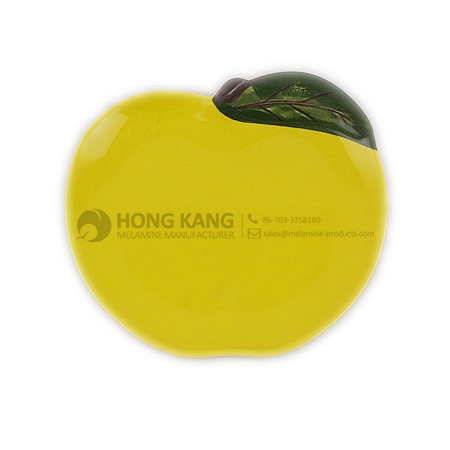
| Item Name | 8inch Melamine Fruit Plate |
| Item No. | PT005 |
| Shape | Apple |
| Body Color | Yellow/Red |
| Decal Color | 4 colors print |
| Finish | Glossy |
| Style | Fashion |
| Motif Design | Customized |
| Shape Design | OEM/ODM |
| Test Standard | FDA,PROP 65,EN71,LFGB etc. by SGS or ITS |
| Packaging | 12pcs/box,72pcs/carton |
| Dimensions | |
| Length | 20.5 cm |
| Width | 19 cm |
| Height | 1.5 cm |
| Capacity | N/A |
| Material | |
| Body Material | 100%melamine |
| Decal Material (if need) | 4 colors print (CMYK), or spot color printing, RoHS certificate |
| Imprint (if need) | Seiko ink type 1000 or other type, RoHS certificate |
| Accessories Information | |
| Lid included | No |
| Other | No |
| Weights | |
| Net Weight (kg) | 11.2 |
| Shipping Weight (kg) | 12.4 |
Product detail pictures:
Related Product Guide:
The Benefits Of Using Silicone Kitchen Utensils
Affordable Types of Dinnerware Sets
Our development depends on the advanced equipment, excellent talents and continuously strengthened technology forces for Manufacturing Companies for 8inch Melamine Fruit Plate to Singapore Importers, The product will supply to all over the world, such as: Rio de Janeiro , Ghana , Portugal , Customer satisfaction is our first goal. Our mission is to pursue the superlative quality, making continual progress. We sincerely welcome you to make progress hand in hand with us, and construct a prosperous future together.
FAQ: 1.Q: Where is your factory located? How can I visit there? A: Our factory is located in Guangdong province, China. Warmly welcome to visit us! 2.Q: What is the material of your products? A: The material is melamine. 3.Q: How can I get some samples? A: We can send the samples by Express/DHL/FedEx/UPS etc. 4.Q: How does your company do regarding quality control? A: We have a very strict QC system. Our inspectors have been closely monitoring the production process from the selection of raw materials to the final step of the finished products. 5.Q: Can you print our logo on the product & packing? A: Yes, We can print your logo on our products. 
| * Do Not Touch On Fire Directly | |
|---|---|
| * Do Not Washing By Steelwire Ball | |
| * Non-Microwave Ovens | |
| * Dishwasher Safe |
Website login karey :wwwsmallscaleindustries.in wwwskengineers.info
CUSTOMER CARE 08081308899 ,0841008551 09084886245 08755011715 07037593303 09319414137 08923542268 09319414137, 09058844721 09319933241, 09456624895
Low Price Machinery For Sale Thermocol Dona-Plate Machine, Disposable Glass Machines, Paper Dona-Plate Machines, Paper Cup Machines, Food Processing Machines, Plastic Product Making Machine, Textile Machineries, Different Pouch Packaging Machines, Mineral Water, Note Book Making Machine, Melamine Crockery Machine, Interlocking Machine, Candle Machine, Bakery Machines 2000 Machines Etc.…@34,999/Onwards
0% Finance
Free Training/Marketing Agreements & up to 25% off
Apna Full Name-Address, Email.id Sms Kre.
S K ENGINEERS
102 GARDEN CITY OPP PAVAN BIHAR NEAR AKASH TOVER ALMADINA HOSPITEL,BISELPUR CHORAHA
UNIVERCITY ROAD
BAREILLY UP whatsapp no 09412292815
http://www.smallscaleindustries.in
https://www.youtube.com/user/skengineersbly
http://skengineersmachine.tradeindia.com
https://www.facebook.com/skengineersbly
Crowdz is a global commerce platform with a local perspective. We believe in supporting the growth of local communities through commerce.
Our purpose is to create a community around commerce by building relationships not only between mobile buyers and local businesses but also from peer-to-peer.
Through Crowdz’s mobile commerce application, we are able to provide the best value on local products and services by leveraging the power of crowd buying.
The platform works by pooling together the community and developing micro economies of scale. [The more people purchase the same products as you, the more money is credited back to you. It’s that simple.]
Crowdz is the only mobile commerce platform that empowers both local residents and local businesses.
We do this through:
- Local Leaderz: A program that empowers local residents by giving them a percentage of sales from every small-medium local business that they bring to the Crowdz Marketplace.
- Crowd Buying: Opertates on the concept of economies of scale. The more people purchase a given product or service the more money you get back in your pocket.
- Rewardz: The money you get back from the power of crowd buying can be used either to donate to local charities of your choice or into future purchases – just like credit credit reward points
Some testimonies from users:
“New application that allows individuals to buy through other individuals to benefit and get a better deal”
“It is a win-win situation, we increase revenue to sellers and decrease cost of sales to buyers”
The real benefits, however, are the intangible ones we all love, like a truly personal shopping experience and the satisfaction of giving back to your community. Now imagine, all of this goodness right in the palm of your hand…that’s where Crowdz comes in.
Crowdz is a mobile commerce app that allows you to shop from local sellers in communities around the world, all from the convenience of your mobile phone.
The enterprise has a strong capital and competitive power, product is sufficient, reliable, so we have no worries on cooperating with them.