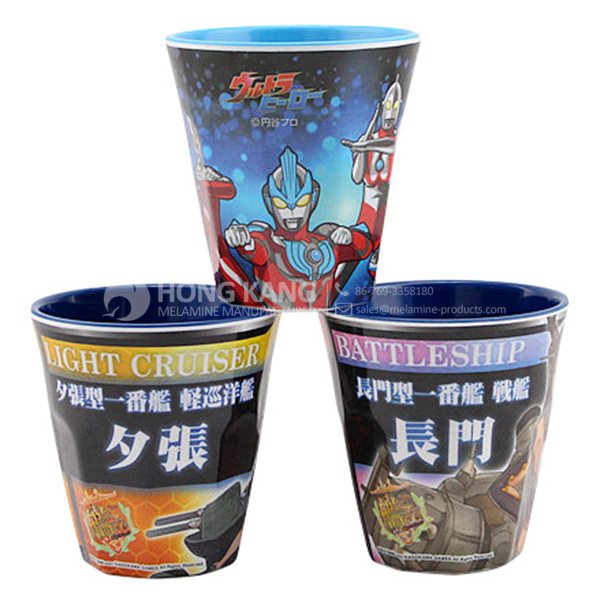
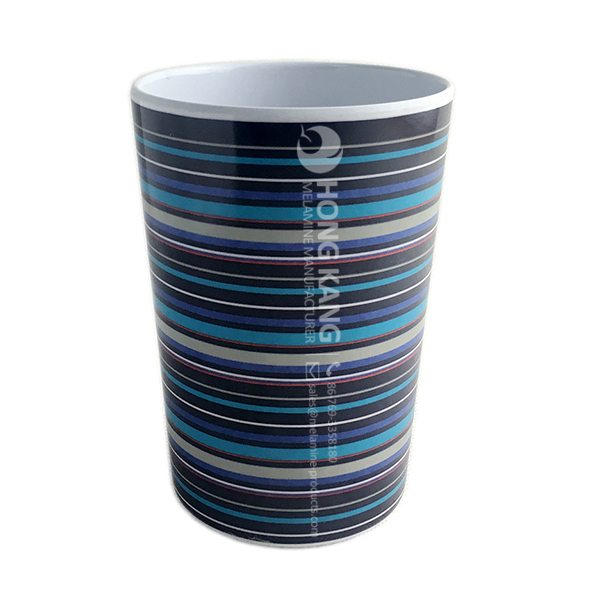
Factory Price melamine tumblers Supply to Bandung
Factory Price melamine tumblers Supply to Bandung Detail:
| Specification | |
| Item Name | 350ml Melamine Tumblers |
| Item No. | CP091 |
| Shape | Round |
| Body Color | Coloful |
| Decal Color | 4 colors print (if need) |
| Finish | Glossy |
| Style | Fashion |
| Motif Design | Customized |
| Shape Design | OEM/ODM |
| Test Standard | FDA,PROP 65,EN71,LFGB etc. by SGS or ITS |
| Packaging | 6pcs/box,72pcs/carton |
| Dimensions | |
| Length | 7.1 cm |
| Width | 7.1 cm |
| Height | 10.7 cm |
| Capacity | 350 ml |
| Material | |
| Body Material | 100%melamine |
| Decal Material (if need) | 4 colors print (CMYK), or spot color printing, RoHS certificate |
| Imprint (if need) | Seiko ink type 1000 or other type, RoHS certificate |
| Accessories Information | |
| Lid included | No |
| Other | No |
| Weights | |
| Net Weight (kg) | 6.7 |
| Shipping Weight (kg) | 8 |
Product detail pictures:
Related Product Guide:
Benefits of Melamine Dinnerware
Top Ten Power Toothbrushes
To create much more benefit for consumers is our company philosophy; customer growing is our working chase for Factory Price melamine tumblers Supply to Bandung, The product will supply to all over the world, such as: America , Jeddah , Surabaya , As operation principle is "be market-oriented , good faith as principle, win-win as objective", holding on "customer first, quality assurance, service first" as our purpose, dedicated to provide the original quality, create excellence service , we won the praise and trust in the industry of auto parts. In the future, We will provide quality product and excellent service in return to our customers , welcome any suggestions and feedback from all over the world.
FAQ: 1.Q: Where is your factory located? How can I visit there? A: Our factory is located in Guangdong province, China. Warmly welcome to visit us! 2.Q: What is the material of your products? A: The material is melamine. 3.Q: How can I get some samples? A: We can send the samples by Express/DHL/FedEx/UPS etc. 4.Q: How does your company do regarding quality control? A: We have a very strict QC system. Our inspectors have been closely monitoring the production process from the selection of raw materials to the final step of the finished products. 5.Q: Can you print our logo on the product & packing? A: Yes, We can print your logo on our products. 
| * Do Not Touch On Fire Directly | |
|---|---|
| * Do Not Washing By Steelwire Ball | |
| * Non-Microwave Ovens | |
| * Dishwasher Safe |
Superhero Surprise Ice Cream Cups Scoop Learn Colors Finger Family Nursery Rhymes For Kids
Goods just received, we are very satisfied, a very good supplier, hope to make persistent efforts to do better.