• Best quality and factory Melamine Children Airplane plate to Hungary Importers

    Product Detail

    Features

    Care Instructions

    Product Tags

    Related Video

    Feedback (2)

    Being supported by an innovative and experienced IT team, we could present technical support on pre-sales & after-sales service for melamine dinnerware , large melamine dog bowl , Melamine dinnerware , We warmly welcome merchants from home and abroad to call us and establish business relationship with us, and we will do our best to serve you.
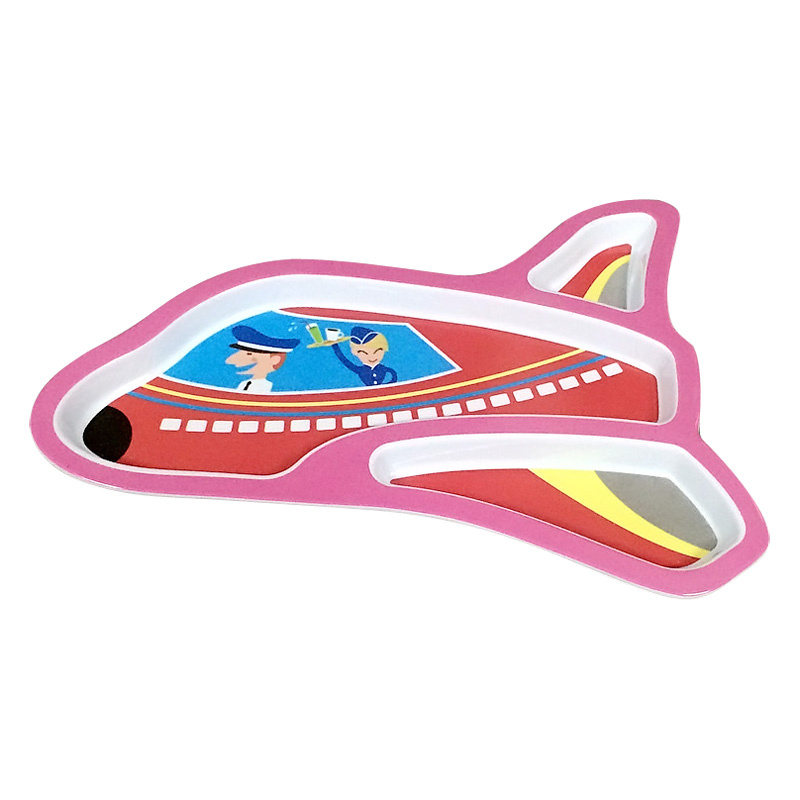
    Best quality and factory Melamine Children Airplane plate to Hungary Importers Detail:


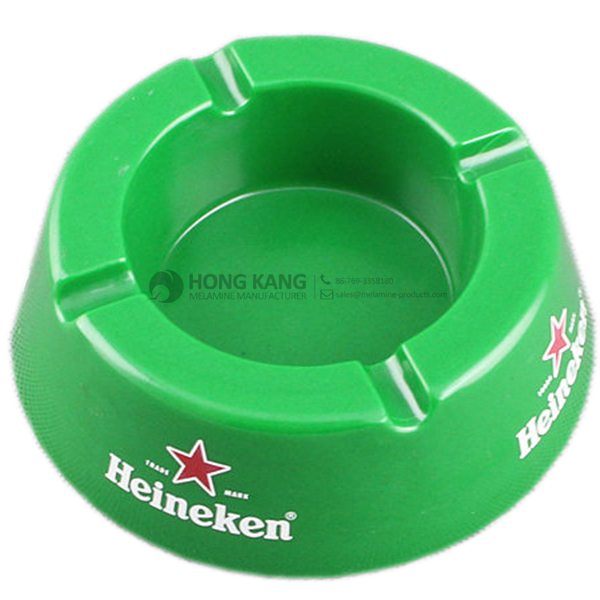
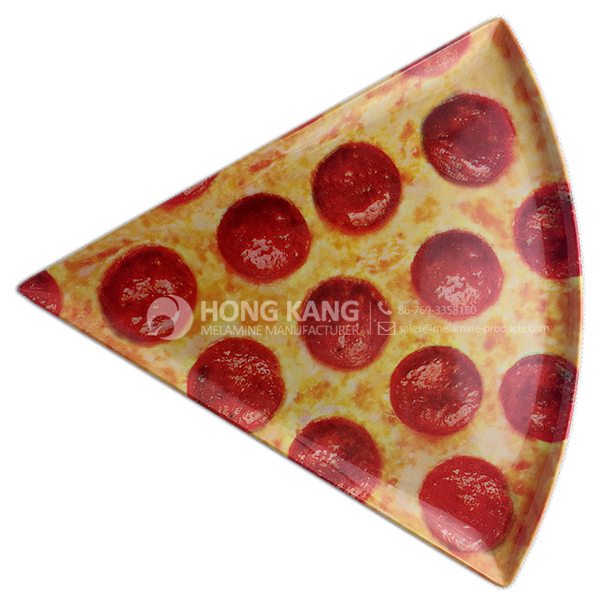
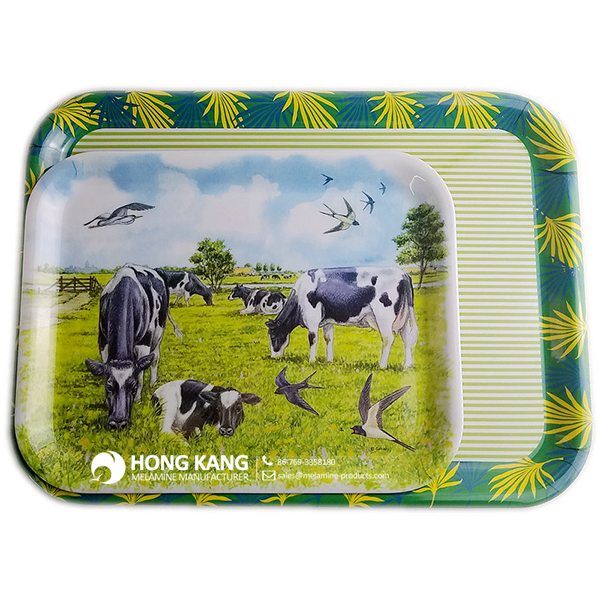
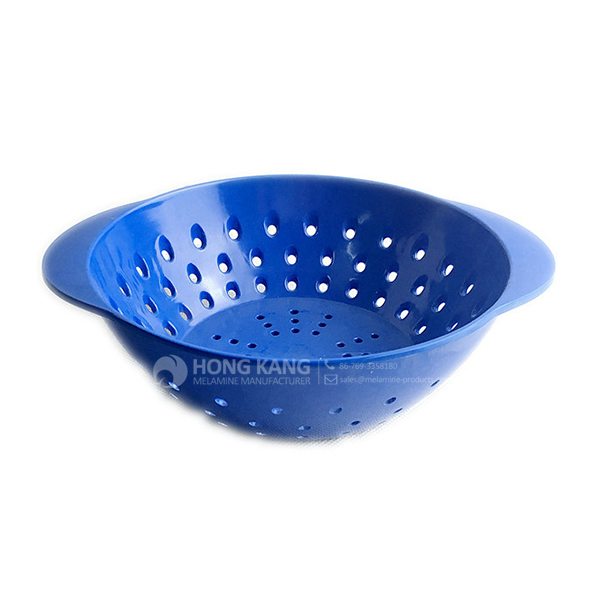
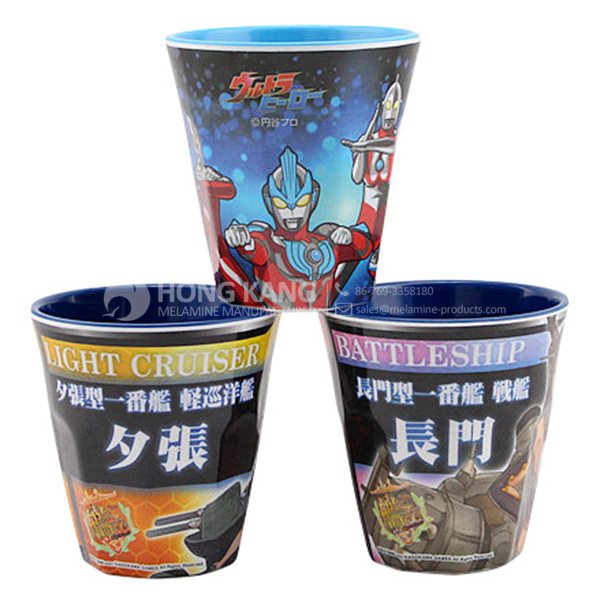
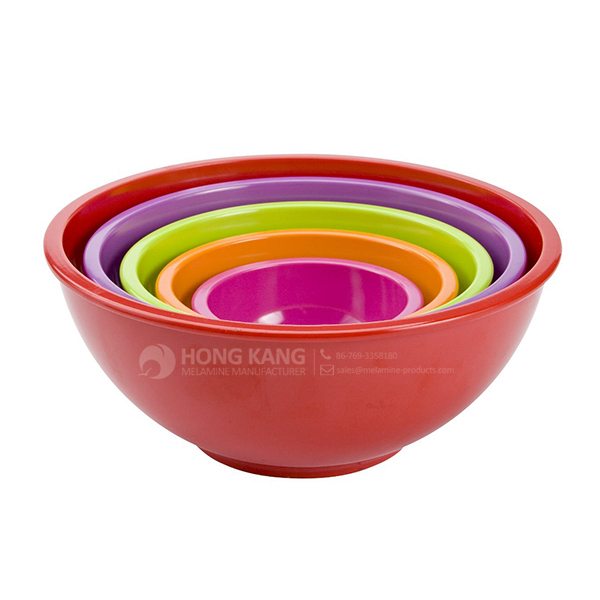
    Product detail pictures:

    Best quality and factory
 Melamine Children Airplane plate to Hungary Importers detail pictures


    Related Product Guide:
    Choosing The Best Dog Bowl and Feeder for Your Dog
    The Benefits Of Using Silicone Kitchen Utensils

    We thinks what clients think, the urgency of urgency to act from the interests of a client position of theory, allowing for greater quality, lessen processing costs, price ranges are much more reasonable, won the new and outdated shoppers the support and affirmation for Best quality and factory Melamine Children Airplane plate to Hungary Importers, The product will supply to all over the world, such as: Jeddah , Belize , Hongkong , We take measure at any price to attain essentially the most up-to-date gear and procedures. The packing of nominated brand is our a further distinguishing feature. The solutions to assure years of trouble-free service has attracted a great deal customers. The goods are obtainable in improved designs and richer variety, they're produced scientifically of purely raw supplies. It accessible in a variety of designs and specifications for the selection. The newest forms are much far better than the previous one and they're extremely popular with several clients.

    FAQ: 1.Q: Where is your factory located? How can I visit there? A: Our factory is located in Guangdong province, China. Warmly welcome to visit us! 2.Q: What is the material of your products? A: The material is melamine.  3.Q: How can I get some samples? A: We can send the samples by Express/DHL/FedEx/UPS etc. 4.Q: How does your company do regarding quality control? A: We have a very strict QC system. Our inspectors have been closely monitoring the production process from the selection of raw materials to the final step of the finished products. 5.Q: Can you print our logo on the product & packing? A: Yes, We can print your logo on our products. Multicolor-Plastic-Dinnerware-Melamine-Dinner-Plate

    * Do Not Touch On Fire Directly
    * Do Not Washing By Steelwire Ball
    * Non-Microwave Ovens
    * Dishwasher Safe


  • Click here to SUBSCRIBE to the official This Old House YouTube channel: http://www.youtube.com/subscription_center?add_user=thisoldhouse

    This Old House general contractor Tom Silva transforms stock shelving into a custom built-in. (See below for a shopping list, tools, and steps.)

    Shopping List for Building a Custom Built-In Using Stock Shelving:
    - Freestanding shelving units
    - 1 1/4-inch decking screws, to fasten cabinets together
    - 3-inch drywall screws,”] to attach 2×4 nailer
    - Wood shims,”] to plumb the cabinets
    - Wood glue
    - Construction adhesive
    - 1x8s and 1x6s,”] to cut face frame, fascia, and other trim
    - 2x4s, to make nailer
    - Crown molding
    - Acrylic latex paint (semigloss)

    Tools List for Building a Custom Built-In Using Stock Shelving:
    - Utility knife, to cut through old paint and caulk
    - Two flat bars, to pry molding from wall
    - Oscillating multitool with plunge-cut wood blade, to cut through baseboard
    - Spring clamps
    - Impact driver
    - Screwdriver
    - 4-foot level
    - Stud finder, to locate the wall studs
    - Pin nailer and 3/4-inch pins, to attach trim
    - Finishing nailer and 1 3/4-inch nails, to attach face frame and trim
    - Air compressor, to power pin and finishing nailers
    - Scriber tool, to scribe the face frame to fit against wall
    - Circular saw, to trim scribed face frame parts
    - Caulking gun, for construction adhesive, to adhere shelves
    - Sash brush

    Steps or Building a Custom Built-In Using Stock Shelving:
    1. Use a utility knife to slice through the existing paint and caulk along the top and bottom edges of the baseboard.
    2. Carefully pry the baseboard from the wall with two flat pry bars.
    3. Saw through the baseboard with the oscillating multitool fitted with a plunge-cut wood blade.
    4. Clamp and screw together two cabinets using the impact driver and 1 1/4-inch decking screws.
    5. Set the extension-shelf units on top of the two cabinets, and secure them with the provided cam-screw fasteners.
    6. Measure and mark the stud locations on the wall, then set the cabinet assembly against the wall.
    7. Insert wood shims under the front of the cabinet and check for plumb with the 4-foot level.
    8. Fasten the cabinet bydriving screws through the cabinet back and into the wall studs. Repeat to install the other cabinet.
    9. Glue and nail 1/8-inch-thick pine filler strips (ripped from your 1x stock) to the upper edge of the cabinet. Secure the strips with glue and the pin nailer equipped with 3/4-inch pins.
    10. Screw a 2×4 nailer to the ceiling directly above the cabinets.
    11. Cut a fascia from pine 1x8s to fit along the top of the cabinet. Nail the fascia to the cabinet and to the 2×4 nailer attached to the ceiling.
    12. Install crown molding along the ceiling and across the newly installed cabinets.
    13. Nail the new baseboard across the base of the cabinets.
    14. Build a pine-frame toekick to fill the space between two cabinets. Then cut a shelf to fit on top of the toekick. Adhere the shelf with construction adhesive only.
    15. Build and install a second pine frame and shelf to create a storage nook between the two cabinets.
    16. Scribe the 1×6 pine face frame to fit between the wall and cabinet. Bevel-cut the board along the scribed line with a circular saw.
    17. Nail the scribed face frame to the cabinets.
    18. Cut and install the remaining face frames to the cabinets.
    19. Finish the cabinets with a coat of semigloss acrylic latex paint.

    Follow This Old House and Ask This Old House:
    Facebook: https://www.facebook.com/ThisOldHouse
    Twitter: https://twitter.com/thisoldhouse

    https://twitter.com/asktoh

    Pinterest: http://www.pinterest.com/thisoldhouse/
    G+: https://plus.google.com/+thisoldhouse/posts
    Instagram: http://instagram.com/thisoldhouse
    Tumblr: http://thisoldhouse.tumblr.com/


    How well the ORIGINAL magic eraser quickly cleans algae from the glass, even algae that is relatively thickly grown. NOTICE: Only attempt this with the original as they contain no detergent and are inert maramine foam. DO NOT use the kitchen and bath version, they contain detergents!!

    Come join us on DarkstarAquatics.com!

    The product manager is a very hot and professional person, we have a pleasant conversation, and finally we reached a consensus agreement.
    5 Stars By Arabela from Uruguay - 2016.07.28 15:46
    Factory equipment is advanced in the industry and the product is fine workmanship, moreover the price is very cheap, value for money!
    5 Stars By May from Brazil - 2015.12.05 13:53

    Related Products

    WhatsApp Online Chat !