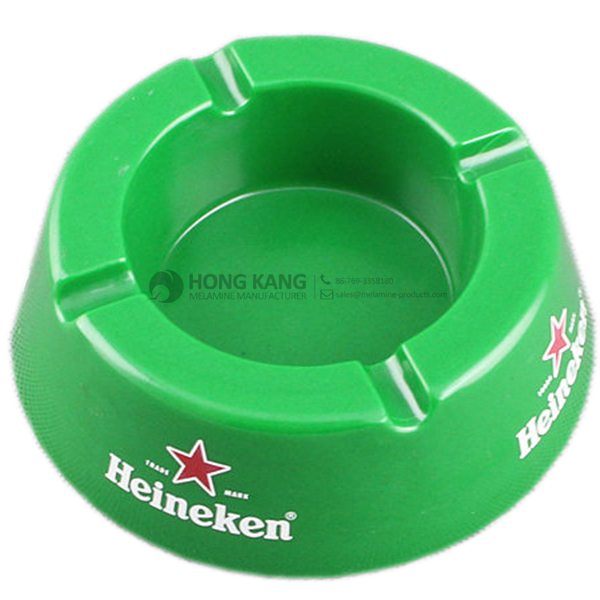
Well-designed melamine windproof ashtray Wholesale to Austria
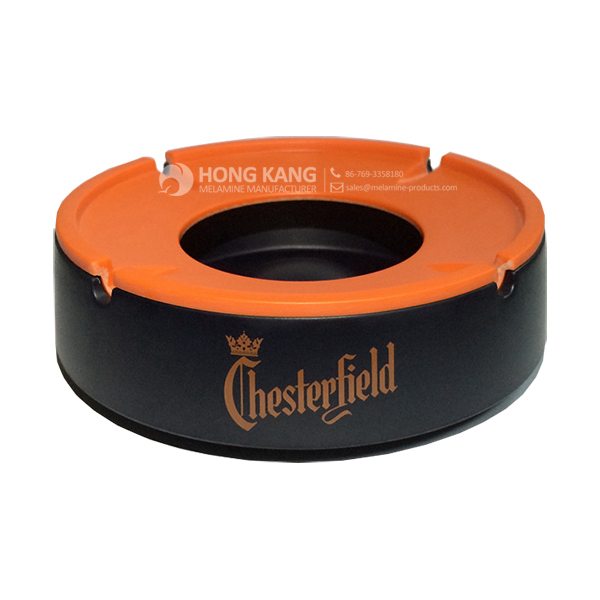
Well-designed melamine windproof ashtray Wholesale to Austria Detail:
| Specification | |
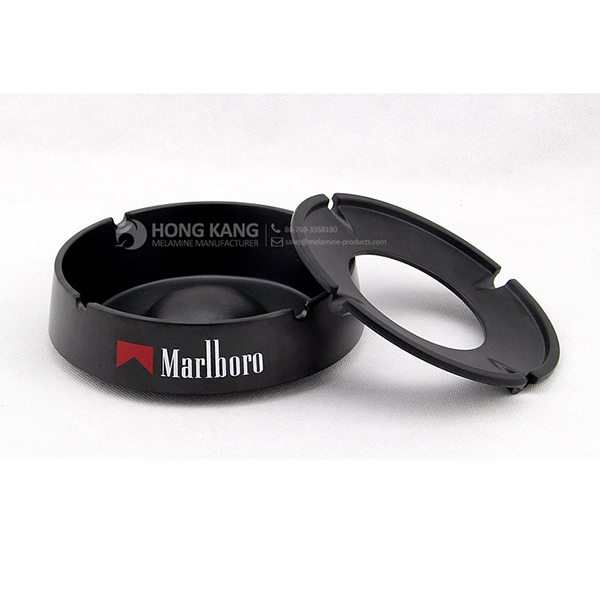
| Item Name | 6inch Round Melamine Windproof Ashtray |
| Item No. | AT001 |
| Shape | Round |
| Body Color | Black |
| Decal Color | 4 colors print |
| Finish | Glossy |
| Style | Fashion |
| Motif Design | Customized |
| Shape Design | OEM/ODM |
| Test Standard | FDA,PROP 65,EN71,LFGB etc. by SGS or ITS |
| Packaging | 20pcs/box,40pcs/carton |
| Dimensions | |
| Length | 14.5 cm |
| Width | 14.5 cm |
| Height | 4.5 cm |
| Capacity | N/A |
| Material | |
| Body Material | 100%melamine |
| Decal Material (if need) | 4 colors print (CMYK), or spot color printing, RoHS certificate |
| Imprint (if need) | Seiko ink type 1000 or other type, RoHS certificate |
| Accessories Information | |
| Lid included | No |
| Other | No |
| Weights | |
| Net Weight (kg) | 8.8 |
| Shipping Weight (kg) | 10 |
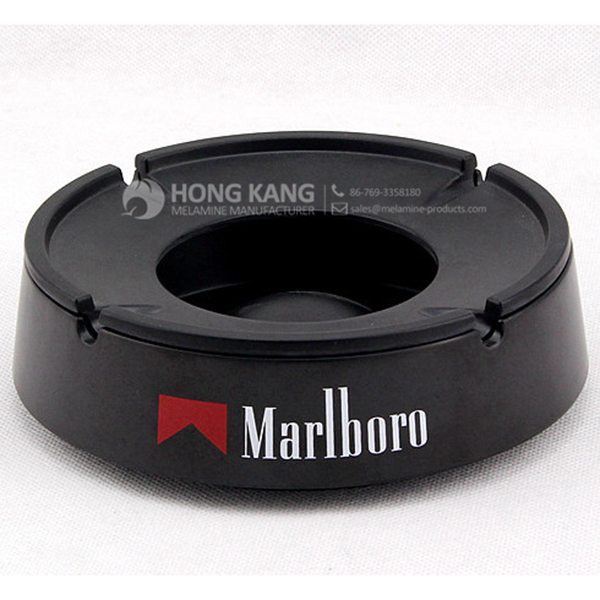
Product detail pictures:
Related Product Guide:
Benefits of Melamine Dinnerware
Choosing The Best Dog Bowl and Feeder for Your Dog
We consistently execute our spirit of ''Innovation bringing progress, Highly-quality ensuring subsistence, Administration advertising and marketing gain, Credit history attracting buyers for Well-designed melamine windproof ashtray Wholesale to Austria, The product will supply to all over the world, such as: kazan , Bogota , Melbourne , In order to make more people know our products and to enlarge our market, we have devoted a lot of attention to technical innovations and improvement, as well as replacement of equipment. Last but not the least, we also pay more attention to training our managerial personnel, technicians and workers in planned way.
FAQ: 1.Q: Where is your factory located? How can I visit there? A: Our factory is located in Guangdong province, China. Warmly welcome to visit us! 2.Q: What is the material of your products? A: The material is melamine. 3.Q: How can I get some samples? A: We can send the samples by Express/DHL/FedEx/UPS etc. 4.Q: How does your company do regarding quality control? A: We have a very strict QC system. Our inspectors have been closely monitoring the production process from the selection of raw materials to the final step of the finished products. 5.Q: Can you print our logo on the product & packing? A: Yes, We can print your logo on our products. 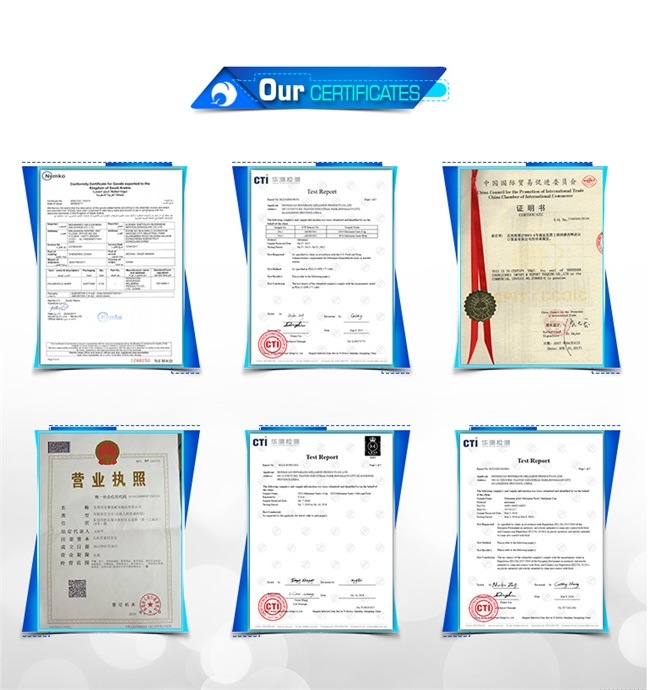
| * Do Not Touch On Fire Directly | |
|---|---|
| * Do Not Washing By Steelwire Ball | |
| * Non-Microwave Ovens | |
| * Dishwasher Safe |
Set comprises 6 of each: 27cm (10½) dinner plates, side plates, 23cm (9) diam. salad/pasta bowls, 16cm (6¼) diam. soup/cereal bowls, egg cups, 11oz mugs, cups and saucers, 1x cream/milk jug and a sugar pot with lid. Dishwasher and microwave safe. At http://homeshopping.24studio.co.uk/search/23180633?source=TX56&cm_mmc=Studio_NP-_-Social_Media-_-YouTube-_-50Piece_Rounded_Square_Aspen_Porcelain_Dinner_Set_June_book_2013. Plus there are many more products to choose from with up to 80% off on 24studio.co.uk
Plantation Resources Enterprise
 By Lauren
from Thailand
- 2015.04.25 16:46
By Lauren
from Thailand
- 2015.04.25 16:46
This is the first business after our company establish, products and services are very satisfying, we have a good start, we hope to cooperate continuous in the future!
By Christine
from UAE
- 2016.02.14 13:19