OEM Factory for melamine cutting board for Auckland Manufacturer
OEM Factory for melamine cutting board for Auckland Manufacturer Detail:
| Specification | |
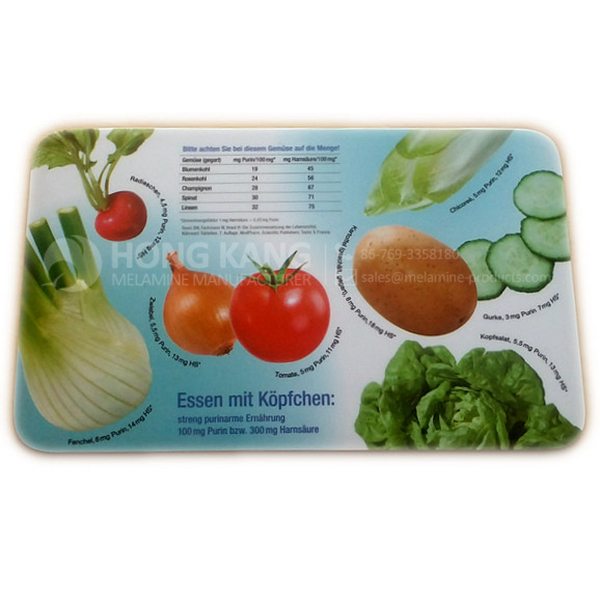
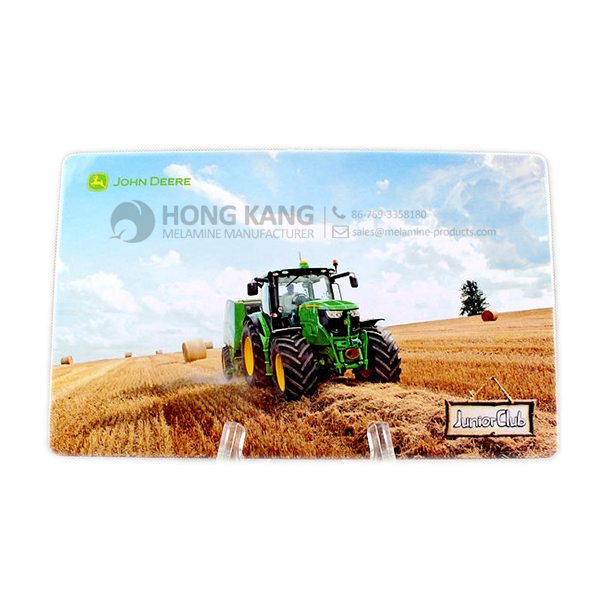
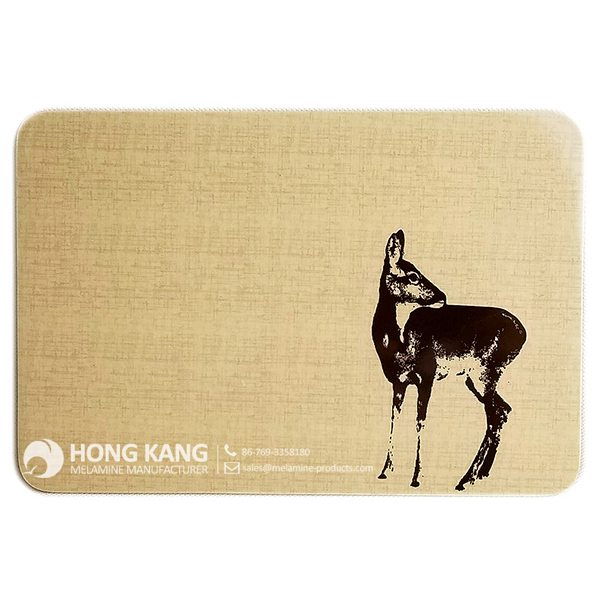
| Item Name | 9.25inch Melamine Cutting Board |
| Item No. | PT133 |
| Shape | Rectangle |
| Body Color | White |
| Decal Color | 4 colors print |
| Finish | Glossy |
| Style | Fashion |
| Motif Design | Customized |
| Shape Design | OEM/ODM |
| Test Standard | FDA,PROP 65,EN71,LFGB etc. by SGS or ITS |
| Packaging | 12pcs/box,48pcs/carton |
| Dimensions | |
| Length | 23.3 cm |
| Width | 14.3 cm |
| Height | 0.3 cm |
| Capacity | N/A |
| Material | |
| Body Material | 100%melamine |
| Decal Material (if need) | 4 colors print (CMYK), or spot color printing, RoHS certificate |
| Imprint (if need) | Seiko ink type 1000 or other type, RoHS certificate |
| Accessories Information | |
| Lid included | No |
| Other | No |
| Weights | |
| Net Weight (kg) | 7.2 |
| Shipping Weight (kg) | 8.5 |
Product detail pictures:
Related Product Guide:
Top Ten Power Toothbrushes
Choosing The Best Dog Bowl and Feeder for Your Dog
Adhering into the principle of "quality, provider, performance and growth", we now have gained trusts and praises from domestic and intercontinental consumer for OEM Factory for melamine cutting board for Auckland Manufacturer, The product will supply to all over the world, such as: Ethiopia , Hungary , Philippines , We welcome you to visit our company & factory and our showroom displays various products that will meet your expectations. Meanwhile, it is convenient to visit our website. Our sales staff will try their best to provide you with the best services. If you need more information, please do not hesitate to contact us via E-mail, fax or telephone.
FAQ: 1.Q: Where is your factory located? How can I visit there? A: Our factory is located in Guangdong province, China. Warmly welcome to visit us! 2.Q: What is the material of your products? A: The material is melamine. 3.Q: How can I get some samples? A: We can send the samples by Express/DHL/FedEx/UPS etc. 4.Q: How does your company do regarding quality control? A: We have a very strict QC system. Our inspectors have been closely monitoring the production process from the selection of raw materials to the final step of the finished products. 5.Q: Can you print our logo on the product & packing? A: Yes, We can print your logo on our products. 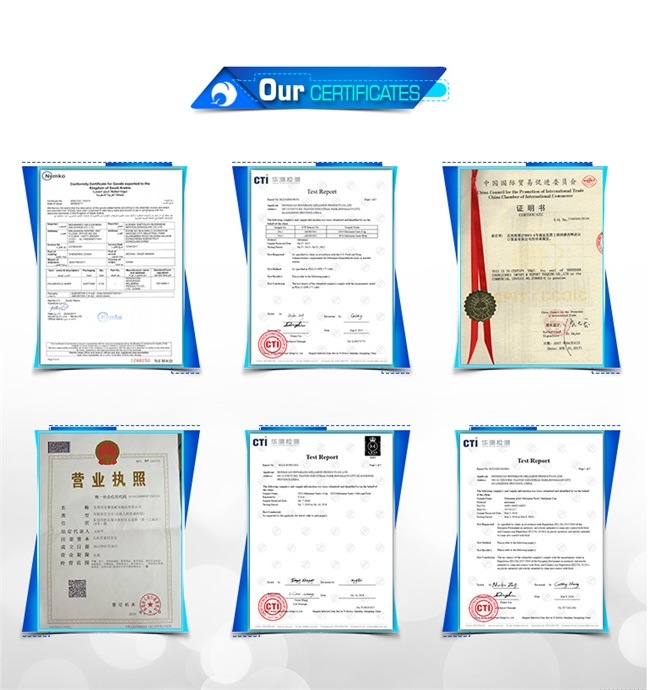
| * Do Not Touch On Fire Directly | |
|---|---|
| * Do Not Washing By Steelwire Ball | |
| * Non-Microwave Ovens | |
| * Dishwasher Safe |
Believe it or not… oil and peanutbutter takes that sticky, nasty sticker residue off of plastic. Also works great on glass! And it smells good too. Peanutbutter, Good enough to eat!
We have been appreciated the Chinese manufacturing, this time also did not let us disappoint,good job!


