• New Fashion Design for 6inch Square plate for Cape Town Factory

    Product Detail

    Features

    Care Instructions

    Product Tags

    Related Video

    Feedback (2)

    We insist on offering high-quality production with great enterprise concept, honest product sales and also the finest and fast service. it will bring you not only the superior quality solution and huge profit, but the most significant should be to occupy the endless market for Melamine outdoor dinnerware , Melamine Promotional Plate , Melamine Two Tone Mug , We sincerely welcome overseas consumers to consult for your long-term cooperation as well as the mutual advancement.We strongly think that we will do superior and far better.
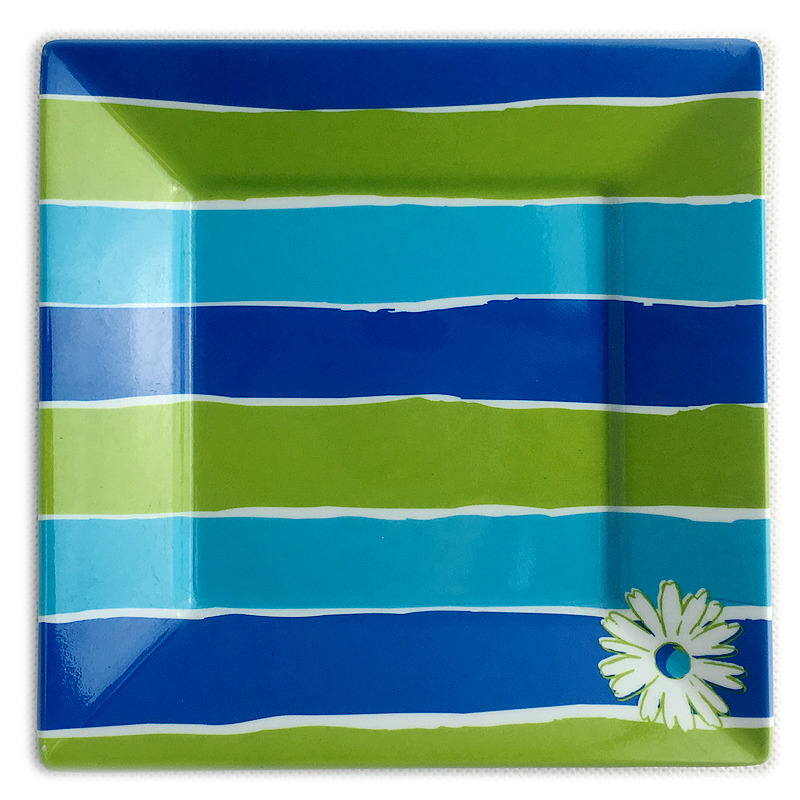
    New Fashion Design for 6inch Square plate for Cape Town Factory Detail:

    Specification
    Item Name 6inch Melamine Square Plate
    Item No. PT181
    Shape Square
    Body Color White
    Decal Color 4 colors print
    Finish Glossy
    Style Fashion
    Motif Design Customized
    Shape Design OEM/ODM
    Test Standard FDA,PROP 65,EN71,LFGB etc. by SGS or ITS
    Packaging 24pcs/box,144pcs/carton
    Dimensions
    Length 15.4 cm
    Width 9.5 cm
    Height 1.7 cm
    Capacity N/A
    Material
    Body Material 100%melamine
    Decal Material (if need) 4 colors print (CMYK), or spot color printing, RoHS certificate
    Imprint (if need) Seiko ink type 1000 or other type, RoHS certificate
    Accessories Information
    Lid included No
    Other No
    Weights
    Net Weight (kg) 10
    Shipping Weight (kg) 11.5

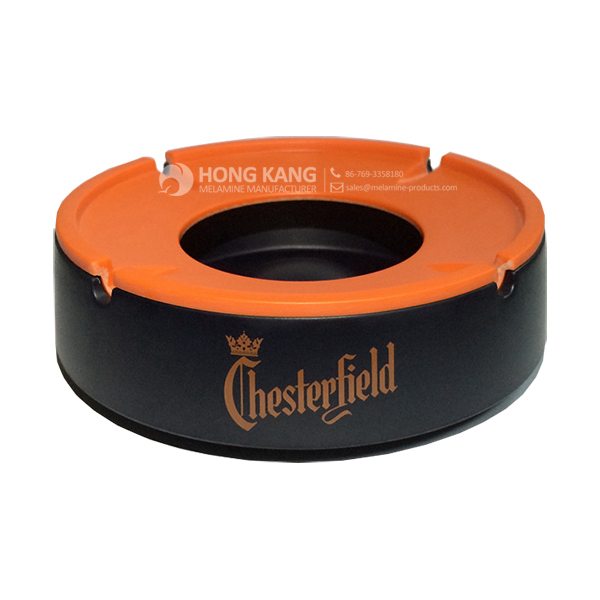
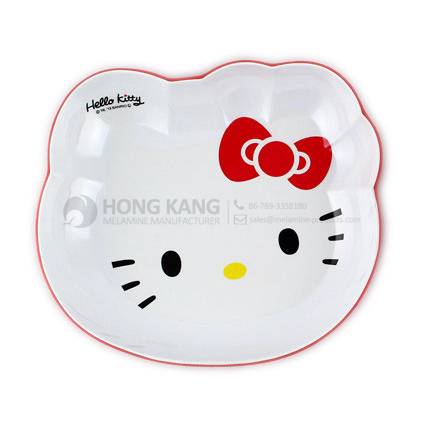
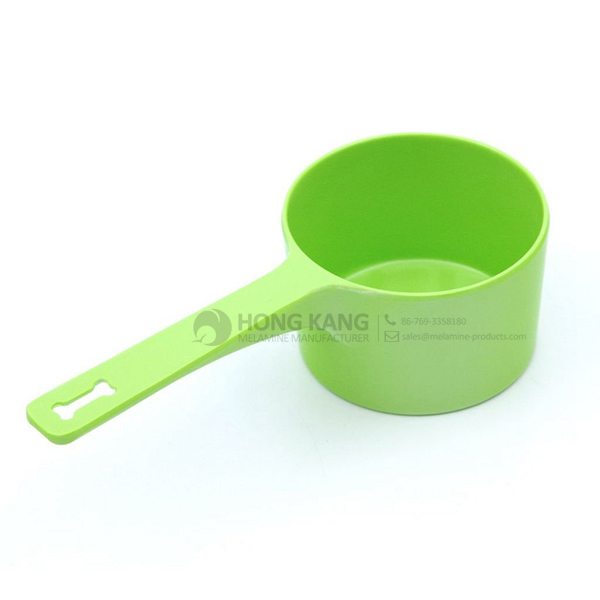
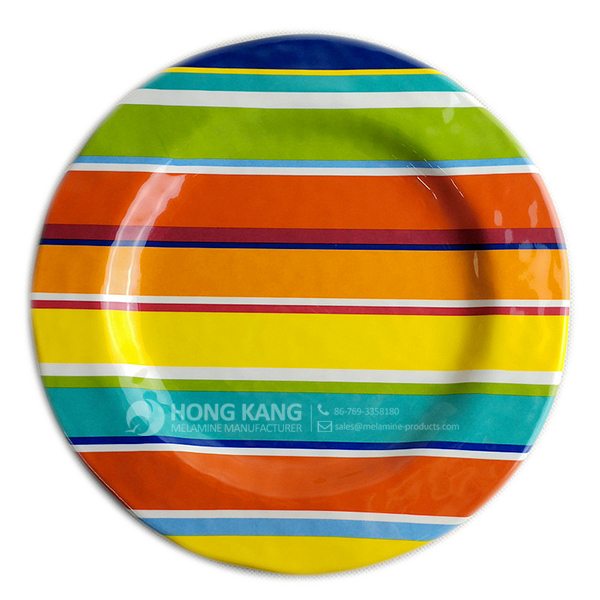
    Product detail pictures:

    New Fashion Design for
 6inch Square plate for Cape Town Factory detail pictures


    Related Product Guide:
    The Benefits Of Using Silicone Kitchen Utensils
    Benefits of Melamine Dinnerware

    Our business puts emphasis over the administration, the introduction of talented staff, plus the construction of employees building, striving hard to boost the standard and liability consciousness of staff members. Our corporation successfully attained IS9001 Certification and European CE Certification of New Fashion Design for 6inch Square plate for Cape Town Factory, The product will supply to all over the world, such as: Paraguay , Anguilla , Bahamas , Our products are exported worldwide. Our customers are always satisfied with our reliable quality, customer-oriented services and competitive prices. Our mission is "to continue to earn your loyalty by dedicating our efforts to the constant improvement of our products and services in order to ensure the satisfaction of our end-users, customers, employees, suppliers and the worldwide communities in which we cooperate".

    FAQ: 1.Q: Where is your factory located? How can I visit there? A: Our factory is located in Guangdong province, China. Warmly welcome to visit us! 2.Q: What is the material of your products? A: The material is melamine.  3.Q: How can I get some samples? A: We can send the samples by Express/DHL/FedEx/UPS etc. 4.Q: How does your company do regarding quality control? A: We have a very strict QC system. Our inspectors have been closely monitoring the production process from the selection of raw materials to the final step of the finished products. 5.Q: Can you print our logo on the product & packing? A: Yes, We can print your logo on our products. Multicolor-Plastic-Dinnerware-Melamine-Dinner-Plate

    * Do Not Touch On Fire Directly
    * Do Not Washing By Steelwire Ball
    * Non-Microwave Ovens
    * Dishwasher Safe


  • Click here to SUBSCRIBE to the official This Old House YouTube channel: http://www.youtube.com/subscription_center?add_user=thisoldhouse

    This Old House general contractor Tom Silva transforms stock shelving into a custom built-in. (See below for a shopping list, tools, and steps.)

    Shopping List for Building a Custom Built-In Using Stock Shelving:
    - Freestanding shelving units
    - 1 1/4-inch decking screws, to fasten cabinets together
    - 3-inch drywall screws,”] to attach 2×4 nailer
    - Wood shims,”] to plumb the cabinets
    - Wood glue
    - Construction adhesive
    - 1x8s and 1x6s,”] to cut face frame, fascia, and other trim
    - 2x4s, to make nailer
    - Crown molding
    - Acrylic latex paint (semigloss)

    Tools List for Building a Custom Built-In Using Stock Shelving:
    - Utility knife, to cut through old paint and caulk
    - Two flat bars, to pry molding from wall
    - Oscillating multitool with plunge-cut wood blade, to cut through baseboard
    - Spring clamps
    - Impact driver
    - Screwdriver
    - 4-foot level
    - Stud finder, to locate the wall studs
    - Pin nailer and 3/4-inch pins, to attach trim
    - Finishing nailer and 1 3/4-inch nails, to attach face frame and trim
    - Air compressor, to power pin and finishing nailers
    - Scriber tool, to scribe the face frame to fit against wall
    - Circular saw, to trim scribed face frame parts
    - Caulking gun, for construction adhesive, to adhere shelves
    - Sash brush

    Steps or Building a Custom Built-In Using Stock Shelving:
    1. Use a utility knife to slice through the existing paint and caulk along the top and bottom edges of the baseboard.
    2. Carefully pry the baseboard from the wall with two flat pry bars.
    3. Saw through the baseboard with the oscillating multitool fitted with a plunge-cut wood blade.
    4. Clamp and screw together two cabinets using the impact driver and 1 1/4-inch decking screws.
    5. Set the extension-shelf units on top of the two cabinets, and secure them with the provided cam-screw fasteners.
    6. Measure and mark the stud locations on the wall, then set the cabinet assembly against the wall.
    7. Insert wood shims under the front of the cabinet and check for plumb with the 4-foot level.
    8. Fasten the cabinet bydriving screws through the cabinet back and into the wall studs. Repeat to install the other cabinet.
    9. Glue and nail 1/8-inch-thick pine filler strips (ripped from your 1x stock) to the upper edge of the cabinet. Secure the strips with glue and the pin nailer equipped with 3/4-inch pins.
    10. Screw a 2×4 nailer to the ceiling directly above the cabinets.
    11. Cut a fascia from pine 1x8s to fit along the top of the cabinet. Nail the fascia to the cabinet and to the 2×4 nailer attached to the ceiling.
    12. Install crown molding along the ceiling and across the newly installed cabinets.
    13. Nail the new baseboard across the base of the cabinets.
    14. Build a pine-frame toekick to fill the space between two cabinets. Then cut a shelf to fit on top of the toekick. Adhere the shelf with construction adhesive only.
    15. Build and install a second pine frame and shelf to create a storage nook between the two cabinets.
    16. Scribe the 1×6 pine face frame to fit between the wall and cabinet. Bevel-cut the board along the scribed line with a circular saw.
    17. Nail the scribed face frame to the cabinets.
    18. Cut and install the remaining face frames to the cabinets.
    19. Finish the cabinets with a coat of semigloss acrylic latex paint.

    Follow This Old House and Ask This Old House:
    Facebook: https://www.facebook.com/ThisOldHouse
    Twitter: https://twitter.com/thisoldhouse

    https://twitter.com/asktoh

    Pinterest: http://www.pinterest.com/thisoldhouse/
    G+: https://plus.google.com/+thisoldhouse/posts
    Instagram: http://instagram.com/thisoldhouse
    Tumblr: http://thisoldhouse.tumblr.com/


    injection moulding machine

    The company can keep up with the changes in this industry market, product updates fast and the price is cheap, this is our second cooperation, it's good.
    5 Stars By Maggie from Vietnam - 2015.11.02 11:11
    We have been cooperated with this company for many years, the company always ensure timely delivery ,good quality and correct number, we are good partners.
    5 Stars By Mildred from South Africa - 2016.02.14 13:19

    Related Products

    WhatsApp Online Chat !