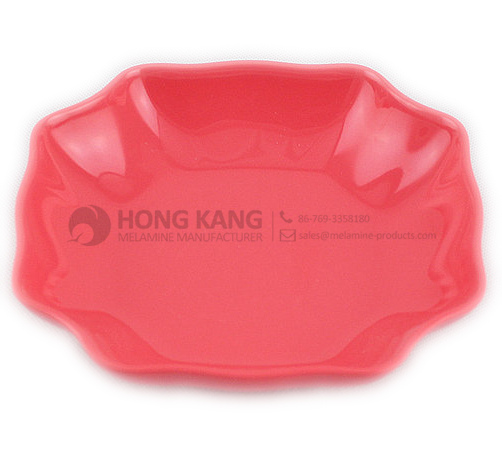
Low price for 6inch Melamine Sushi Plate Wholesale to Ethiopia
Low price for 6inch Melamine Sushi Plate Wholesale to Ethiopia Detail:
| Specification | |
| Item Name | 6inch Melamine Sushi Plate |
| Item No. | PT007 |
| Shape | Round |
| Body Color | White |
| Decal Color | 4 colors print |
| Finish | Glossy |
| Style | Fashion |
| Motif Design | Customized |
| Shape Design | OEM/ODM |
| Test Standard | FDA,PROP 65,EN71,LFGB etc. by SGS or ITS |
| Packaging | 12pcs/box,72pcs/carton |
| Dimensions | |
| Length | 15.1 cm |
| Width | 15.1 cm |
| Height | 2.1 cm |
| Capacity | N/A |
| Material | |
| Body Material | 100%melamine |
| Decal Material (if need) | 4 colors print (CMYK), or spot color printing, RoHS certificate |
| Imprint (if need) | Seiko ink type 1000 or other type, RoHS certificate |
| Accessories Information | |
| Lid included | No |
| Other | No |
| Weights | |
| Net Weight (kg) | 7.6 |
| Shipping Weight (kg) | 8.6 |
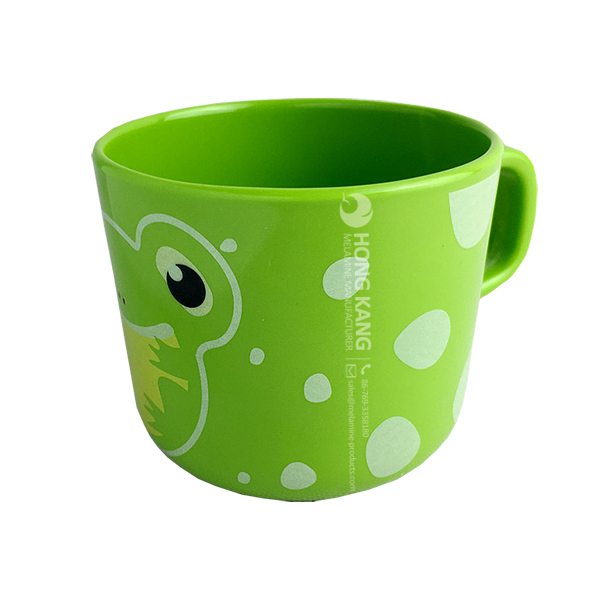
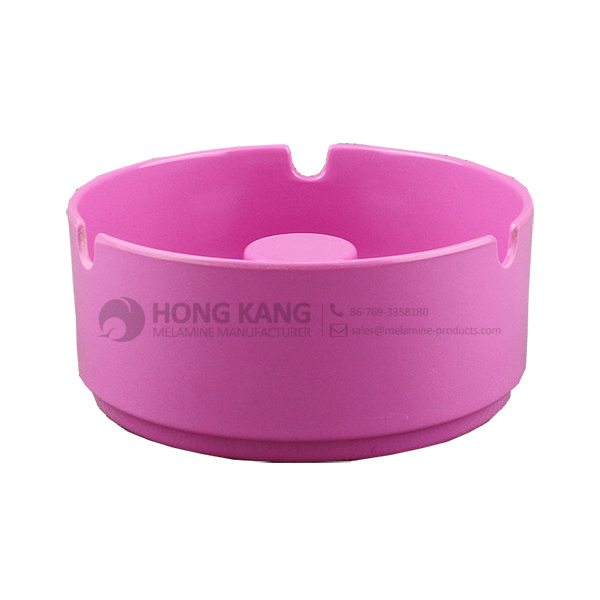
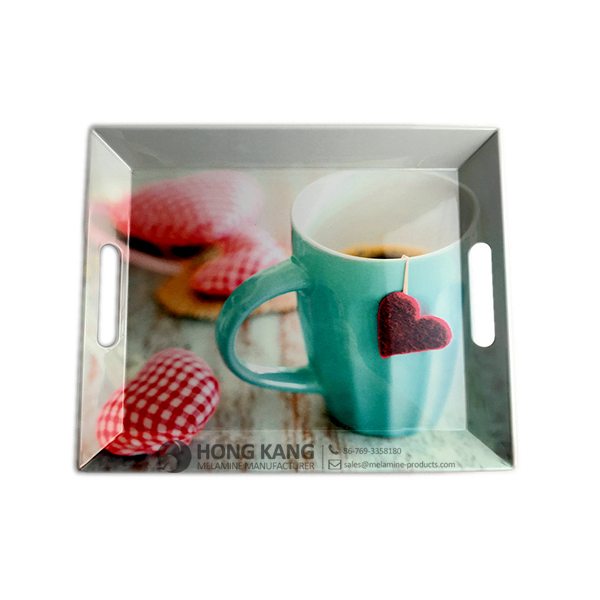
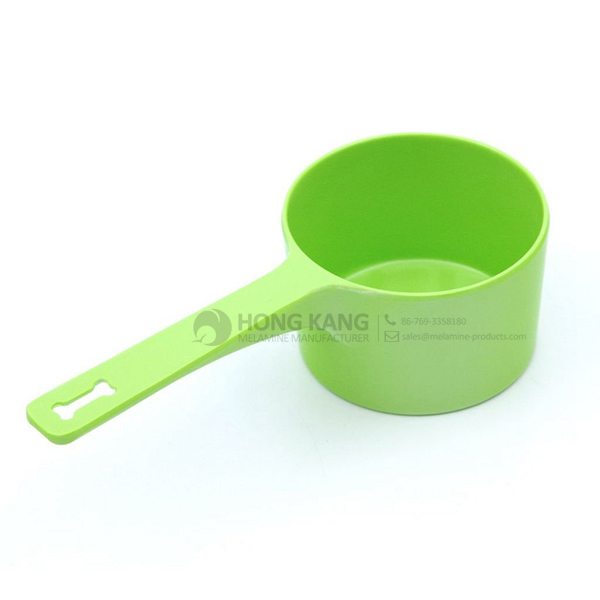
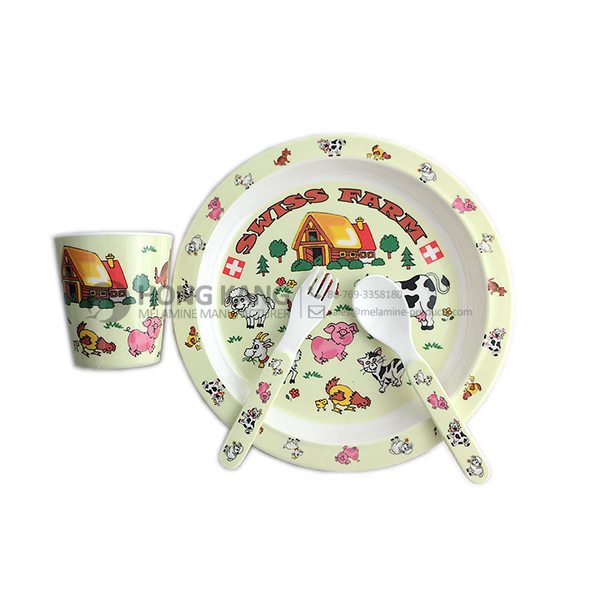
Product detail pictures:
Related Product Guide:
Top Ten Power Toothbrushes
Benefits of Melamine Dinnerware
With a sound business credit, excellent after-sales service and modern manufacturing facilities, we have earned an excellent reputation among our customers across the world for Low price for 6inch Melamine Sushi Plate Wholesale to Ethiopia, The product will supply to all over the world, such as: Brunei , Accra , Plymouth , We are in continuous service to our growing local and international clients. We aim to be worldwide leader in this industry and with this mind; it is our great pleasure to serve and bringing the highest satisfaction rates among the growing market.
FAQ: 1.Q: Where is your factory located? How can I visit there? A: Our factory is located in Guangdong province, China. Warmly welcome to visit us! 2.Q: What is the material of your products? A: The material is melamine. 3.Q: How can I get some samples? A: We can send the samples by Express/DHL/FedEx/UPS etc. 4.Q: How does your company do regarding quality control? A: We have a very strict QC system. Our inspectors have been closely monitoring the production process from the selection of raw materials to the final step of the finished products. 5.Q: Can you print our logo on the product & packing? A: Yes, We can print your logo on our products. 
| * Do Not Touch On Fire Directly | |
|---|---|
| * Do Not Washing By Steelwire Ball | |
| * Non-Microwave Ovens | |
| * Dishwasher Safe |
電影最大咖!只在MTV【爆米花電影院】
快到https://www.facebook.com/mtvcmovie
MTV首播時間:每週五晚上10點
三立都會台首播時間:每週六下午4點半
Watch our step-by-step film showing how to lay laminate flooring, with expert advice and top tips to help you complete the job with confidence.
See the other parts in this series:
Part 1: Preparation
Part 2: Underlay
Part 4: Laying Tongue & Groove Solid Wood
Part 5: Finishing Touches & Maintenance
Visit the official B&Q YouTube channel. Here you’ll find the ideas and know-how you need to make your home improvement dream a reality: http://www.youtube.com/bandq
Need a helping hand with your DIY project? We’re always uploading new films, so whatever your project, we’re here to support you 24/7. Subscribe today so you don’t miss out. http://www.youtube.com/subscription_center?add_user=bandq
When embarking on any DIY project, health and safety is paramount. If you are unsure on the steps in this guide, professional tradesmen can be found via B&Q Homefit. For further information visit http://www.diy.com/B&QHomefit
Please read the video disclaimer before undertaking tasks in this film: http://www.diy.com/videodisclaimer
For more advice go to http://www.diy.com/advice
To shop at B&Q go to http://www.diy.com
Join the B&Q Club for exclusive offers: http://www.diy.com/club
Follow us on Twitter: http://www.twitter.com/bandq
Like us on Facebook: http://www.facebook.com/bandq
Be inspired on Pinterest: http://www.pinterest.com/bandq
Find ideas on Houzz: http://www.houzz.co.uk/pro/bandq/
Our B&Q You Can Do It Book is available in-store. This complete step-by-step book of home improvement is the ultimate tool for successful home maintenance and makeovers, making those DIY projects easier with many useful guides and tips.
Products and services are very good, our leader is very satisfied with this procurement, it is better than we expected,