Hot Selling for melamine gift ashtray to Boston Importers
Hot Selling for melamine gift ashtray to Boston Importers Detail:
| Specification | |
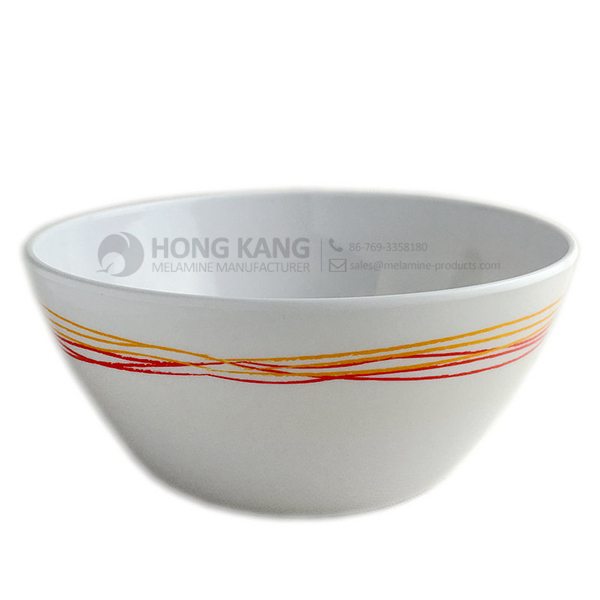
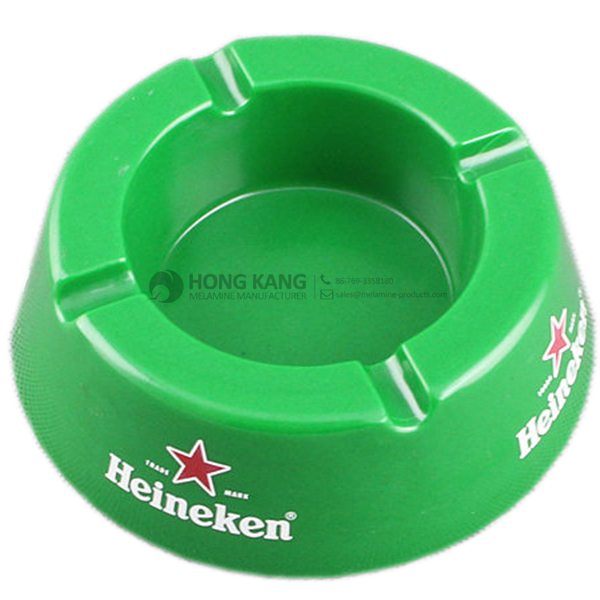
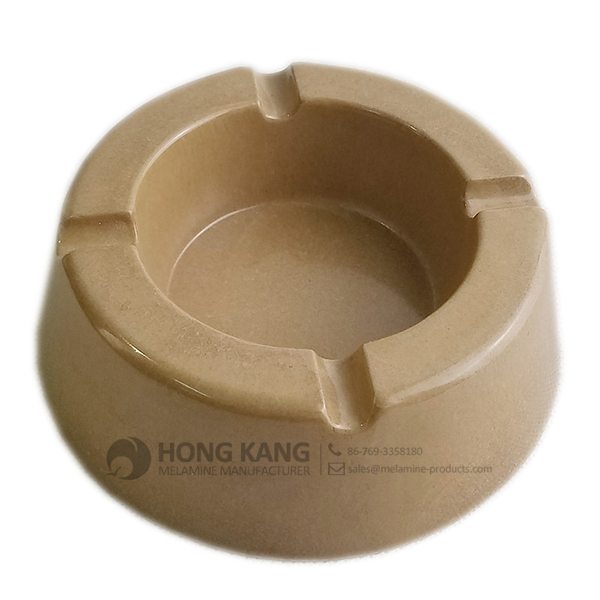
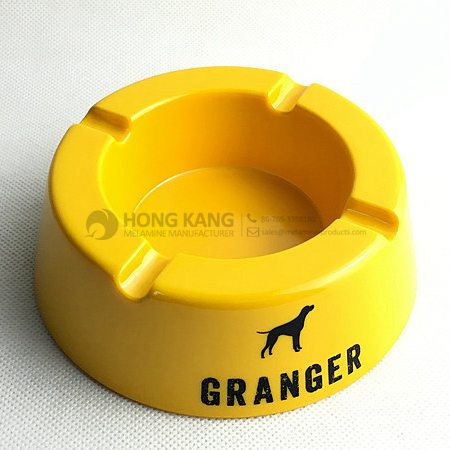
| Item Name | 4inch Round Melamine Promotional Gift Ashtray |
| Item No. | AT056 |
| Shape | Round |
| Body Color | Yellow |
| Decal Color | 4 colors print (if need) |
| Finish | Glossy |
| Style | Fashion |
| Motif Design | Customized |
| Shape Design | OEM/ODM |
| Test Standard | FDA,PROP 65,EN71,LFGB etc. by SGS or ITS |
| Packaging | 12pcs/box,72pcs/carton |
| Dimensions | |
| Length | 10.5 cm |
| Width | 10.5 cm |
| Height | 4 cm |
| Capacity | N/A |
| Material | |
| Body Material | 100%melamine |
| Decal Material (if need) | 4 colors print (CMYK), or spot color printing, RoHS certificate |
| Imprint (if need) | Seiko ink type 1000 or other type, RoHS certificate |
| Accessories Information | |
| Lid included | No |
| Other | No |
| Weights | |
| Net Weight (kg) | 8.7 |
| Shipping Weight (kg) | 10 |
Product detail pictures:
Related Product Guide:
Top Ten Power Toothbrushes
Choosing The Best Dog Bowl and Feeder for Your Dog
Assume full responsibility to meet all demands of our clients; achieve continuous advancements by promoting the growth of our clients; become the final permanent cooperative partner of clients and maximize the interests of clients for Hot Selling for melamine gift ashtray to Boston Importers, The product will supply to all over the world, such as: Guatemala , Qatar , New York , With more and more Chinese products and solutions around the world, our international business is developing rapidly and economic indicators big increase year by year. We have enough confidence to supply you both better solutions and service, because we've been more and more powerful, specialist and experience in domestic and international.
FAQ: 1.Q: Where is your factory located? How can I visit there? A: Our factory is located in Guangdong province, China. Warmly welcome to visit us! 2.Q: What is the material of your products? A: The material is melamine. 3.Q: How can I get some samples? A: We can send the samples by Express/DHL/FedEx/UPS etc. 4.Q: How does your company do regarding quality control? A: We have a very strict QC system. Our inspectors have been closely monitoring the production process from the selection of raw materials to the final step of the finished products. 5.Q: Can you print our logo on the product & packing? A: Yes, We can print your logo on our products. 
| * Do Not Touch On Fire Directly | |
|---|---|
| * Do Not Washing By Steelwire Ball | |
| * Non-Microwave Ovens | |
| * Dishwasher Safe |
Julienned strips of carrots are perfect in a garden salad, vegetable soup or stir fry. This stainless steel julienne feels like commercial grade so it’s the only one you’ll ever need. Two blades create either wide, flat noodle strips or skinny, grated strips.
http://www.lemonpoppyinc.com/product/stainless-steel-julienner/
High production efficiency and good product quality, fast delivery and completed after-sale protection, a right choice, a best choice.