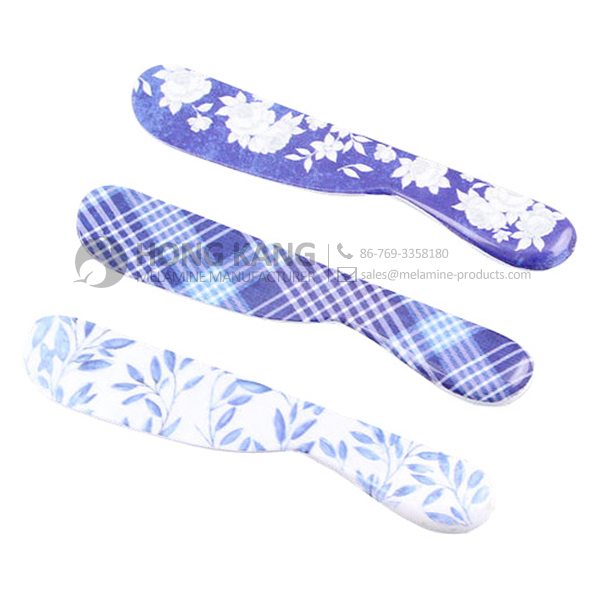
Hot-selling attractive price melamine gift ashtray to Czech republic Importers
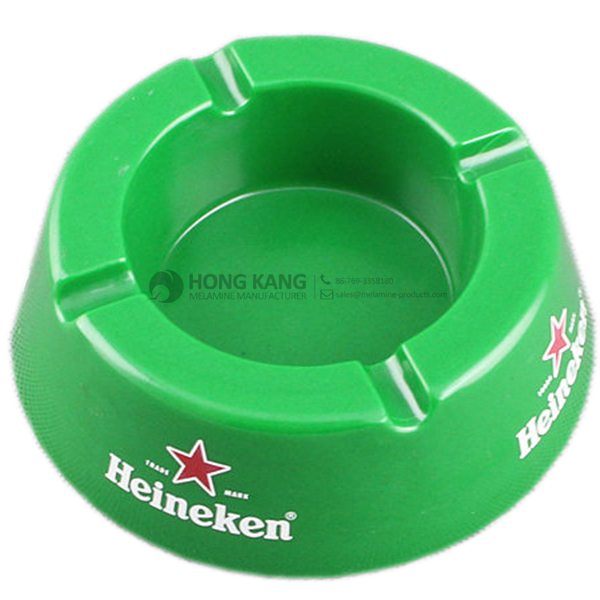
Hot-selling attractive price melamine gift ashtray to Czech republic Importers Detail:
| Specification | |
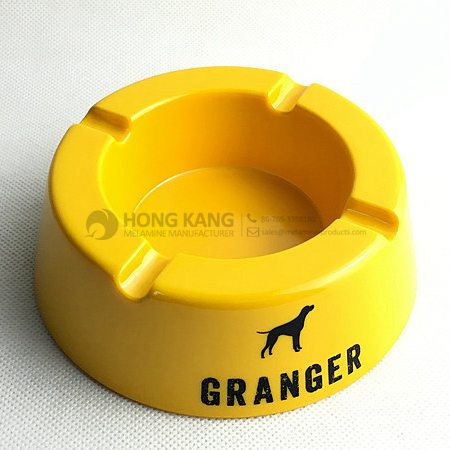
| Item Name | 4inch Round Melamine Promotional Gift Ashtray |
| Item No. | AT056 |
| Shape | Round |
| Body Color | Yellow |
| Decal Color | 4 colors print (if need) |
| Finish | Glossy |
| Style | Fashion |
| Motif Design | Customized |
| Shape Design | OEM/ODM |
| Test Standard | FDA,PROP 65,EN71,LFGB etc. by SGS or ITS |
| Packaging | 12pcs/box,72pcs/carton |
| Dimensions | |
| Length | 10.5 cm |
| Width | 10.5 cm |
| Height | 4 cm |
| Capacity | N/A |
| Material | |
| Body Material | 100%melamine |
| Decal Material (if need) | 4 colors print (CMYK), or spot color printing, RoHS certificate |
| Imprint (if need) | Seiko ink type 1000 or other type, RoHS certificate |
| Accessories Information | |
| Lid included | No |
| Other | No |
| Weights | |
| Net Weight (kg) | 8.7 |
| Shipping Weight (kg) | 10 |
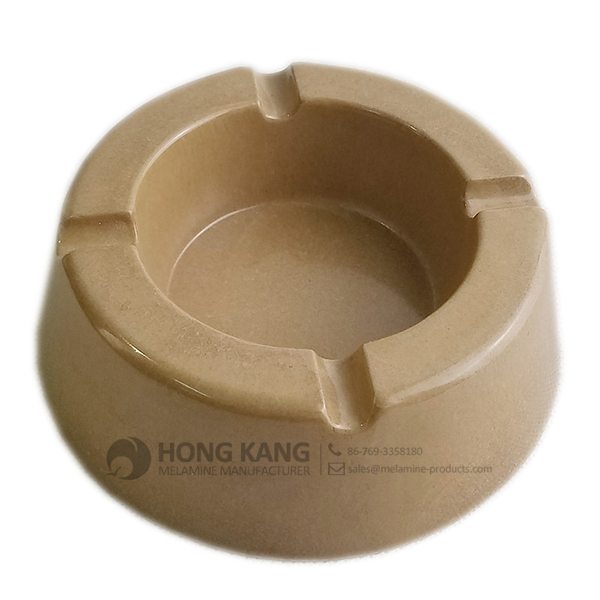
Product detail pictures:
Related Product Guide:
Choosing The Best Dog Bowl and Feeder for Your Dog
Affordable Types of Dinnerware Sets
Sticking for the basic principle of "Super Top quality, Satisfactory service" ,We've been striving to be an excellent business enterprise partner of you for Hot-selling attractive price melamine gift ashtray to Czech republic Importers, The product will supply to all over the world, such as: Macedonia , New Zealand , Chile , Item have passed by means of the national qualified certification and been well received in our main industry. Our expert engineering team will often be ready to serve you for consultation and feedback. We are able to also deliver you with cost-free samples to meet your specifications. Ideal efforts will probably be produced to provide you the most beneficial service and solutions. Should you be interested in our company and solutions, please make contact with us by sending us emails or call us straight away. To be able to know our solutions and enterprise. ar more, you'll be able to come to our factory to see it. We'll constantly welcome guests from all over the world to our firm. o build business enterprise. elations with us. Please feel absolutely free to speak to us for organization. nd we believe we will share the best trading practical experience with all our merchants.
FAQ: 1.Q: Where is your factory located? How can I visit there? A: Our factory is located in Guangdong province, China. Warmly welcome to visit us! 2.Q: What is the material of your products? A: The material is melamine. 3.Q: How can I get some samples? A: We can send the samples by Express/DHL/FedEx/UPS etc. 4.Q: How does your company do regarding quality control? A: We have a very strict QC system. Our inspectors have been closely monitoring the production process from the selection of raw materials to the final step of the finished products. 5.Q: Can you print our logo on the product & packing? A: Yes, We can print your logo on our products. 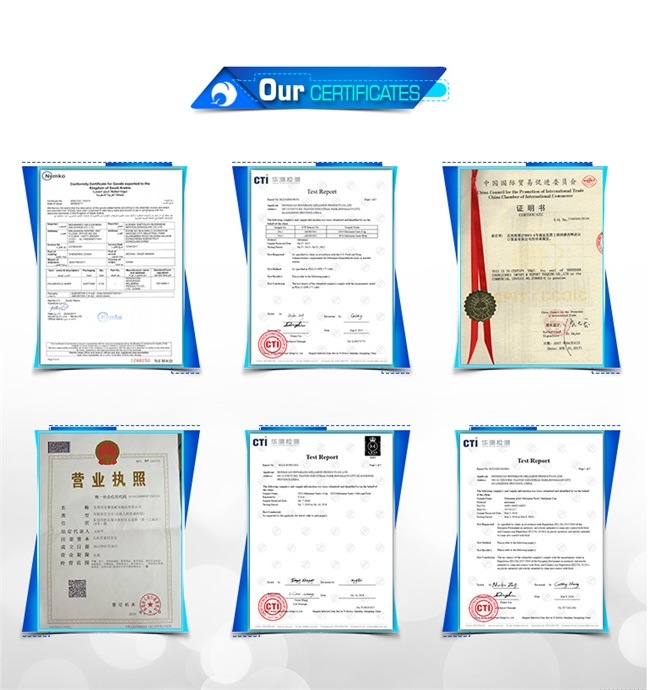
| * Do Not Touch On Fire Directly | |
|---|---|
| * Do Not Washing By Steelwire Ball | |
| * Non-Microwave Ovens | |
| * Dishwasher Safe |
http://AskWoodman.com/ This is the first video in a short series about using laminate to make shop work surfaces. In this four video series, Allan explains how laminate is made, demonstrates various ways of cutting laminate, how to apply the contact cement, and finally trim the laminate around the pre-drilled out holes to make it custom laminated Festool style multifunction table top.
Video 1 Details: AskWoodMan shows how to cut laminate to rough sizes. He recommends the table saw, but also shows how to use electric sheet metal shears, hand shears, snips and the laminate trimmer can work well if necessary.
______________________________________
Be sure to check out videos 2 through 4 in the Using Laminate In Your Woodworking Shop videos to learn more.
______________________________________
Want to know which tools and products that AskWoodman uses? Interested in learning more woodworking techniques? Read the articles that go with AskWoodman videos at http://AskWoodman.com/.
Allan Little is AskWoodman™
Follow him on twitter or subscribe to his blog!
http://twitter.com/askwoodman
http://askwoodman.com
Learn how to build an outdoor patio bar with an acid stained concrete top. In part 1 Pete will show you how to build a concrete bar top mold, pour concrete, create a trowel finish, and seal a concrete bar top. For the complete and free bar plans go to
For more info, project photos, and downloadable plans check out:
http://www.diypete.com/patiotable
Download Plans: https://gumroad.com/l/patiobar
*Note that these are affiliate links, meaning that when you buy something that is recommended below, it helps support the Channel. Thanks in advance!
*Tools Needed
Power Drill – http://amzn.to/1OxMfnt
Orbital Sander – http://amzn.to/1VUVNYy
Circular Saw – http://amzn.to/1OxNa7k
Table Saw (optional) – http://amzn.to/1X7Eje5
12″ Miter Saw (optional) – http://amzn.to/1VUVo8s
Jig Saw – http://amzn.to/1ZGFCTf
Bolt Cutter – http://amzn.to/1OxNcfe
Concrete Trowel – http://amzn.to/1LwkIAe
Measure and then cut the Melamine wood to size using a circular saw. Use a jig saw if needed to cut hard to reach areas. Cut the sidewalls for the concrete bar mold using a table saw or circular saw. I cut mine to 3 3/4 inches wide. This gave me a nice bold looking concrete top that was a total of 3 inches thick. The extra 3/4 of an inch is to compensate for the base of the mold.
Layout the sidewalls of the mold to make sure everything fits correctly. Attach the sidewalls to the base using 1 1/2 inch drywall screws. Pre-drill prior to inserting the screw.
Use a knife to cut 1 1/2 inch thick foam for the knockout in your mold. It will be slightly smaller than the mold. There is a 1 inch channel around the entire perimeter between the foam and the sidewalls. This will allow concrete to form around the foam and to create a lip. Your concrete counter will look like it is 3 inches thick throughout. However, it will only be 1 1/2 inches thick where the foam is placed. Thus, you’ll reduce the weight of the countertop dramatically and will not have to purchase as much concrete.
The foam I used had a metallic backing. Please note that any foam will work. I bought smaller project sized pieces and then used packing tape to piece them together. I also sealed all the edges of the foam with clear packing tape so the foam would release from the concrete easily.
Cut re-enforcement for the concrete down to size. It typically comes in 4×8 sheets at Home Depot. Seal the joints in your mold with 100% silicon caulk. Use silicon to adhere the foam to the base of the mold as well. Let the silicon dry before adding the concrete.
Mix up your concrete 1 bag at a time. I’d recommend using Quikrete Counter Top mix. If you can’t find countertop mix, Quikrete 5000 will work. The countertop mix consists of finer aggregate and is much easier to create a perfect hard trowel finish with. Mix the concrete with a hoe or a shovel. Add water until it is about a cookie dough type consistency.
Add the concrete to the mold. Use a shovel, bucket, or your hands to pack it into the counter top mold. Use your hands and fingers to pack the concrete into all areas of the mold. Make sure to wear rubber gloves whenever handling concrete. Fill the mold half full with concrete. Then place the re-enforcement in the concrete. Make sure it is as flat as possible. Then continue adding concrete until the mold is full.
Screed the concrete using a 2×4. Simply move the 2×4 in a saw-like motion back and forth. This will level out the concrete. Fill in low spots as needed and screed from one side to another until the concrete in the mold is as level as possible. Use a trowel to smooth the concrete for the first time. If you have a float, you can use it to help bring more “cream” to the surface which helps make the hard troweling process a bit easier.
This is one of the most important steps. I like to compare it to watching the grill so you get a perfect medium rare steak for dinner. Except with this, it takes a lot longer and you don’t get to eat a steak. Anyhow, let the concrete firm up for a few hours and check it every half hour because curing time will depend on temperature, humidity, the amount of water used, and the concrete mix. Use a finger to test the firmness. If it leaves a small dimple and you don’t get any water or concrete on your finger it is ready to remove the sidewalls and trowel.
Slowly remove the sidewalls. If the concrete sags make sure to put the sidewalls back on and to wait longer. Once the sidewalls are off you can smooth out the edges and fill any bugholes with extra concrete…
—-
Looking for more DIY videos? Be sure to check out our channel and subscribe for updates! We post a weekly tutorial every Thursday.
Looking for woodworking, concrete working, and other DIY projects plans to follow? You can download plans for free at http://gumroad.com/DIYPETE
Facebook: http://facebook.com/DiyProjectsWithPete
Instagram: http://instagram.com/diypete
Pete Sveen
1627 W Main Street Suite 182
Bozeman, Montana 59715
 By Jean
from Spain
- 2015.09.29 13:24
By Jean
from Spain
- 2015.09.29 13:24
The sales manager is very patient, we communicated about three days before we decided to cooperate, finally, we are very satisfied with this cooperation!
By Mike
from Malta
- 2015.12.11 11:26