Good User Reputation for melamine tumblers for Lyon Importers
Good User Reputation for melamine tumblers for Lyon Importers Detail:
| Specification | |
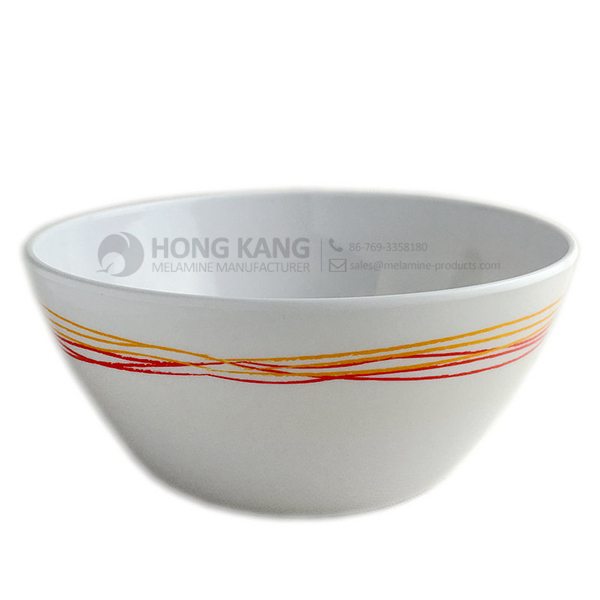
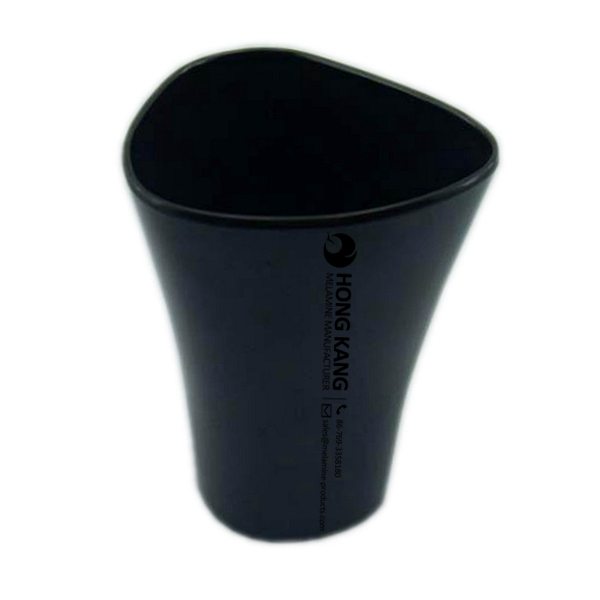
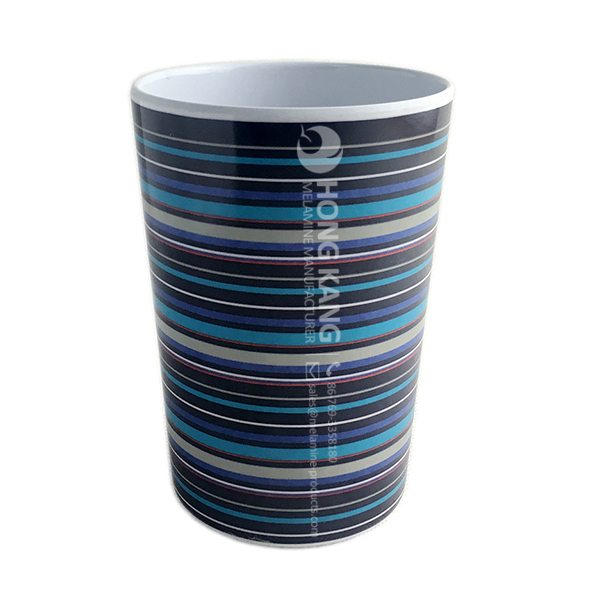
| Item Name | 350ml Melamine Tumblers |
| Item No. | CP091 |
| Shape | Round |
| Body Color | Coloful |
| Decal Color | 4 colors print (if need) |
| Finish | Glossy |
| Style | Fashion |
| Motif Design | Customized |
| Shape Design | OEM/ODM |
| Test Standard | FDA,PROP 65,EN71,LFGB etc. by SGS or ITS |
| Packaging | 6pcs/box,72pcs/carton |
| Dimensions | |
| Length | 7.1 cm |
| Width | 7.1 cm |
| Height | 10.7 cm |
| Capacity | 350 ml |
| Material | |
| Body Material | 100%melamine |
| Decal Material (if need) | 4 colors print (CMYK), or spot color printing, RoHS certificate |
| Imprint (if need) | Seiko ink type 1000 or other type, RoHS certificate |
| Accessories Information | |
| Lid included | No |
| Other | No |
| Weights | |
| Net Weight (kg) | 6.7 |
| Shipping Weight (kg) | 8 |
Product detail pictures:
Related Product Guide:
Benefits of Melamine Dinnerware
The Benefits Of Using Silicone Kitchen Utensils
Our firm sticks to the basic principle of "Quality is the life of your company, and status will be the soul of it" for Good User Reputation for melamine tumblers for Lyon Importers, The product will supply to all over the world, such as: Frankfurt , Mecca , Serbia , We always adhere to follow the honesty, mutual benefit, common development, after years of development and the tireless efforts of all staff, now has perfect export system, diversified logistics solutions, thorough meet customer shipping, air transport, international express and logistics services. Elaborate one-stop sourcing platform for our customers!
FAQ: 1.Q: Where is your factory located? How can I visit there? A: Our factory is located in Guangdong province, China. Warmly welcome to visit us! 2.Q: What is the material of your products? A: The material is melamine. 3.Q: How can I get some samples? A: We can send the samples by Express/DHL/FedEx/UPS etc. 4.Q: How does your company do regarding quality control? A: We have a very strict QC system. Our inspectors have been closely monitoring the production process from the selection of raw materials to the final step of the finished products. 5.Q: Can you print our logo on the product & packing? A: Yes, We can print your logo on our products. 
| * Do Not Touch On Fire Directly | |
|---|---|
| * Do Not Washing By Steelwire Ball | |
| * Non-Microwave Ovens | |
| * Dishwasher Safe |
We just hit 500,000 subscribers! Huge thanks to all of you for supporting our channel! To celebrate we thought we’d share with you our brand new trailer, let us know what you think!
Music:
First Track:
Soroban by Nick Rice
Second Track:
Ay Ay by Otherkin
Click here to buy on iTunes: http://bit.ly/OtherkinAyAy
Click here to stream on Spotify: http://bit.ly/OtherkinSpotify
Otherkin Facebook: http://bit.ly/OtherkinFacebook
Otherkin Twitter: http://bit.ly/OtherkinTwitter
Follow People are Awesome online:
Subscribe: http://bit.ly/PAASubscribe
Submit a Video: http://bit.ly/23-submit-here
Facebook: https://www.facebook.com/peopleareawe…
Instagram: https://instagram.com/AllPeopleAreAwe…
Vine: http://bit.ly/PAAVine
Twitter: http://www.twitter.com/PAAVideos
Reddit: http://www.reddit.com/r/peopleareawesome
VK: http://www.vk.com/PAAVideos
PAA Spotify Playlist: http://bit.ly/PAASpotify
Contact: paa@jukinmedia.com
PEOPLE ARE AWESOME is the number one destination for amazing, original videos and compilations of ordinary people doing extraordinary things. We feature all sorts of different extreme sports and activities other amazing feats, including parkour, skateboarding, tricking, cliff diving, wingsuit flying, skiing, snowboarding, surfing, BMX, acrobatics, calisthenics, cheerleading, freestyle football, basketball dunks, extreme pogo, freerunning, cycling, kayaking, frisbee trick shots, golf, martial arts, BASE jumping and many, many more a host of other action sports! Whether you’re searching in 2015 or any other year, check out our amazing and original action sports videos in HD where we show you why we think people are awesome!
High Quality, High Efficiency, Creative and Integrity, worth having long-term cooperation! Looking forward to the future cooperation!