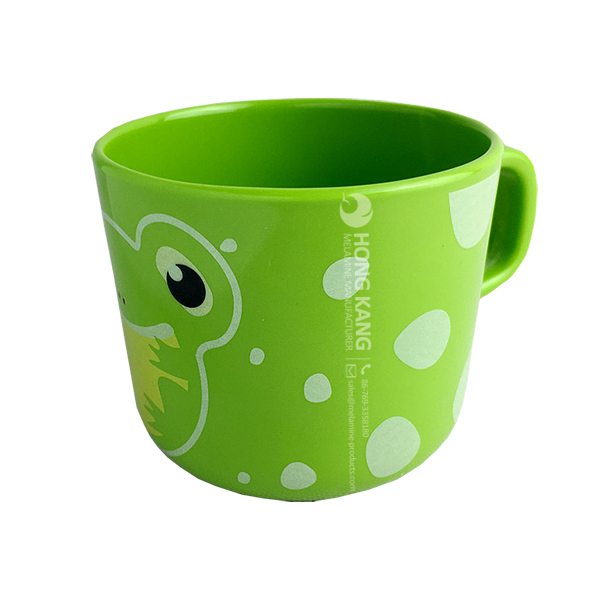
Factory Promotional melamine kids bowl Supply to Brasilia
Factory Promotional melamine kids bowl Supply to Brasilia Detail:
| Specification | |
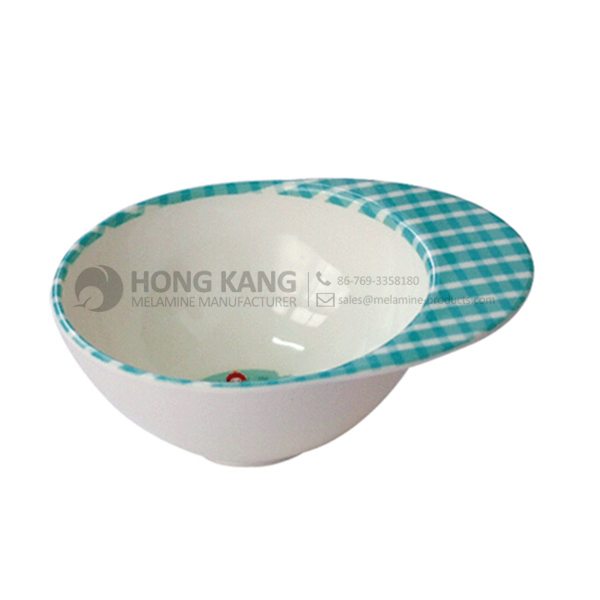
| Item Name | 4.5inch Round Melamine Kids Bowl |
| Item No. | BW293 |
| Shape | Round |
| Body Color | White |
| Decal Color | 4 colors print (if need) |
| Finish | Glossy |
| Style | Fashion |
| Motif Design | Customized |
| Shape Design | OEM/ODM |
| Test Standard | FDA,PROP 65,EN71,LFGB etc. by SGS or ITS |
| Packaging | 12pcs/box,72pcs/carton |
| Dimensions | |
| Length | 11.4 cm |
| Width | 14.1 cm |
| Height | 5.4 cm |
| Capacity | N/A |
| Material | |
| Body Material | 100%melamine |
| Decal Material (if need) | 4 colors print (CMYK), or spot color printing, RoHS certificate |
| Imprint (if need) | Seiko ink type 1000 or other type, RoHS certificate |
| Accessories Information | |
| Lid included | No |
| Other | No |
| Weights | |
| Net Weight (kg) | 6.2 |
| Shipping Weight (kg) | 7.5 |
Product detail pictures:
Related Product Guide:
Affordable Types of Dinnerware Sets
Choosing The Best Dog Bowl and Feeder for Your Dog
We strive for excellence, services the customers", hopes to be the top cooperation team and dominator business for personnel, suppliers and prospects, realizes benefit share and continual promotion for Factory Promotional melamine kids bowl Supply to Brasilia, The product will supply to all over the world, such as: Detroit , Montreal , luzern , Our aim is to help customers realize their goals. We are making great efforts to achieve this win-win situation and sincerely welcome you to join us. In a word, when you choose us, you choose a perfect life. Welcome to visit our factory and welcome your order! For further inquiries, please do not hesitate to contact us.
FAQ: 1.Q: Where is your factory located? How can I visit there? A: Our factory is located in Guangdong province, China. Warmly welcome to visit us! 2.Q: What is the material of your products? A: The material is melamine. 3.Q: How can I get some samples? A: We can send the samples by Express/DHL/FedEx/UPS etc. 4.Q: How does your company do regarding quality control? A: We have a very strict QC system. Our inspectors have been closely monitoring the production process from the selection of raw materials to the final step of the finished products. 5.Q: Can you print our logo on the product & packing? A: Yes, We can print your logo on our products. 
| * Do Not Touch On Fire Directly | |
|---|---|
| * Do Not Washing By Steelwire Ball | |
| * Non-Microwave Ovens | |
| * Dishwasher Safe |
For More Info or to Buy Now: http://www.hsn.com/products/seo/7751246?rdr=1&sourceid=youtube&cm_mmc=Social-_-Youtube-_-ProductVideo-_-423504
Margaritaville Glass Beverage Dispenser with Stand
You’ve cleaned, prepped, cooked, stirred and decorated. Now the last thing you want to do is spend your entire party serving drinks. This…
Prices shown on the previously recorded video may not represent the current price. View hsn.com to view the current selling price. HSN Item #423504
Managers are visionary, they have the idea of "mutual benefits, continuous improvement and innovation", we have a pleasant conversation and Cooperation.