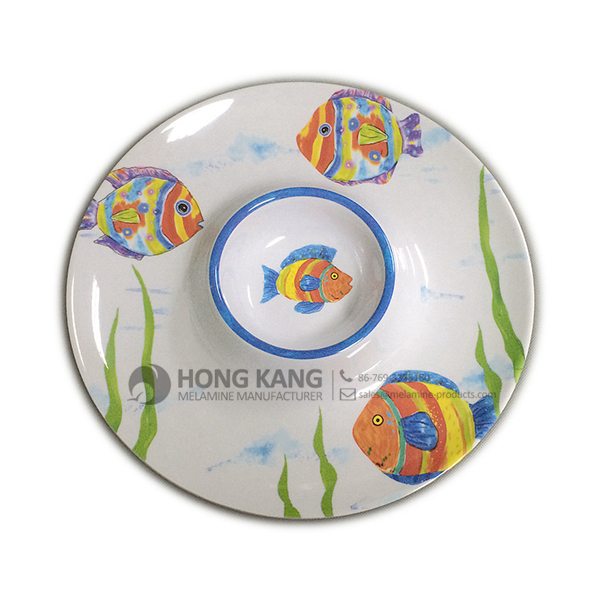
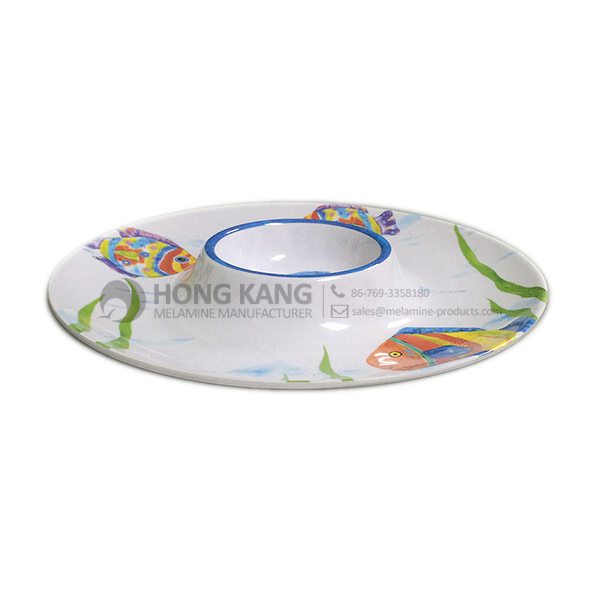
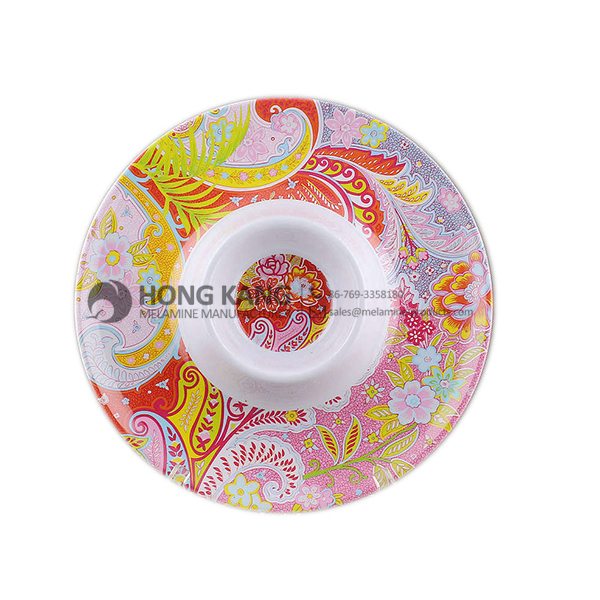
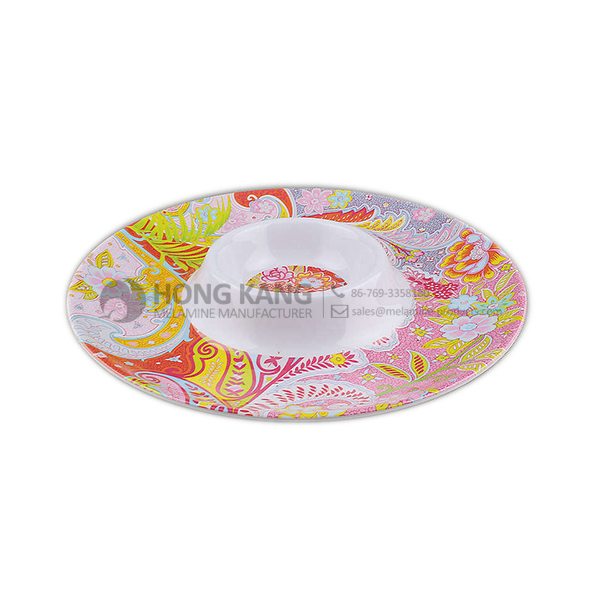
Factory Price For melamine chip and dip plate Export to Honduras
Factory Price For melamine chip and dip plate Export to Honduras Detail:
| Specification | |
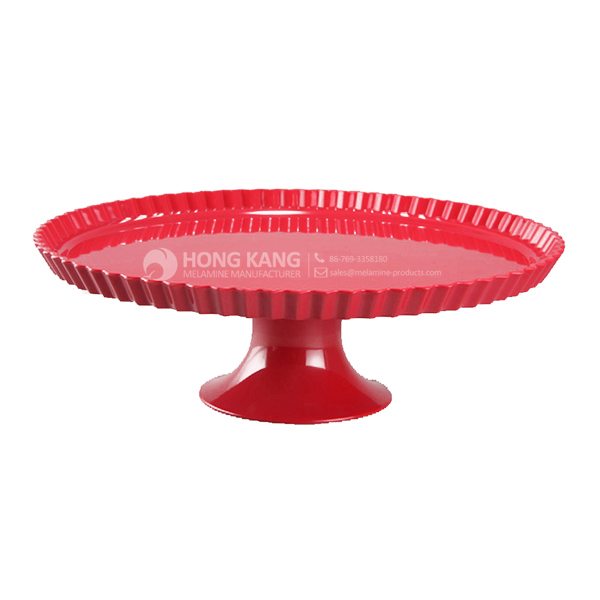
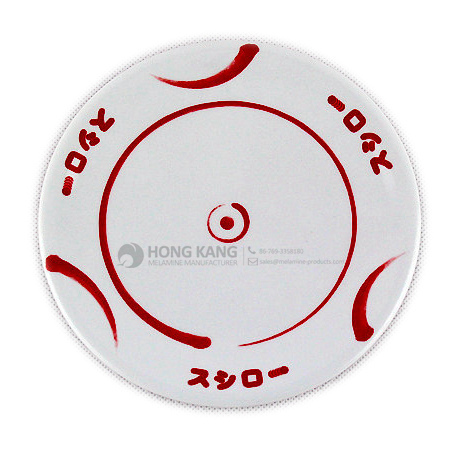
| Item Name | 13inch Round Melamine Chip and Dip Plate |
| Item No. | PT070 |
| Shape | Round |
| Body Color | White |
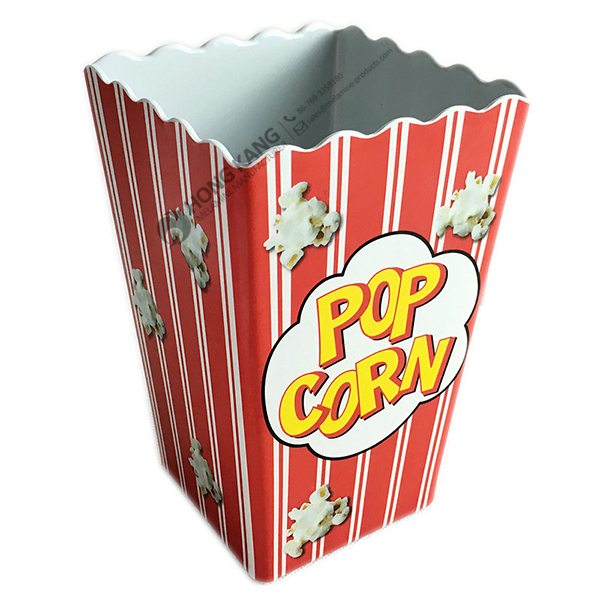
| Decal Color | 4 colors print |
| Finish | Glossy |
| Style | Fashion |
| Motif Design | Customized |
| Shape Design | OEM/ODM |
| Test Standard | FDA,PROP 65,EN71,LFGB etc. by SGS or ITS |
| Packaging | 6pcs/box,24pcs/carton |
| Dimensions | |
| Length | 33 cm |
| Width | 33 cm |
| Height | 2.4 cm |
| Capacity | N/A |
| Material | |
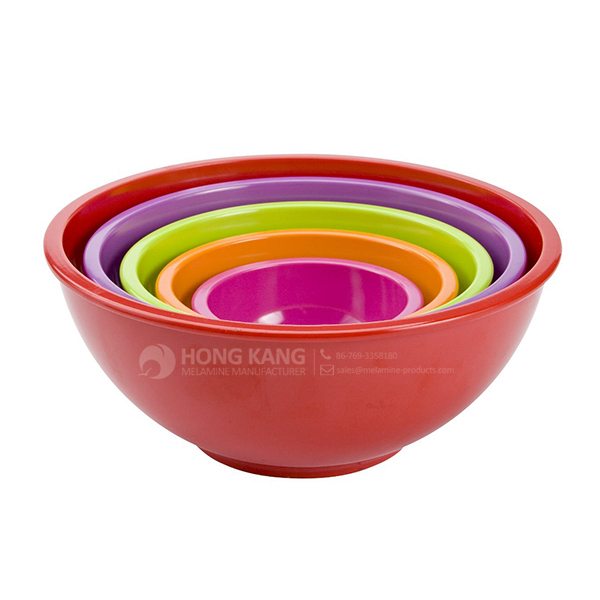
| Body Material | 100%melamine |
| Decal Material (if need) | 4 colors print (CMYK), or spot color printing, RoHS certificate |
| Imprint (if need) | Seiko ink type 1000 or other type, RoHS certificate |
| Accessories Information | |
| Lid included | No |
| Other | No |
| Weights | |
| Net Weight (kg) | 6.5 |
| Shipping Weight (kg) | 7.7 |
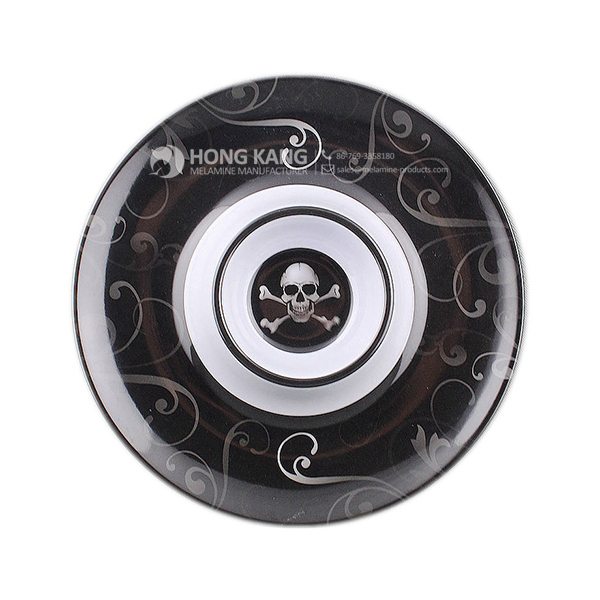
Product detail pictures:
Related Product Guide:
Benefits of Melamine Dinnerware
The Benefits Of Using Silicone Kitchen Utensils
"Control the standard by the details, show the toughness by quality". Our firm has strived to establish a highly efficient and stable workers workforce and explored an effective high-quality management system for Factory Price For melamine chip and dip plate Export to Honduras, The product will supply to all over the world, such as: Philadelphia , Angola , Senegal , We guarantee that our company will try our best to reduce customer purchase cost , shorten the period of purchase , stable products quality , increase customers' satisfaction and achieve win-win situation .
FAQ: 1.Q: Where is your factory located? How can I visit there? A: Our factory is located in Guangdong province, China. Warmly welcome to visit us! 2.Q: What is the material of your products? A: The material is melamine. 3.Q: How can I get some samples? A: We can send the samples by Express/DHL/FedEx/UPS etc. 4.Q: How does your company do regarding quality control? A: We have a very strict QC system. Our inspectors have been closely monitoring the production process from the selection of raw materials to the final step of the finished products. 5.Q: Can you print our logo on the product & packing? A: Yes, We can print your logo on our products. 
| * Do Not Touch On Fire Directly | |
|---|---|
| * Do Not Washing By Steelwire Ball | |
| * Non-Microwave Ovens | |
| * Dishwasher Safe |
Hey all, Just a quick clip on how we prep boards Hope this helps anyone that is new to the art.
Please Sub and give us a thumbs up ![]()
Music: Unison – Translucent [NCS Release]
Download this track for FREE: https://www.hive.co/downloads/download/483259/spotlight/
The factory can meet continuously developing economic and market needs, so that their products are widely recognized and trusted, and that's why we chose this company.