Best Price for melamine round ashtray for Bulgaria Importers
Best Price for melamine round ashtray for Bulgaria Importers Detail:
| Specification | |
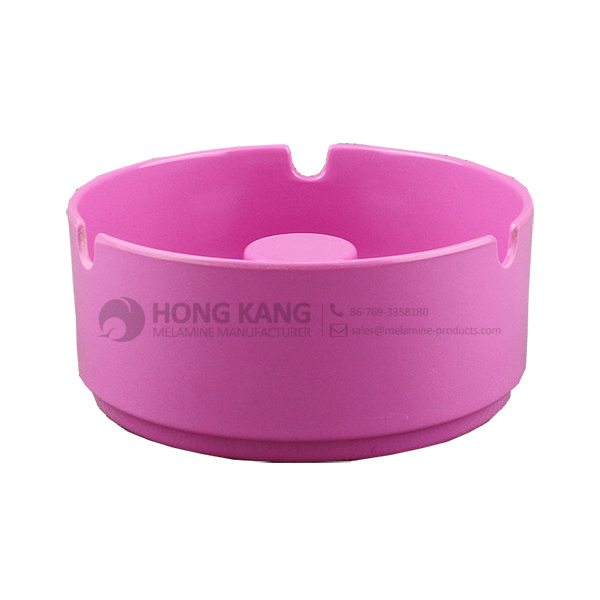
| Item Name | 4inch Round Melamine Two Tone Ashtray |
| Item No. | AT008 |
| Shape | Round |
| Body Color | Red |
| Decal Color | 4 colors print (if need) |
| Finish | Glossy |
| Style | Fashion |
| Motif Design | Customized |
| Shape Design | OEM/ODM |
| Test Standard | FDA,PROP 65,EN71,LFGB etc. by SGS or ITS |
| Packaging | 12pcs/box,72pcs/carton |
| Dimensions | |
| Length | 10 cm |
| Width | 10 cm |
| Height | 4.5 cm |
| Capacity | N/A |
| Material | |
| Body Material | 100%melamine |
| Decal Material (if need) | 4 colors print (CMYK), or spot color printing, RoHS certificate |
| Imprint (if need) | Seiko ink type 1000 or other type, RoHS certificate |
| Accessories Information | |
| Lid included | No |
| Other | No |
| Weights | |
| Net Weight (kg) | 5.8 |
| Shipping Weight (kg) | 6.8 |
Product detail pictures:
Related Product Guide:
The Benefits Of Using Silicone Kitchen Utensils
Benefits of Melamine Dinnerware
We are also focusing on enhancing the things administration and QC program in order that we could keep fantastic advantage within the fiercely-competitive enterprise for Best Price for melamine round ashtray for Bulgaria Importers, The product will supply to all over the world, such as: Spain , Oman , Manila , Our experience makes us important in our customer eyes. Our quality speaks itself the properties like it do not tangle, shed or breakdown, so that are our customers will always be confident while placing an order.
FAQ: 1.Q: Where is your factory located? How can I visit there? A: Our factory is located in Guangdong province, China. Warmly welcome to visit us! 2.Q: What is the material of your products? A: The material is melamine. 3.Q: How can I get some samples? A: We can send the samples by Express/DHL/FedEx/UPS etc. 4.Q: How does your company do regarding quality control? A: We have a very strict QC system. Our inspectors have been closely monitoring the production process from the selection of raw materials to the final step of the finished products. 5.Q: Can you print our logo on the product & packing? A: Yes, We can print your logo on our products. 
| * Do Not Touch On Fire Directly | |
|---|---|
| * Do Not Washing By Steelwire Ball | |
| * Non-Microwave Ovens | |
| * Dishwasher Safe |
Tea Stirring Spoon http://bit.ly/Latte_Spoons_Discount
Similar videos:
Every kitchen, whether big or small, should be equipped with a set of these Long Handle tea stirring spoon by Gouda Select!
With a lightweight design and a 7.2″ long handle, these cocktail spoons are bound to take the difficulty out of stirring lattes, smoothies, fruit cocktails, baby formula, ice cafe, your milkshake, desert, etc. These decorative long handle spoons are made out of a premium quality melamine material which is BPA-FREE, DISHWASHER-SAFE & EXTREMELY DURABLE. Since they can withstand temperatures from a chilly -20 to 110+ degrees Fahrenheit, these long spoons can be used on a wide range of HOT or COLD beverages.
Each package includes SIX long spoons (2 blue, 2 green and 2 pink). We recommend yo keep a couple around the kitchen, take a few to the office or perhaps even pack one in your child’s lunchbox when needed. The possibilities are virtually endless with these unique long stirring spoons!
- SIX Long Latte Spoons
- 2 blue, 2 green, 2 pink
- Extended 7.2″ Length
- Lightweight & Compact
- Strong & Durable
- Dishwasher-Safe
Well, what are you waiting for?
It’s time to add a set of these retro vintage melamine spoons to your collection of kitchen essentials.
Please subscribe to our channel
The customer service staff's attitude is very sincere and the reply is timely and very detailed, this is very helpful for our deal,thank you.