12 Years Manufacturer melamine ice cream spoon for Somalia Manufacturer
12 Years Manufacturer melamine ice cream spoon for Somalia Manufacturer Detail:
| Specification | |
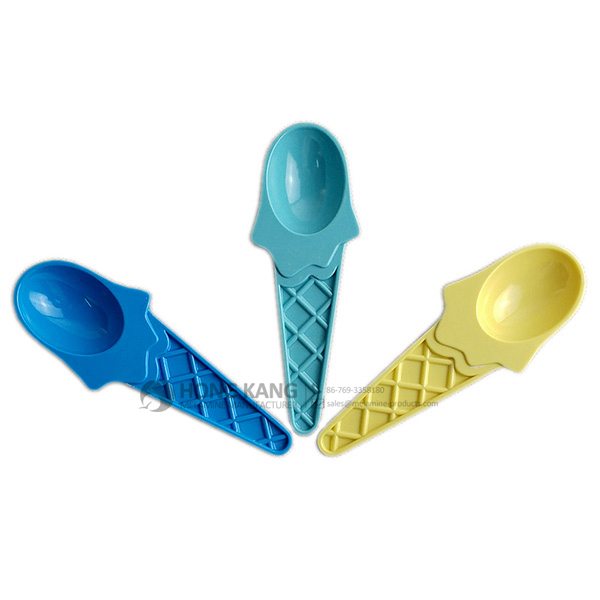
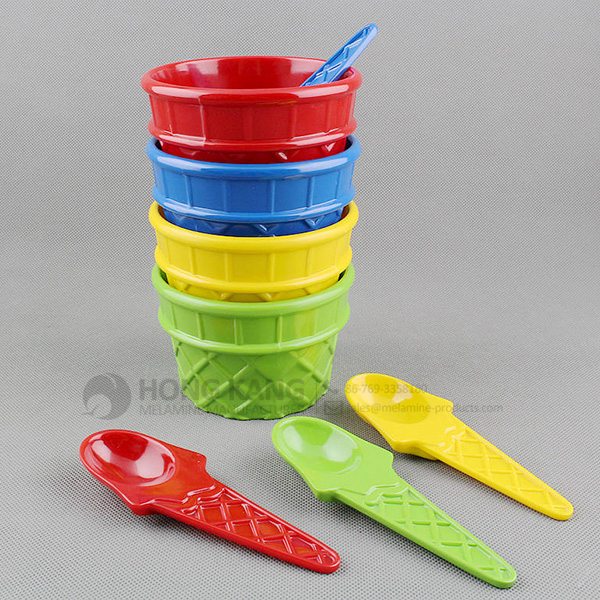
| Item Name | Melamine Ice Cream Spoon |
| Item No. | FW045 |
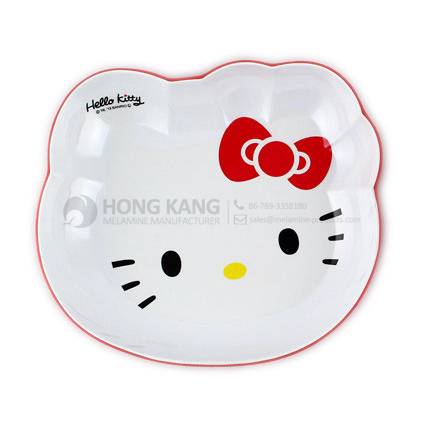
| Shape | Ice Cream |
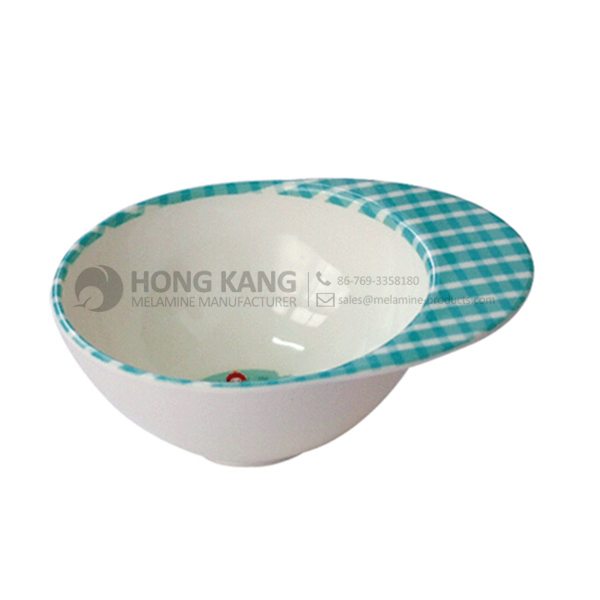
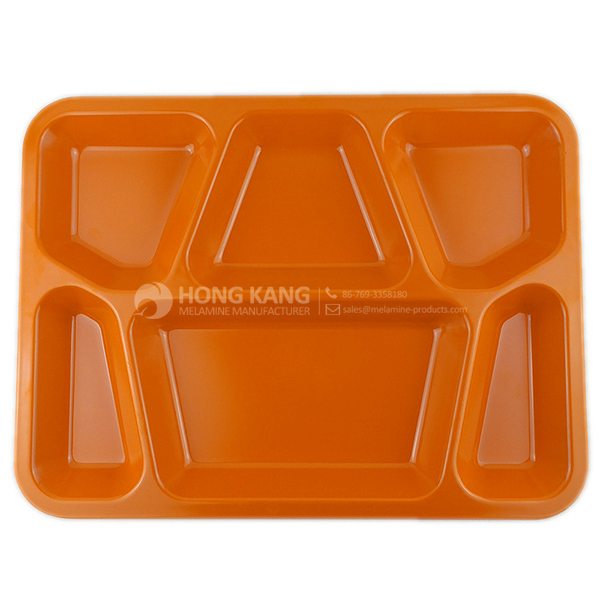
| Body Color | Colorful |
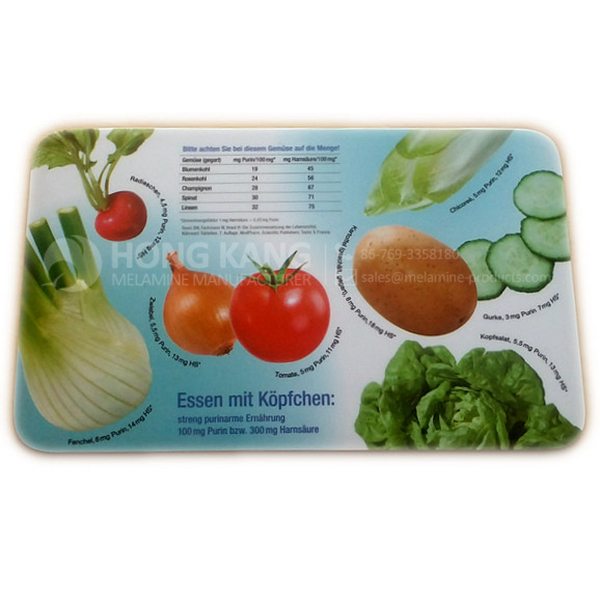
| Decal Color | 4 colors print (if need) |
| Finish | Glossy |
| Style | Fashion |
| Motif Design | Customized |
| Shape Design | OEM/ODM |
| Test Standard | FDA,PROP 65,EN71,LFGB etc. by SGS or ITS |
| Packaging | 24pcs/box,288pcs/carton |
| Dimensions | |
| Length | 12 cm |
| Width | 4.2 cm |
| Height | N/A |
| Capacity | N/A |
| Material | |
| Body Material | 100%melamine |
| Decal Material (if need) | 4 colors print (CMYK), or spot color printing, RoHS certificate |
| Imprint (if need) | Seiko ink type 1000 or other type, RoHS certificate |
| Accessories Information | |
| Lid included | No |
| Other | No |
| Weights | |
| Net Weight (kg) | 5.8 |
| Shipping Weight (kg) | 6.8 |
Product detail pictures:
Related Product Guide:
Choosing The Best Dog Bowl and Feeder for Your Dog
Benefits of Melamine Dinnerware
"Quality initially, Honesty as base, Sincere company and mutual profit" is our idea, in order to create repeatedly and pursue the excellence for 12 Years Manufacturer melamine ice cream spoon for Somalia Manufacturer, The product will supply to all over the world, such as: Kenya , Thailand , luzern , Our professional engineering group will always be ready to serve you for consultation and feedback. We're able to also offer you with absolutely free samples to meet your requirements. Finest efforts will likely be produced to offer you the ideal service and goods. For anyone who is thinking about our company and merchandise, be sure to contact us by sending us emails or contact us quickly. As a way to know our merchandise and firm. lot more, you can come to our factory to find out it. We'll always welcome guests from all over the world to our business to build company relations with us. Be sure to feel free to get in touch with us for business and we believe we've been intending to share the top trading practical experience with all our merchants.
FAQ: 1.Q: Where is your factory located? How can I visit there? A: Our factory is located in Guangdong province, China. Warmly welcome to visit us! 2.Q: What is the material of your products? A: The material is melamine. 3.Q: How can I get some samples? A: We can send the samples by Express/DHL/FedEx/UPS etc. 4.Q: How does your company do regarding quality control? A: We have a very strict QC system. Our inspectors have been closely monitoring the production process from the selection of raw materials to the final step of the finished products. 5.Q: Can you print our logo on the product & packing? A: Yes, We can print your logo on our products. 
| * Do Not Touch On Fire Directly | |
|---|---|
| * Do Not Washing By Steelwire Ball | |
| * Non-Microwave Ovens | |
| * Dishwasher Safe |
For this Brite Makeover you will need: – Pencil / marker – Plate – Glitter Share your Brite Makeover ideas with us here: www.facebook.com/ScotchBriteIndia.
It's really lucky to find such a professional and responsible manufacturer, the product quality is good and delivery is timely, very nice.