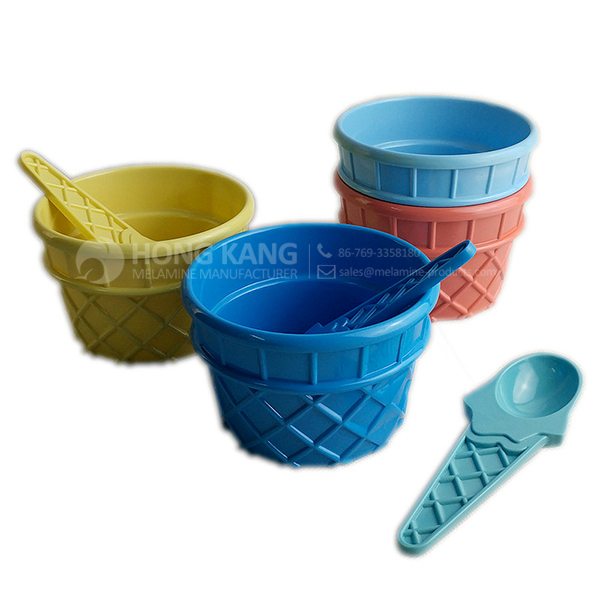
Wholesale Dealers of melamine ice cream bowls to Maldives Factory
Wholesale Dealers of melamine ice cream bowls to Maldives Factory Detail:
| Specification | |
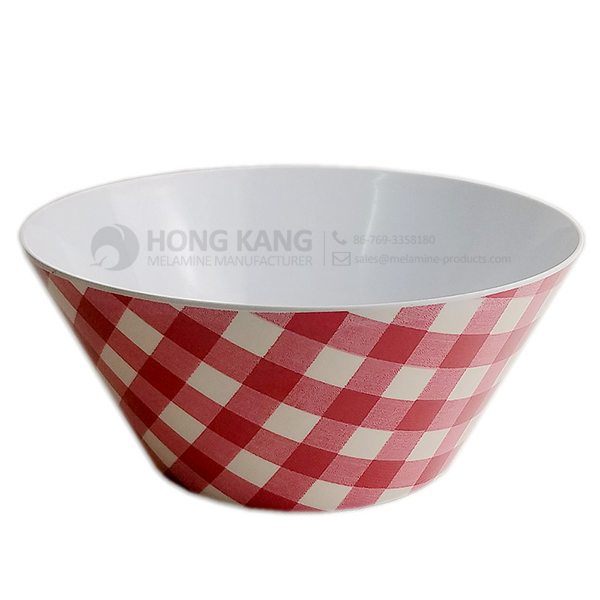
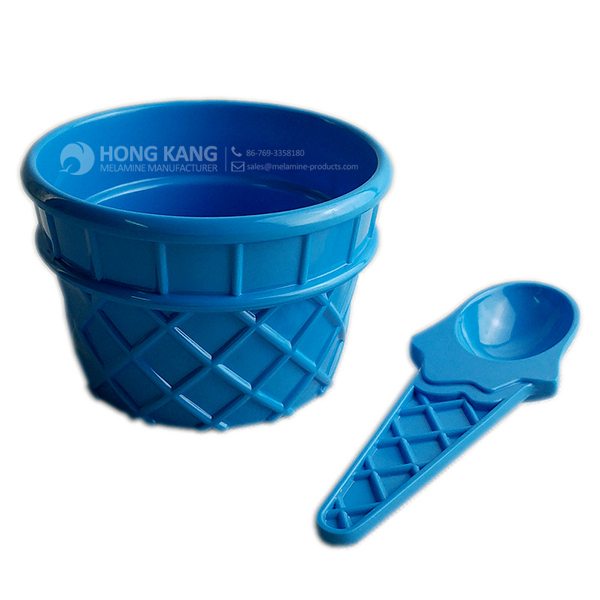
| Item Name | 4inch Round Melamine Ice cream bowl |
| Item No. | BW207 |
| Shape | Round |
| Body Color | Colorful |
| Decal Color | 4 colors print (if need) |
| Finish | Glossy |
| Style | Fashion |
| Motif Design | Customized |
| Shape Design | OEM/ODM |
| Test Standard | FDA,PROP 65,EN71,LFGB etc. by SGS or ITS |
| Packaging | 12pcs/box,72pcs/carton |
| Dimensions | |
| Length | 10 cm |
| Width | 10 cm |
| Height | 6.5 cm |
| Capacity | N/A |
| Material | |
| Body Material | 100%melamine |
| Decal Material (if need) | 4 colors print (CMYK), or spot color printing, RoHS certificate |
| Imprint (if need) | Seiko ink type 1000 or other type, RoHS certificate |
| Accessories Information | |
| Lid included | No |
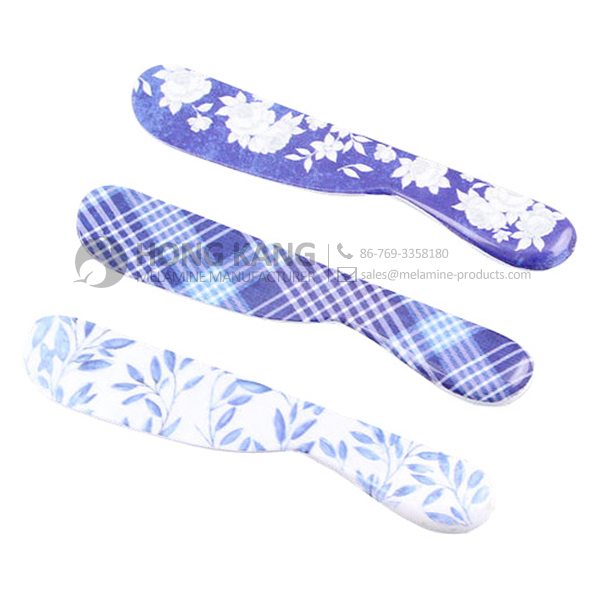
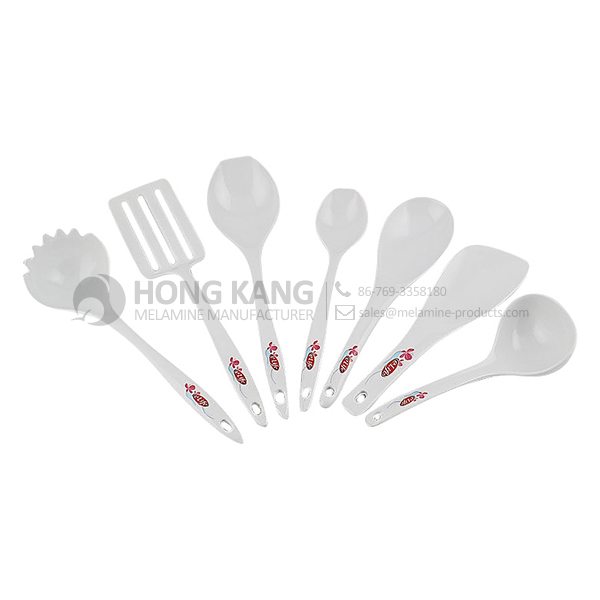
| Other | Melamine Ice Cream Spoon |
| Weights | |
| Net Weight (kg) | 5.3 |
| Shipping Weight (kg) | 6.5 |
Product detail pictures:
Related Product Guide:
The Benefits Of Using Silicone Kitchen Utensils
Benefits of Melamine Dinnerware
We generally continually give you quite possibly the most conscientious shopper company, and the widest variety of designs and styles with finest materials. These endeavours include the availability of customized designs with speed and dispatch for Wholesale Dealers of melamine ice cream bowls to Maldives Factory, The product will supply to all over the world, such as: Swaziland , Guatemala , Kyrgyzstan , Our items are widely recognized and trusted by users and can meet continuously developing economic and social needs. We welcome new and old customers from all walks of life to contact us for future business relationships and achieving mutual success!
FAQ: 1.Q: Where is your factory located? How can I visit there? A: Our factory is located in Guangdong province, China. Warmly welcome to visit us! 2.Q: What is the material of your products? A: The material is melamine. 3.Q: How can I get some samples? A: We can send the samples by Express/DHL/FedEx/UPS etc. 4.Q: How does your company do regarding quality control? A: We have a very strict QC system. Our inspectors have been closely monitoring the production process from the selection of raw materials to the final step of the finished products. 5.Q: Can you print our logo on the product & packing? A: Yes, We can print your logo on our products. 
| * Do Not Touch On Fire Directly | |
|---|---|
| * Do Not Washing By Steelwire Ball | |
| * Non-Microwave Ovens | |
| * Dishwasher Safe |
(http://www.laterrinedirect.com) Manhattan Bridal NYC specialist, Caroline Baroody, presents the newest collection of dinnerware at la Terrine. The Tina Frey collection is inspired by organic forms in nature and have a wide range of colors perfect for your wedding registry search and the upcoming spring and summer seasons!
Tina Frey, just in at la Terrine, is a fun new line of home accessories all made from resin. The company which was founded in San Francisco, by Tina, started so that she could have an outlet for all of her creative interests. The shapes are inspired by organic forms in nature and objects found in world travels and the wide range of colors of all the products are inspired by hughes of delicious translucent popsicles, candies, and jelly beans or can also be reminiscent of rich finishes that resembles stones. When each item is designed, its handmade molds are created for each object the molds are then used to caste each item individually and after removed from the mold, they’re all hand painted. There can be slight color variations between batches which contributes to the beauty and uniqueness of each piece. The line includes various serving bowls, trays, vases, napkin rings, coasters and many other items that are great for entertaining and decorating your home. All pieces are food safe and lead free and caring for the products is quite easy. All of the pieces are dishwasher safe, being made from resin they can become frosty with use overtime so simply rub a drop of vegetable oil on the surface to restore its luster. Come by either of our stores to see the newest collection of Tina Frey for spring and summer.
This supplier stick to the principle of "Quality first, Honesty as base", it is absolutely to be trust.