Renewable Design for melamine tumblers to Sri Lanka Factory
Renewable Design for melamine tumblers to Sri Lanka Factory Detail:
| Specification | |
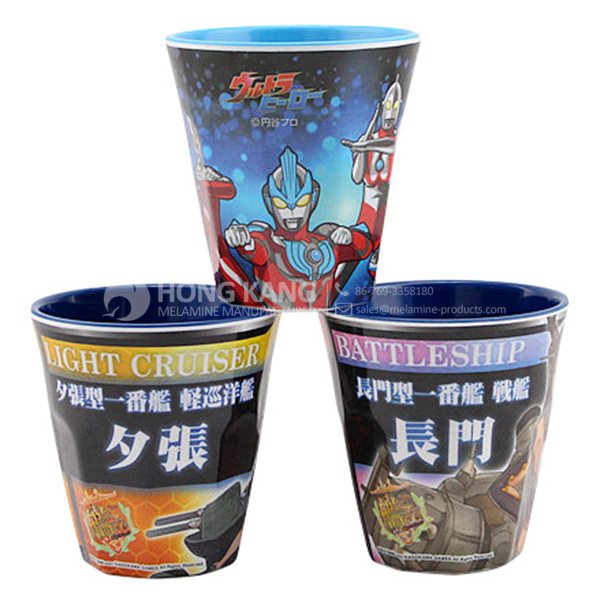
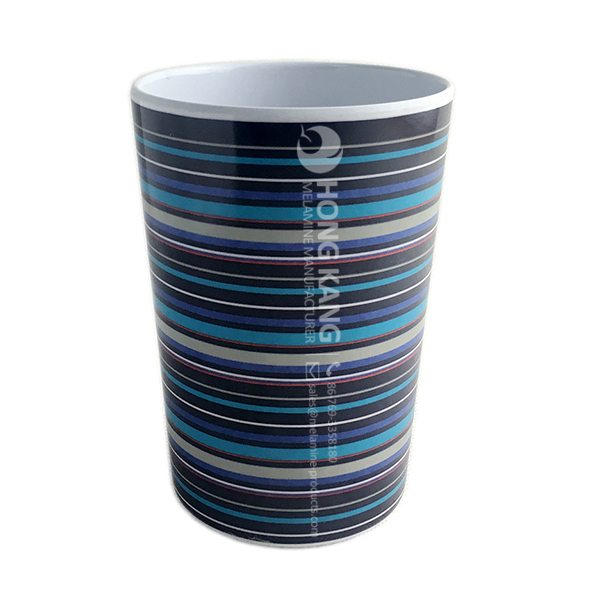
| Item Name | 350ml Melamine Tumblers |
| Item No. | CP091 |
| Shape | Round |
| Body Color | Coloful |
| Decal Color | 4 colors print (if need) |
| Finish | Glossy |
| Style | Fashion |
| Motif Design | Customized |
| Shape Design | OEM/ODM |
| Test Standard | FDA,PROP 65,EN71,LFGB etc. by SGS or ITS |
| Packaging | 6pcs/box,72pcs/carton |
| Dimensions | |
| Length | 7.1 cm |
| Width | 7.1 cm |
| Height | 10.7 cm |
| Capacity | 350 ml |
| Material | |
| Body Material | 100%melamine |
| Decal Material (if need) | 4 colors print (CMYK), or spot color printing, RoHS certificate |
| Imprint (if need) | Seiko ink type 1000 or other type, RoHS certificate |
| Accessories Information | |
| Lid included | No |
| Other | No |
| Weights | |
| Net Weight (kg) | 6.7 |
| Shipping Weight (kg) | 8 |
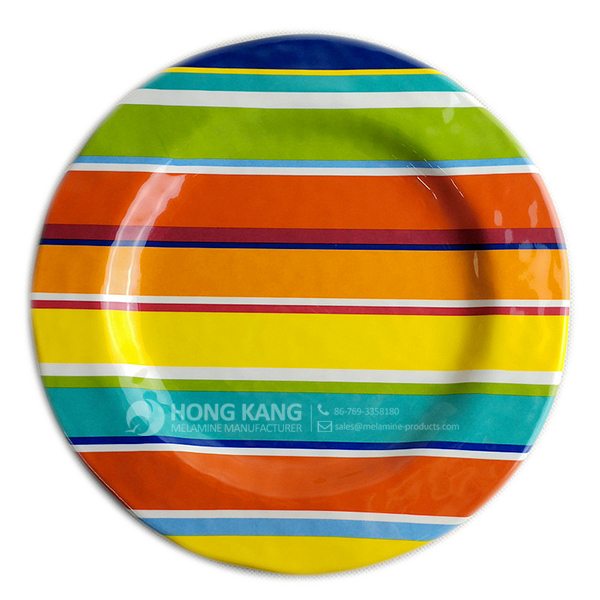
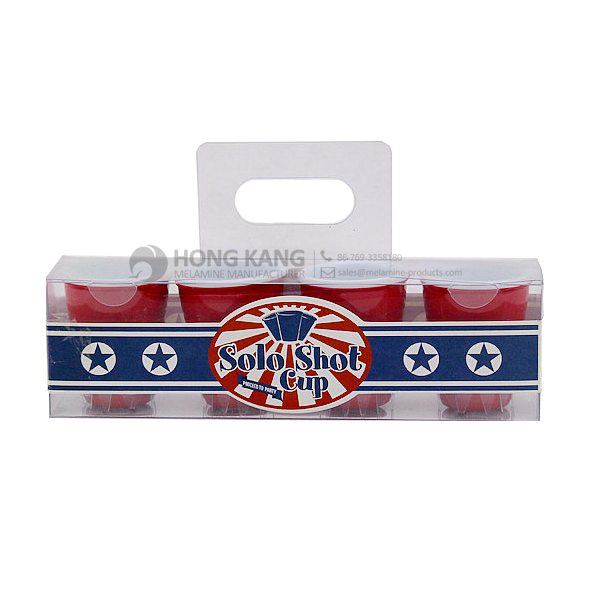
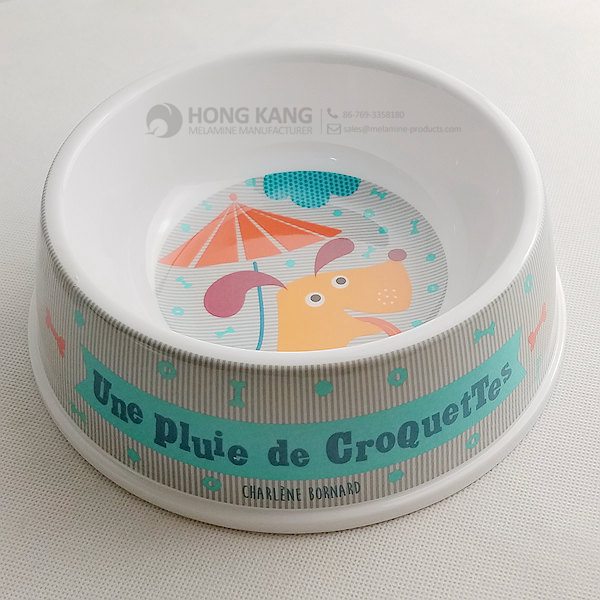
Product detail pictures:
Related Product Guide:
Top Ten Power Toothbrushes
Benefits of Melamine Dinnerware
Persisting in "High top quality, Prompt Delivery, Aggressive Price", now we have established long-term cooperation with customers from the two overseas and domestically and get new and aged clients' large comments for Renewable Design for melamine tumblers to Sri Lanka Factory, The product will supply to all over the world, such as: Italy , Zurich , Anguilla , Really should any of these items be of interest to you, please let us know. We will be pleased to give you a quotation upon receipt of one's detailed specifications. We've our personal specialist R&D enginners to meet any of the requriements, We look forward to receiving your enquires soon and hope to have the chance to work together with you inside the future. Welcome to take a look at our organization.
FAQ: 1.Q: Where is your factory located? How can I visit there? A: Our factory is located in Guangdong province, China. Warmly welcome to visit us! 2.Q: What is the material of your products? A: The material is melamine. 3.Q: How can I get some samples? A: We can send the samples by Express/DHL/FedEx/UPS etc. 4.Q: How does your company do regarding quality control? A: We have a very strict QC system. Our inspectors have been closely monitoring the production process from the selection of raw materials to the final step of the finished products. 5.Q: Can you print our logo on the product & packing? A: Yes, We can print your logo on our products. 
| * Do Not Touch On Fire Directly | |
|---|---|
| * Do Not Washing By Steelwire Ball | |
| * Non-Microwave Ovens | |
| * Dishwasher Safe |
Justin shows the quickest way to Install Formica Countertop End Caps.
http://infinityseo.net/zz_no_geo_files/redirect-cabinets.html – If you need quality custom cabinets or cabinet doors for your kitchen, bathroom, or garage cabinets, you have come to the right place. We service ALL of Customers as if they were our only Customer. Contact us and see why we value our Customers so much!!
http://infinityseo.net/zz_no_geo_files/redirect-cabinets.html
Cabinet Doors And Drawer Fronts, Cabinet Doors And Drawers, Cabinet Doors And Drawers Fronts, Cabinet Doors Canada, Cabinet Doors Custom, Cabinet Doors Depot, Cabinet Doors Design, Cabinet Doors Diy, Cabinet Doors Drawers, Cabinet Doors For Kitchen, Cabinet Doors For Refacing, Cabinet Doors For Sale, Cabinet Doors Glass, Cabinet Doors Kitchen, Cabinet Doors Menards, Cabinet Doors Online, Cabinet Doors Only, Cabinet Doors Refacing, Cabinet Doors Replacement, Cabinet Doors Unfinished, Cabinet Doors Wood, Cabinet Drawer, Cabinet Drawer Fronts, Cabinet Drawers, Cabinet Drawers And Doors, Cabinet Faces, Cabinet For Bathroom, Cabinet For Kitchen, Cabinet Fronts, Cabinet Fronts And Doors, Cabinet Giant, Cabinet Kitchen, Cabinet Kitchen Doors, Cabinet Liquidators, Cabinet Makers, Cabinet Manufacturers, Cabinet Materials, Cabinet Online, Cabinet Outlet, Cabinet Prices, Cabinet Refacing, Cabinet Refacing Cost, Cabinet Refacing Costs, Cabinet Refacing Doors, Cabinet Refacing Materials, Cabinet Refacing Supplies, Cabinet Refinishing, Cabinet Replacement Doors, Cabinet Resurfacing, Cabinet Shop, Cabinet Storage, Cabinet Store, Cabinet Stores, Cabinet Styles, Cabinet Supplies, Cabinet To Go, Cabinet Warehouse, Cabinet Wholesalers, Cabinet Wood, Cabinet Wood Doors, Cabinetry, Cabinets, Cabinets And Doors, Cabinets And More, Cabinets Bathroom, Cabinets Cheap, Cabinets Design, Cabinets Direct, Cabinets Direct Rta, Cabinets Door, Cabinets Doors, Cabinets Doors And Drawers, Cabinets Doors Online, Cabinets For Bathroom, Cabinets For Kitchen, Cabinets For Less, Cabinets For Sale, Cabinets Hardware, Cabinets Kitchen, Cabinets Online, Cabinets Refacing, Cabinets Rta, Cabinets To Go Locations, Cabinets To Go Review, Cabinets To Go Reviews, Cabinets Wholesale, Cabinets With Drawers, Cabnets, Cardell Cabinets, Caron Cabinet Doors, Casual Kitchen Cabinets, Changing Kitchen Cabinet Doors, Cheap Bathroom Cabinets, Cheap Cabinet Doors, Cheap Cabinets, Cheap Kitchen Cabinet Doors, Cheap Kitchen Cabinets, Cheap Kitchen Cabinets Online, Cheap Kitchen Doors, Cheap Kitchens, Cheap Rta Cabinets, Cheap Rta Cabinets Online, Cheap Rta Kitchen Cabinets, Cheap Vanities, Cheapest Kitchen Cabinets, Cherry Cabinet Doors, Cherry Cabinets, Cherry Kitchen Cabinets, Cherry Wood Cabinets, Cherry Wood Kitchen Cabinets, China Cabinet, China Cabinets, China Kitchen Cabinets, Chinese Kitchen Cabinets, Cimino Cabinet Doors, Clearance Bathroom Vanities, Clearance Kitchen Cabinets, Closeout Cabinets, Conestoga Cabinets, Contemporary Bathroom Cabinets, Contemporary Kitchen Cabinet Doors, Contemporary Kitchen Cabinets, Corner Cabinet, Corner Cabinets, Corner Kitchen Cabinet, Corner Kitchen Cabinets, Cost Of Kitchen Cabinets, Cottage Style Kitchen Cabinets, Country Bathroom Vanities, Country Kitchen Cabinets, Craftsman Kitchen Cabinets, Cupboard Doors, Curved Cabinet Doors, Custom Bathroom Cabinets, Custom Bathroom Vanities, Custom Cabinet, Custom Cabinet Door, Custom Cabinet Doors And Drawers, Custom Cabinet Doors Online, Custom Cabinet Doors Unfinished, Custom Cabinetry, Custom Cabinets, Custom Cabinets Doors, Custom Cabinets Online, Custom Cupboards, Custom Kitchen Cabinet, Custom Kitchen Cabinet Doors, Custom Kitchen Cabinets, Custom Kitchen Cabinets Online, Custom Kitchens, Custom Made Cabinet Doors, Custom Made Cabinets, Custom Made Kitchen Cabinets, Custom Rta Cabinets, Custom Unfinished Cabinet Doors, Custom Vanities, Custom Vanity Cabinets, Custom Wood Cabinet Doors, Decor Cabinet Doors, Decorative Cabinets, Deerfield Assembled Cabinets, Design Cabinet, Design Cabinets, Design Kitchen Cabinets, Discontinued Kitchen Cabinets, Discount Bathroom Cabinets, Discount Cabinet Doors, Discount Cabinets, Discount Cabinets Online, Discount Kitchen Cabinet Doors, Discount Kitchen Cabinets
Alabama, Alaska, Arizona, Arkansas, California, Colorado, Connecticut, Delaware, District Of Columbia, Florida, Georgia, Hawaii, Idaho, Illinois, Indiana, Iowa, Kansas, Kentucky, Louisiana, Maine, Maryland, Massachusetts, Michigan, Minnesota, Mississippi, Missouri, Montana, Nebraska, Nevada, New Hampshire, New Jersey, New Mexico, New York, North Carolina, North Dakota, Ohio, Oklahoma, Oregon, Pennsylvania, Rhode Island, South Carolina, South Dakota, Tennessee, Texas, Utah, Vermont, Virginia, Washington, West Virginia, Wisconsin, Wyoming
Timely delivery, strict implementation of the contract provisions of the goods, encountered special circumstances, but also actively cooperate, a trustworthy company!