Reliable Supplier melamine waste bin for Denver Factories
Reliable Supplier melamine waste bin for Denver Factories Detail:
| Specification | |
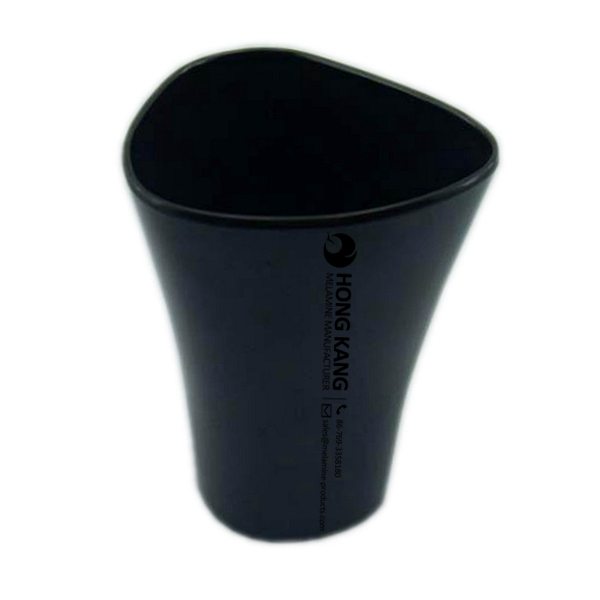
| Item Name | Fashion Melamine Waste Bin |
| Item No. | CP104 |
| Shape | Triangle |
| Body Color | Black |
| Decal Color | 4 colors print (if need) |
| Finish | Glossy |
| Style | Fashion |
| Motif Design | Customized |
| Shape Design | OEM/ODM |
| Test Standard | FDA,PROP 65,EN71,LFGB etc. by SGS or ITS |
| Packaging | 3pcs/box,12pcs/carton |
| Dimensions | |
| Length | 20 cm |
| Width | 20 cm |
| Height | 27 cm |
| Capacity | N/A |
| Material | |
| Body Material | 100%melamine |
| Decal Material (if need) | 4 colors print (CMYK), or spot color printing, RoHS certificate |
| Imprint (if need) | Seiko ink type 1000 or other type, RoHS certificate |
| Accessories Information | |
| Lid included | No |
| Other | No |
| Weights | |
| Net Weight (kg) | 8.1 |
| Shipping Weight (kg) | 9.6 |
Product detail pictures:
Related Product Guide:
Benefits of Melamine Dinnerware
The Benefits Of Using Silicone Kitchen Utensils
It truly is our responsibility to fulfill your requirements and successfully provide you. Your fulfillment is our best reward. We're seeking forward in your check out for joint development for Reliable Supplier melamine waste bin for Denver Factories, The product will supply to all over the world, such as: Barcelona , Portland , Juventus , Please feel cost-free to send us your specifications and we'll respond to you asap. We've got a professional engineering team to serve for the every single detailed needs. Free samples may be sent for you personally to know far more facts. So that you can meet your desires, please really feel cost-free to contact us. You could send us emails and call us straight. Additionally, we welcome visits to our factory from all over the world for much better recognizing of our corporation. nd merchandise. In our trade with merchants of several countries, we often adhere to the principle of equality and mutual advantage. It is our hope to market, by joint efforts, both trade and friendship to our mutual benefit. We look forward to getting your inquiries.
FAQ: 1.Q: Where is your factory located? How can I visit there? A: Our factory is located in Guangdong province, China. Warmly welcome to visit us! 2.Q: What is the material of your products? A: The material is melamine. 3.Q: How can I get some samples? A: We can send the samples by Express/DHL/FedEx/UPS etc. 4.Q: How does your company do regarding quality control? A: We have a very strict QC system. Our inspectors have been closely monitoring the production process from the selection of raw materials to the final step of the finished products. 5.Q: Can you print our logo on the product & packing? A: Yes, We can print your logo on our products. 
| * Do Not Touch On Fire Directly | |
|---|---|
| * Do Not Washing By Steelwire Ball | |
| * Non-Microwave Ovens | |
| * Dishwasher Safe |
really cute design, there are multiple color for choice. Decorate your home with these candle holders. New arrival in 2015
In China, we have purchased many times, this time is the most successful and most satisfactory, a sincere and realiable Chinese manufacturer!