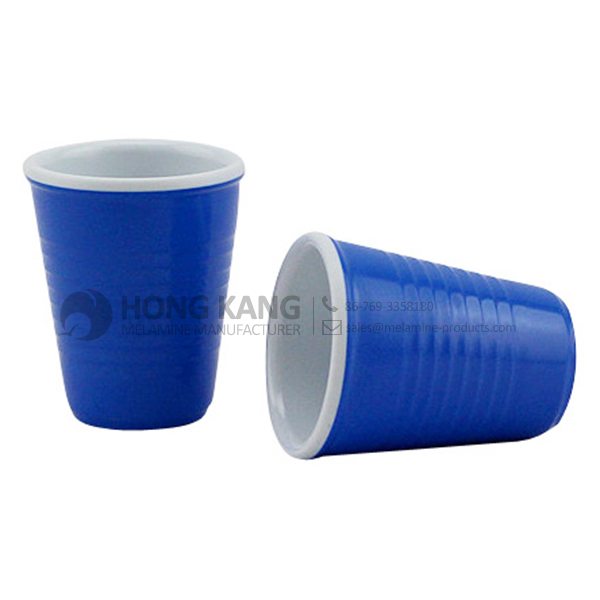
Manufactur standard melamine shot glasses to Singapore Importers
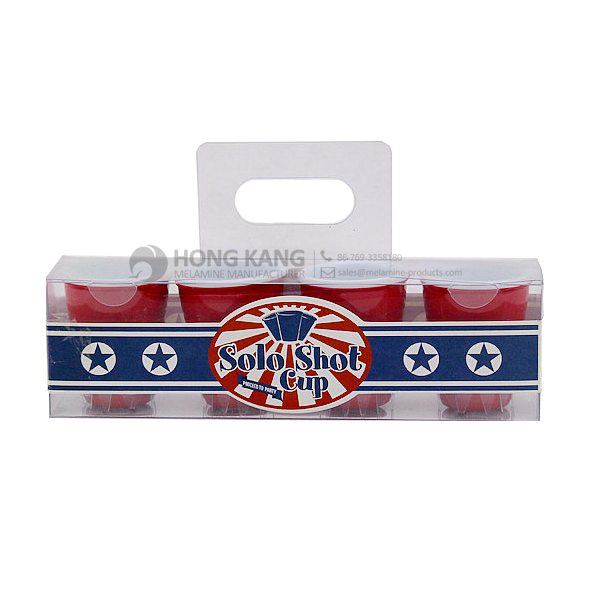
Manufactur standard melamine shot glasses to Singapore Importers Detail:
| Specification | |
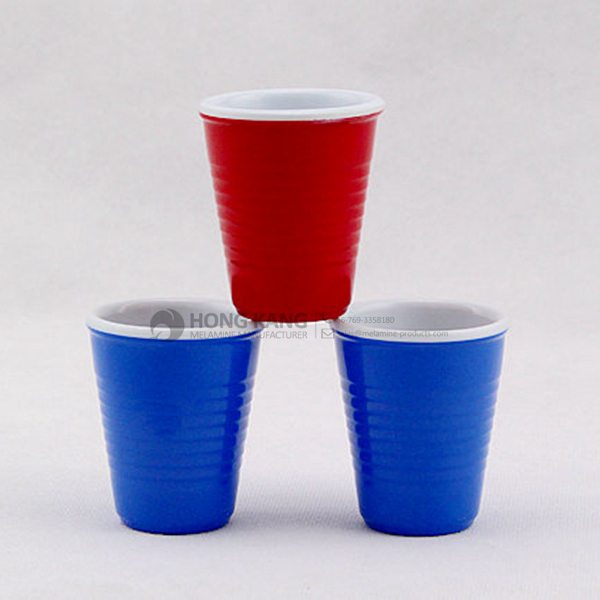
| Item Name | 2oz Melamine Solo Shot Glasses |
| Item No. | CP009 |
| Shape | Round |
| Body Color | Coloful |
| Decal Color | 4 colors print (if need) |
| Finish | Glossy |
| Style | Fashion |
| Motif Design | Customized |
| Shape Design | OEM/ODM |
| Test Standard | FDA,PROP 65,EN71,LFGB etc. by SGS or ITS |
| Packaging | 20pcs/box,160pcs/carton |
| Dimensions | |
| Length | 4.8 cm |
| Width | 4.8 cm |
| Height | 5.6 cm |
| Capacity | 150 ml |
| Material | |
| Body Material | 100%melamine |
| Decal Material (if need) | 4 colors print (CMYK), or spot color printing, RoHS certificate |
| Imprint (if need) | Seiko ink type 1000 or other type, RoHS certificate |
| Accessories Information | |
| Lid included | No |
| Other | No |
| Weights | |
| Net Weight (kg) | 6 |
| Shipping Weight (kg) | 7.3 |
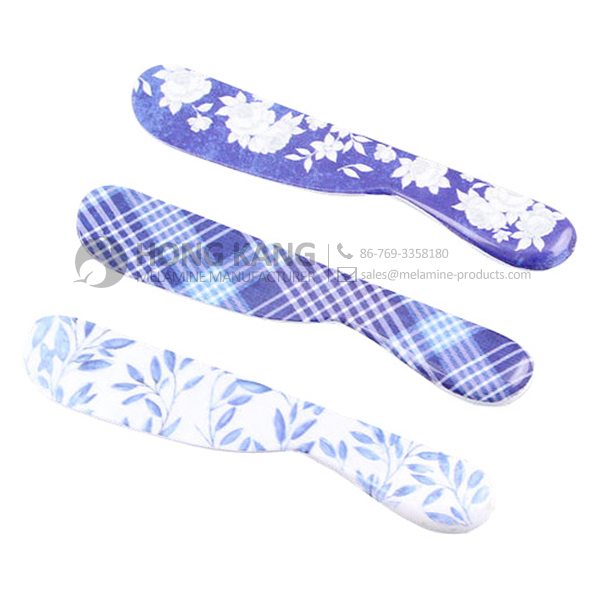
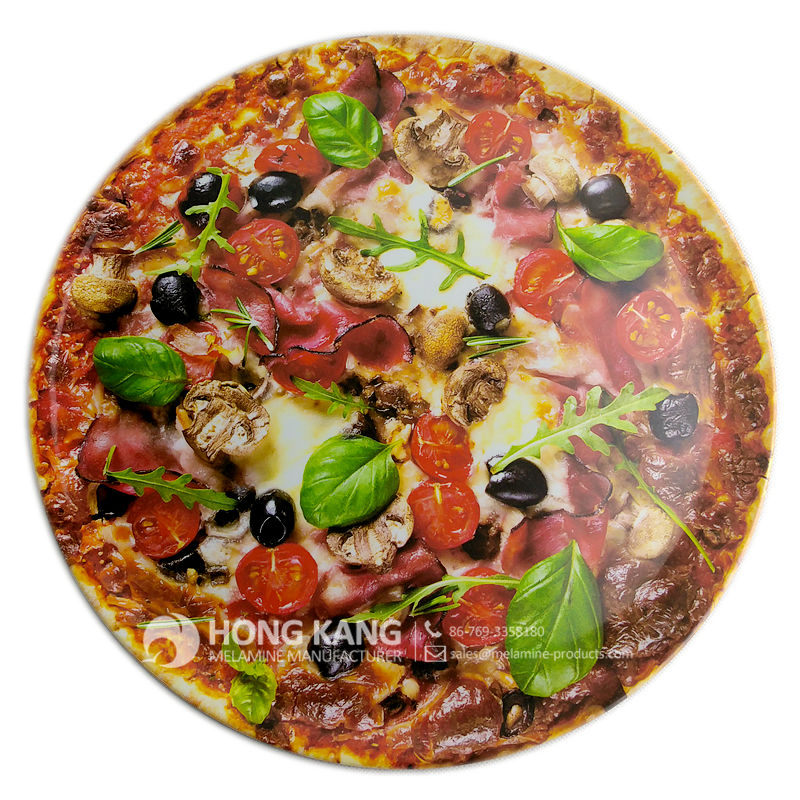
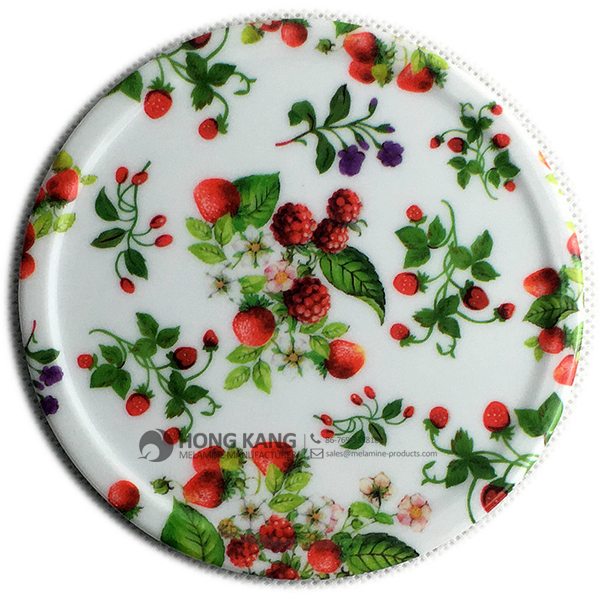
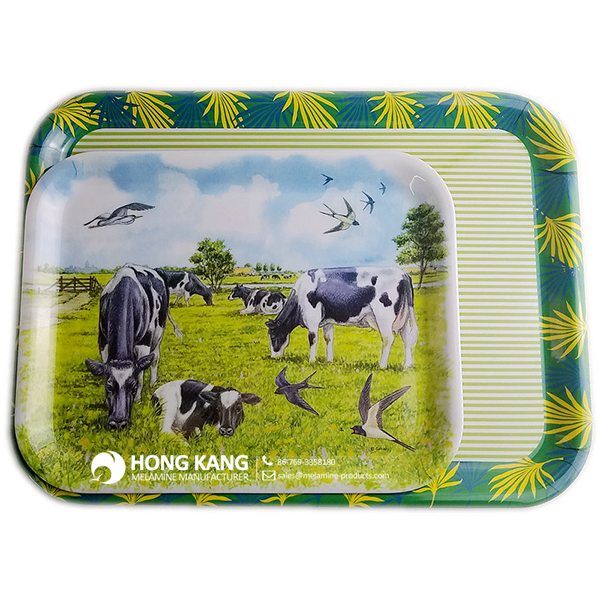
Product detail pictures:
Related Product Guide:
The Benefits Of Using Silicone Kitchen Utensils
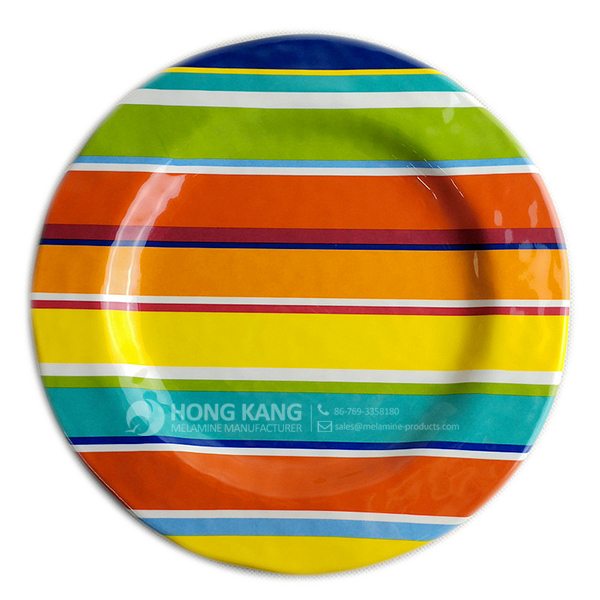
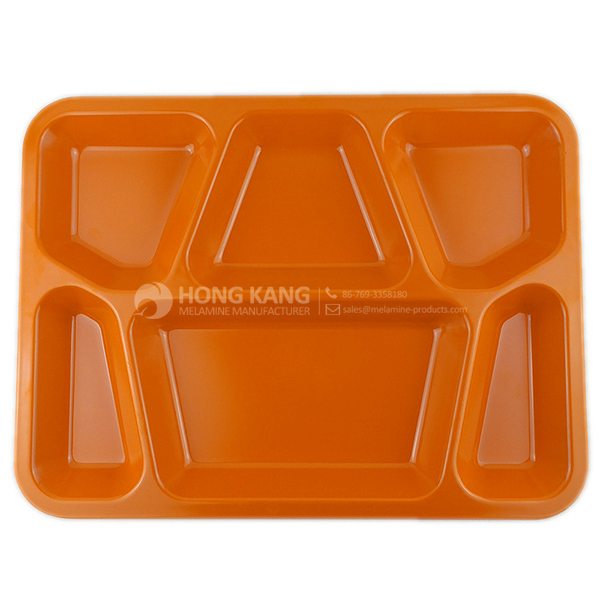
Benefits of Melamine Dinnerware
With reliable excellent approach, great name and ideal consumer services, the series of products and solutions produced by our company are exported to many countries and regions for Manufactur standard melamine shot glasses to Singapore Importers, The product will supply to all over the world, such as: Jamaica , Comoros , The Swiss , Customer's satisfaction is always our quest, creating value for customers is always our duty, a long term mutual-beneficial business relationship is what we are doing for. We are an absolutely reliable partner for you in China. Of course, other services, like consulting, can be offered too.
FAQ: 1.Q: Where is your factory located? How can I visit there? A: Our factory is located in Guangdong province, China. Warmly welcome to visit us! 2.Q: What is the material of your products? A: The material is melamine. 3.Q: How can I get some samples? A: We can send the samples by Express/DHL/FedEx/UPS etc. 4.Q: How does your company do regarding quality control? A: We have a very strict QC system. Our inspectors have been closely monitoring the production process from the selection of raw materials to the final step of the finished products. 5.Q: Can you print our logo on the product & packing? A: Yes, We can print your logo on our products. 
| * Do Not Touch On Fire Directly | |
|---|---|
| * Do Not Washing By Steelwire Ball | |
| * Non-Microwave Ovens | |
| * Dishwasher Safe |
Website login karey :wwwsmallscaleindustries.in wwwskengineers.info CUSTOMER CARE 08081308899,09319414137, 09058844721 09319933241, …
Superb technology, perfect after-sales service and efficient work efficiency, we think this is our best choice.