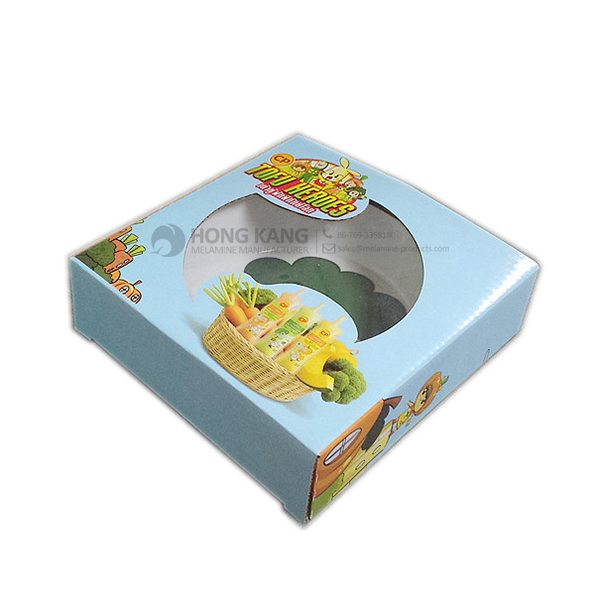
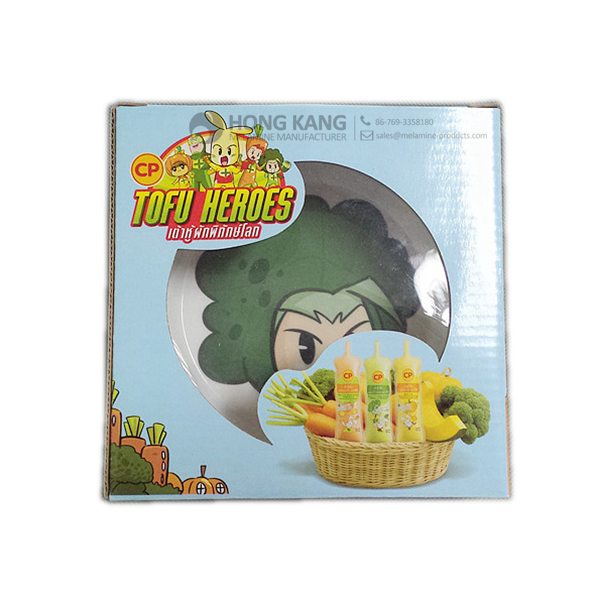
Hot New Products melamine promotional gift for Serbia Factory
Hot New Products melamine promotional gift for Serbia Factory Detail:
| Specification | |
| Item Name | Melamine Promotinal Gift |
| Item No. | BW250 |
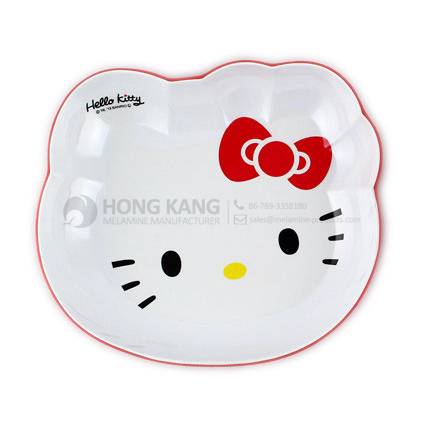
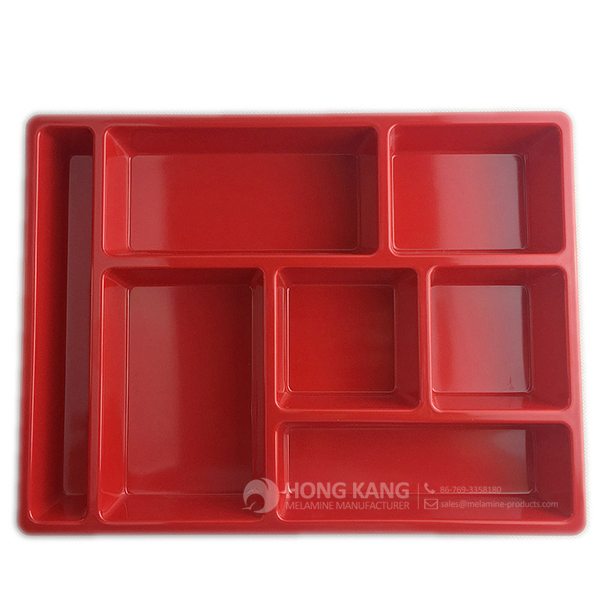
| Shape | Square |
| Body Color | White |
| Decal Color | 4 colors print (if need) |
| Finish | Glossy |
| Style | Fashion |
| Motif Design | Customized |
| Shape Design | OEM/ODM |
| Test Standard | FDA,PROP 65,EN71,LFGB etc. by SGS or ITS |
| Packaging | 48sets/carton |
| Dimensions | |
| Length | 14 cm |
| Width | 14 cm |
| Height | 4 cm |
| Capacity | N/A |
| Material | |
| Body Material | 100%melamine |
| Decal Material (if need) | 4 colors print (CMYK), or spot color printing, RoHS certificate |
| Imprint (if need) | Seiko ink type 1000 or other type, RoHS certificate |
| Accessories Information | |
| Lid included | No |
| Other | No |
| Weights | |
| Net Weight (kg) | 6.3 |
| Shipping Weight (kg) | 7.5 |
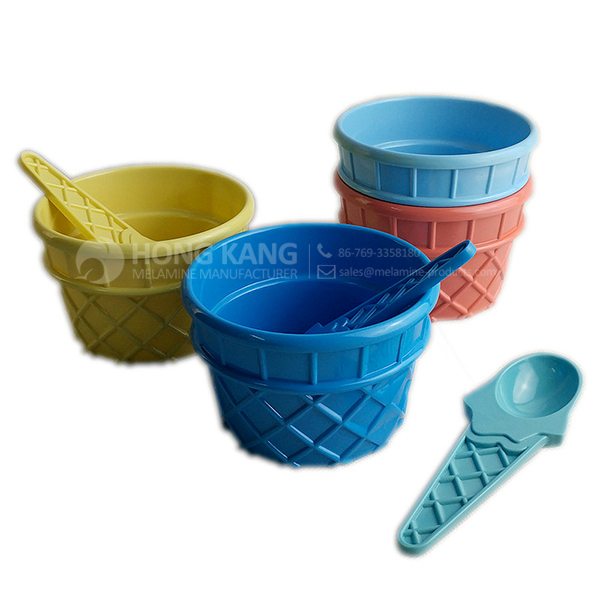
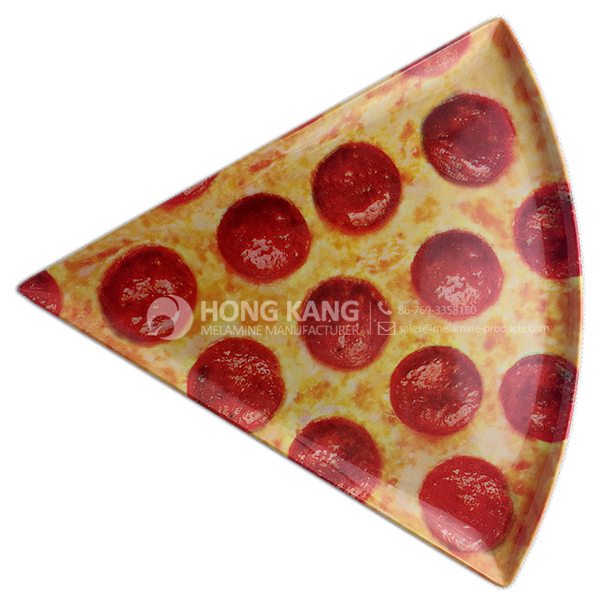
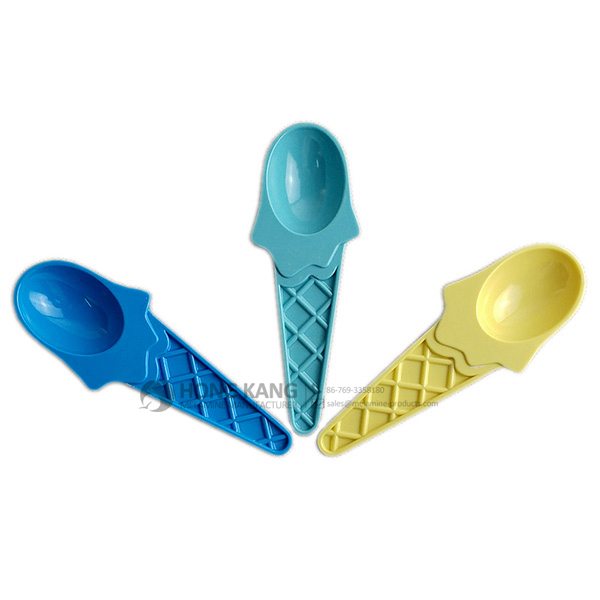
Product detail pictures:
Related Product Guide:
The Benefits Of Using Silicone Kitchen Utensils
Top Ten Power Toothbrushes
Gaining purchaser gratification is our firm's intention eternally. We will make wonderful endeavours to build new and top-quality merchandise, satisfy your exclusive needs and provide you with pre-sale, on-sale and after-sale products and services for Hot New Products melamine promotional gift for Serbia Factory, The product will supply to all over the world, such as: Algeria , Borussia Dortmund , Mauritius , Excellent quality, competitive price, punctual delivery and dependable service can be guaranteed. For further inquires please do not hesitate to contact us. Thank you - Your support continuously inspires us.
FAQ: 1.Q: Where is your factory located? How can I visit there? A: Our factory is located in Guangdong province, China. Warmly welcome to visit us! 2.Q: What is the material of your products? A: The material is melamine. 3.Q: How can I get some samples? A: We can send the samples by Express/DHL/FedEx/UPS etc. 4.Q: How does your company do regarding quality control? A: We have a very strict QC system. Our inspectors have been closely monitoring the production process from the selection of raw materials to the final step of the finished products. 5.Q: Can you print our logo on the product & packing? A: Yes, We can print your logo on our products. 
| * Do Not Touch On Fire Directly | |
|---|---|
| * Do Not Washing By Steelwire Ball | |
| * Non-Microwave Ovens | |
| * Dishwasher Safe |
Girnar Crafts Established 2000 at, Jaitpura, Jaipur, (Rajasthan, India). Girnar Crafts known as trusted name amongst the leading manufacturers, Suppliers and exporters of Sculptures, Statues and White marble Artefacts. In addition to this we manufacture and export classic decorative items, gift ware & utility products.
Shop OverandBack at the Dining amp; Entertaining store. Free Shipping on eligible items. Everyday low prices, save up to 50 …
For more details please visit: http://po.st/4tzSES Thank You!
Great Over-and-Back 4-Piece Porcelain Serving Bowl Set Serving Bowls Review
Over-and-Back 4-Piece Porcelain Serving Bowl Set Serving Bowls For Sale
Over-and-Back 4-Piece Porcelain Serving Bowl Set Serving Bowls Unboxing
Review Over-and-Back 4-Piece Porcelain Serving Bowl Set Serving Bowls Product
https://www.youtube.com/watch?v=ptY9A5qcns8
The factory technical staff not only have high level of technology, their English level is also very good, this is a great help to technology communication.