High Performance melamine pet scoop to Costa Rica Importers
High Performance melamine pet scoop to Costa Rica Importers Detail:
| Specification | |
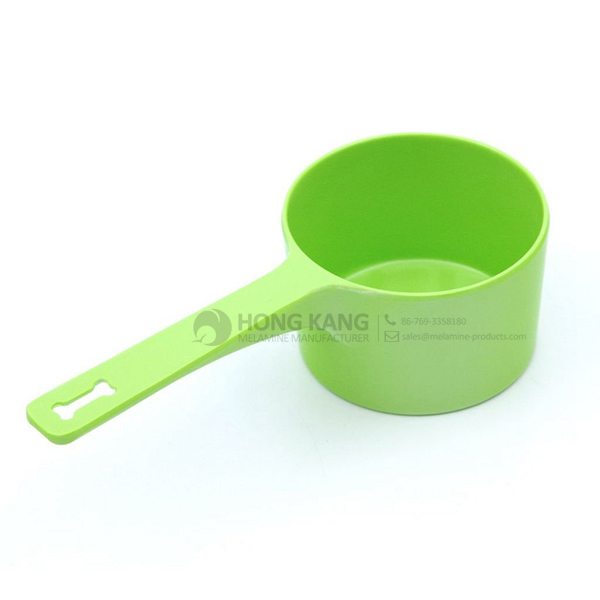
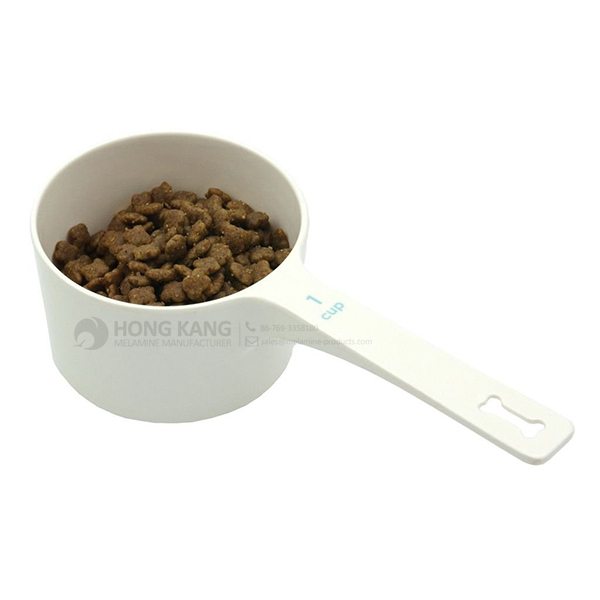
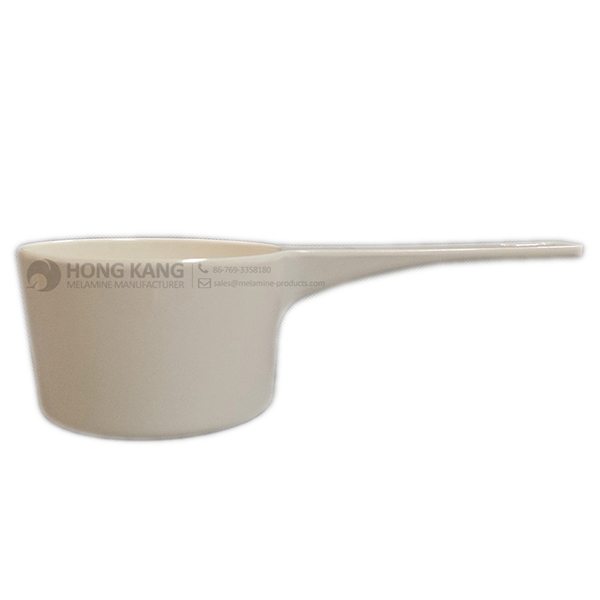
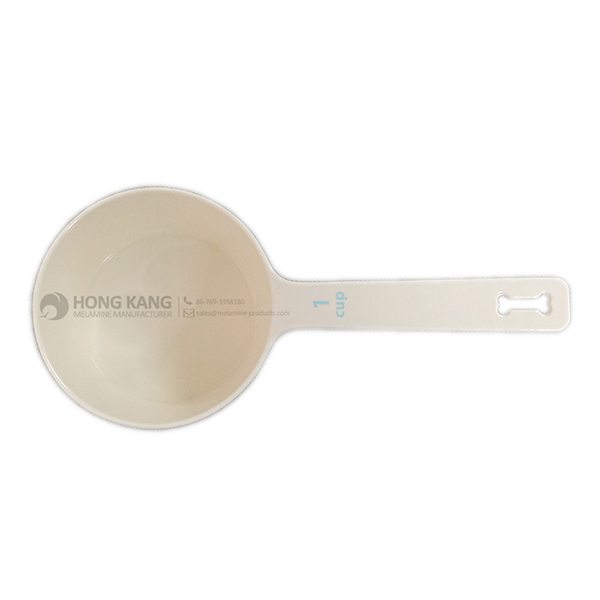
| Item Name | 1 CUP Melamine Pet Scoop |
| Item No. | PE018 |
| Shape | Round |
| Body Color | White |
| Decal Color | 4 colors print (if need) |
| Finish | Glossy |
| Style | Fashion |
| Motif Design | Customized |
| Shape Design | OEM/ODM |
| Test Standard | FDA,PROP 65,EN71,LFGB etc. by SGS or ITS |
| Packaging | 12pcs/box,72pcs/carton |
| Dimensions | |
| Length | 18.7 cm |
| Width | 8.5 cm |
| Height | 5.3 cm |
| Capacity | N/A |
| Material | |
| Body Material | 100%melamine |
| Decal Material (if need) | 4 colors print (CMYK), or spot color printing, RoHS certificate |
| Imprint (if need) | Seiko ink type 1000 or other type, RoHS certificate |
| Accessories Information | |
| Lid included | No |
| Other | No |
| Weights | |
| Net Weight (kg) | 5.6 |
| Shipping Weight (kg) | 6.8 |
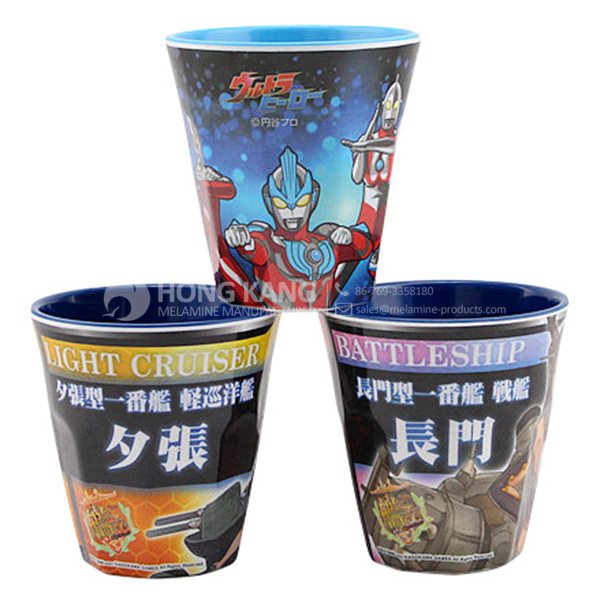
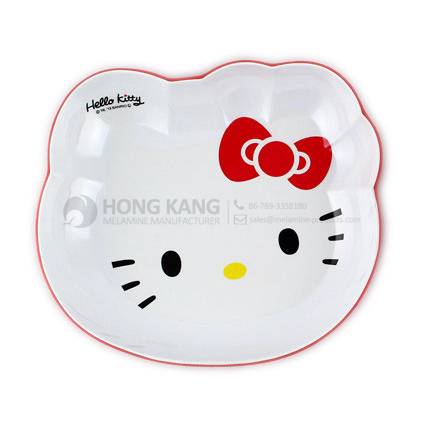
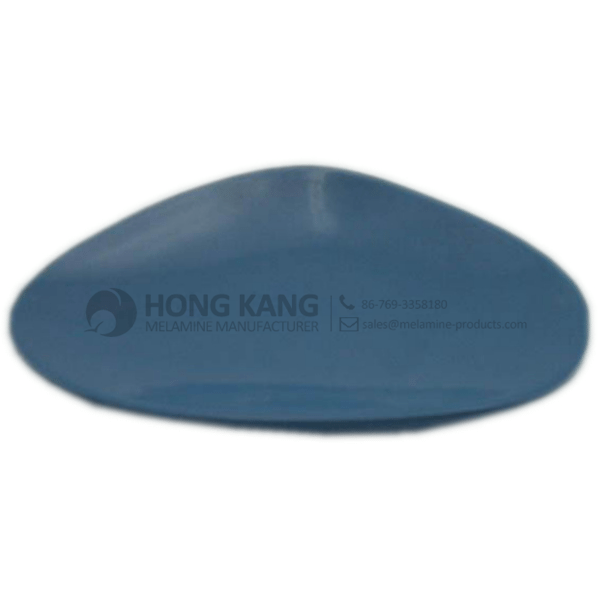
Product detail pictures:
Related Product Guide:
Affordable Types of Dinnerware Sets
Top Ten Power Toothbrushes
Innovation, excellent and reliability are the core values of our company. These principles today much more than ever form the basis of our success as an internationally active mid-size business for High Performance melamine pet scoop to Costa Rica Importers, The product will supply to all over the world, such as: Iran , Niger , Maldives , Each product is carefully made, it will make you satisfied. Our products in the production process have got strictly monitored, because it is only to provide you the best quality, we will feel confident. High production costs but low prices for our long-term cooperation. You can have a variety choices and the value of all types are same reliable. If you have any question, do not hesitate to ask us.
FAQ: 1.Q: Where is your factory located? How can I visit there? A: Our factory is located in Guangdong province, China. Warmly welcome to visit us! 2.Q: What is the material of your products? A: The material is melamine. 3.Q: How can I get some samples? A: We can send the samples by Express/DHL/FedEx/UPS etc. 4.Q: How does your company do regarding quality control? A: We have a very strict QC system. Our inspectors have been closely monitoring the production process from the selection of raw materials to the final step of the finished products. 5.Q: Can you print our logo on the product & packing? A: Yes, We can print your logo on our products. 
| * Do Not Touch On Fire Directly | |
|---|---|
| * Do Not Washing By Steelwire Ball | |
| * Non-Microwave Ovens | |
| * Dishwasher Safe |
Decided to make new wings for my older Craftsman table saw.
Company director has very rich management experience and strict attitude, sales staff are warm and cheerful, technical staff are professional and responsible,so we have no worry about product,a nice manufacturer.