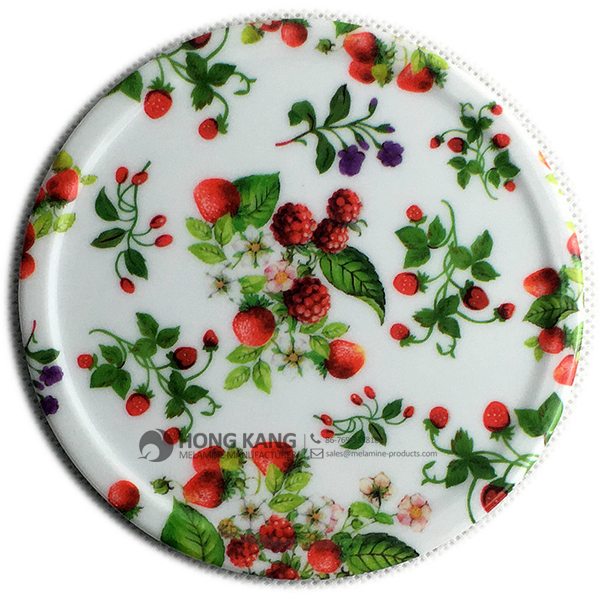
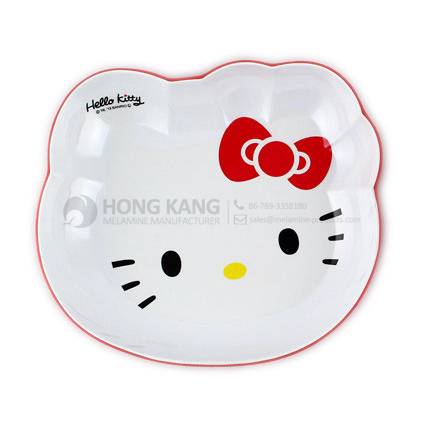
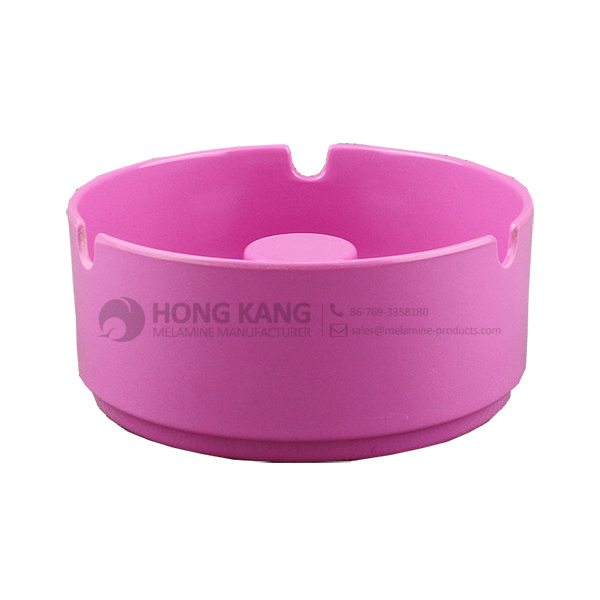
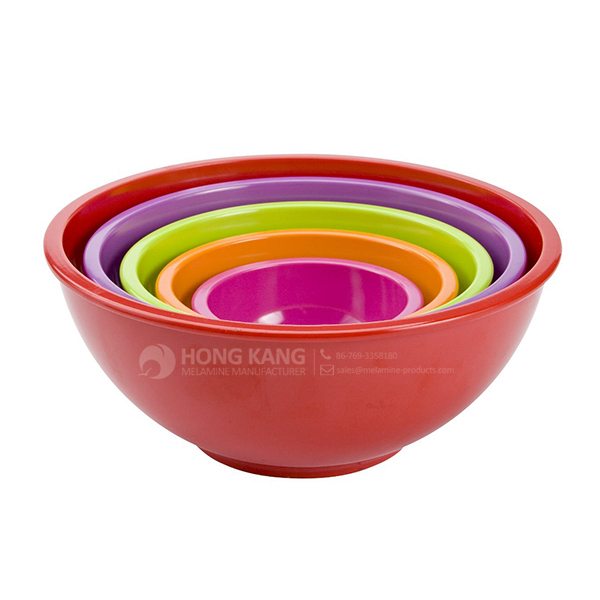
Free sample for Melamine teabag holder for Qatar Manufacturers
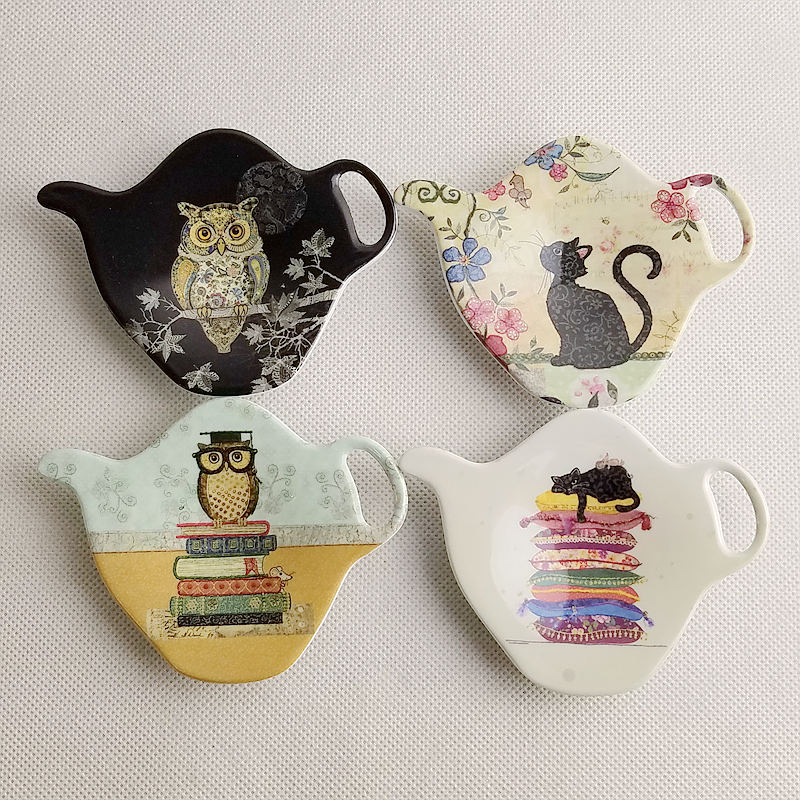
Free sample for Melamine teabag holder for Qatar Manufacturers Detail:
| Specification | |
| Item Name | Melamine Teabag Holder |
| Item No. | PT197 |
| Shape | Tea Pot |
| Body Color | White |
| Decal Color | 4 colors print |
| Finish | Glossy |
| Style | Fashion |
| Motif Design | Customized |
| Shape Design | OEM/ODM |
| Test Standard | FDA,PROP 65,EN71,LFGB etc. by SGS or ITS |
| Packaging | 24pcs/box,144pcs/carton |
| Dimensions | |
| Length | 9.5 cm |
| Width | 7.3 cm |
| Height | 1 cm |
| Capacity | N/A |
| Material | |
| Body Material | 100%melamine |
| Decal Material (if need) | 4 colors print (CMYK), or spot color printing, RoHS certificate |
| Imprint (if need) | Seiko ink type 1000 or other type, RoHS certificate |
| Accessories Information | |
| Lid included | No |
| Other | No |
| Weights | |
| Net Weight (kg) | 6.2 |
| Shipping Weight (kg) | 7.2 |
Product detail pictures:
Related Product Guide:
Top Ten Power Toothbrushes
Choosing The Best Dog Bowl and Feeder for Your Dog
Sticking to the belief of "Creating products of high quality and making friends with people from all over the world", we always put the interest of customers in the first place for Free sample for Melamine teabag holder for Qatar Manufacturers, The product will supply to all over the world, such as: Kazakhstan , Montpellier , Vietnam , With the technology as the core, develop and produce high-quality products according to the diverse needs of the market. With this concept,the company will continue to develop products with high added values and continuously improve products,and will provide many customers with the best products and services!
FAQ: 1.Q: Where is your factory located? How can I visit there? A: Our factory is located in Guangdong province, China. Warmly welcome to visit us! 2.Q: What is the material of your products? A: The material is melamine. 3.Q: How can I get some samples? A: We can send the samples by Express/DHL/FedEx/UPS etc. 4.Q: How does your company do regarding quality control? A: We have a very strict QC system. Our inspectors have been closely monitoring the production process from the selection of raw materials to the final step of the finished products. 5.Q: Can you print our logo on the product & packing? A: Yes, We can print your logo on our products. 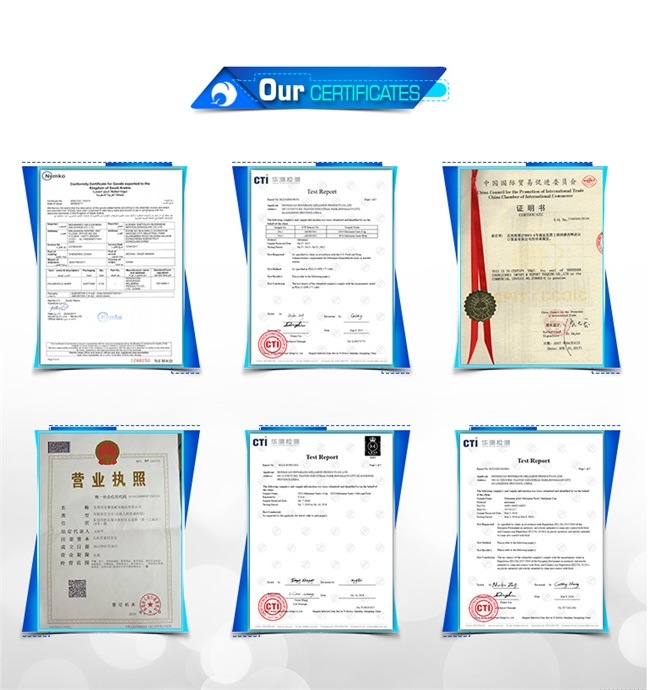
| * Do Not Touch On Fire Directly | |
|---|---|
| * Do Not Washing By Steelwire Ball | |
| * Non-Microwave Ovens | |
| * Dishwasher Safe |
Yes …..Particularly this video shows about Areca Leaves plates making/Areca Leaf spoon and Tea Cup Making making/Banana fibre extraction/Banana fibre mats/Coir Pot Making ….Since we are in the industry from 1999. For more info visit us on http://ecogreenunit.org
 By Eden
from Gambia
- 2016.01.28 18:53
By Eden
from Gambia
- 2016.01.28 18:53
The factory workers have a good team spirit, so we received high quality products fast, in addition, the price is also appropriate, this is a very good and reliable Chinese manufacturers.
By Josephine
from Japan
- 2016.11.11 11:41