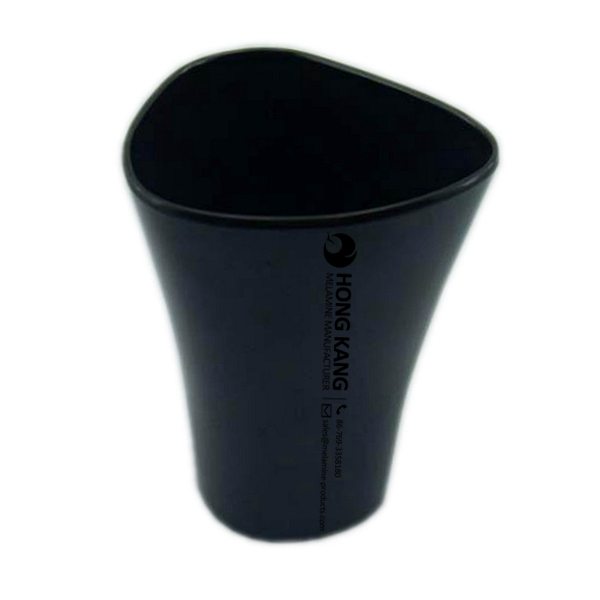
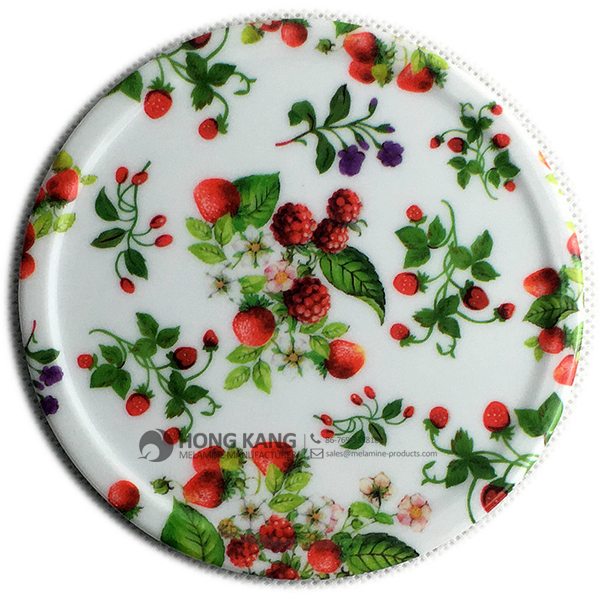
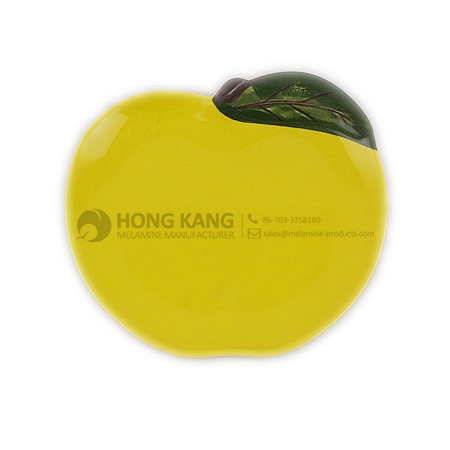
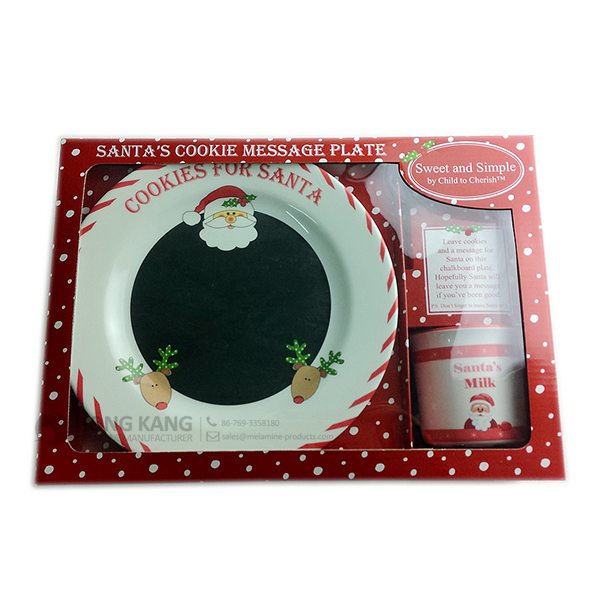
factory customized christmas melamine dinnerware for Victoria Manufacturers
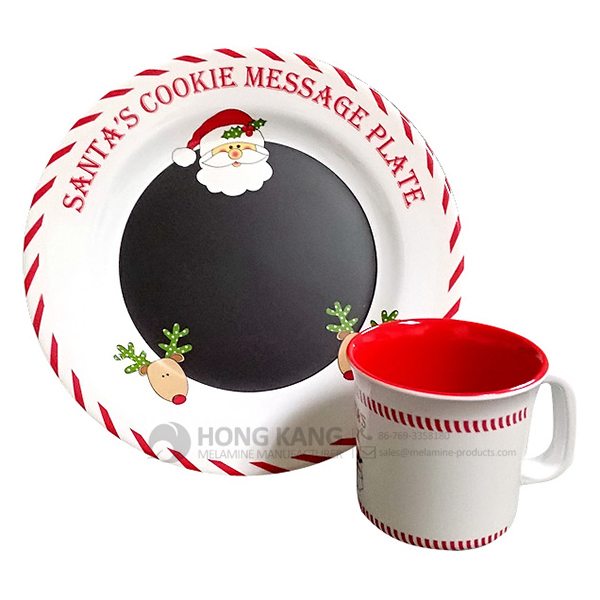
factory customized christmas melamine dinnerware for Victoria Manufacturers Detail:
| Specification | |
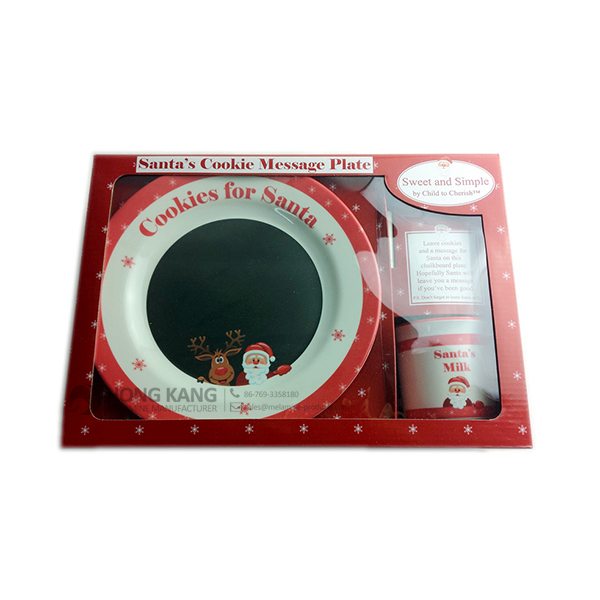
| Item Name | Christmas Melamine Dinner set |
| Item No. | TZ001 |
| Shape | Round |
| Body Color | White |
| Decal Color | 4 colors print (if need) |
| Finish | Glossy |
| Style | Fashion |
| Motif Design | Customized |
| Shape Design | OEM/ODM |
| Test Standard | FDA,PROP 65,EN71,LFGB etc. by SGS or ITS |
| Packaging | 10sets/carton |
| Dimensions | |
| Length | 37 cm |
| Width | 9 cm |
| Height | 27 cm |
| Capacity | N/A |
| Material | |
| Body Material | 100%melamine |
| Decal Material (if need) | 4 colors print (CMYK), or spot color printing, RoHS certificate |
| Imprint (if need) | Seiko ink type 1000 or other type, RoHS certificate |
| Accessories Information | |
| Lid included | No |
| Other | No |
| Weights | |
| Net Weight (kg) | 5.9 |
| Shipping Weight (kg) | 6.8 |
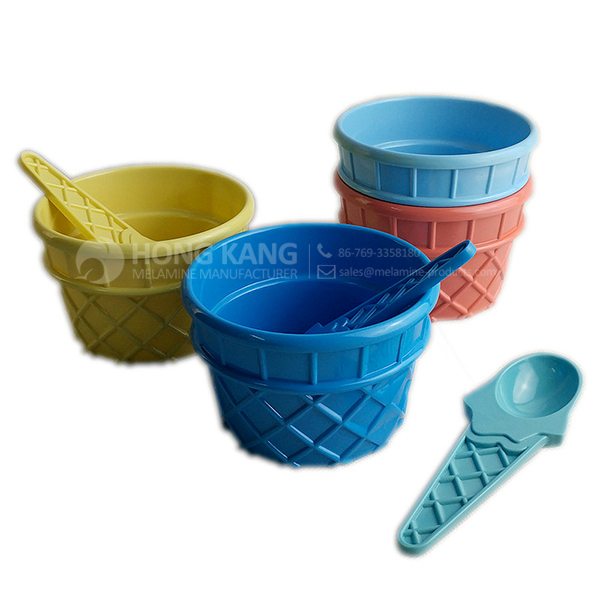
Product detail pictures:
Related Product Guide:
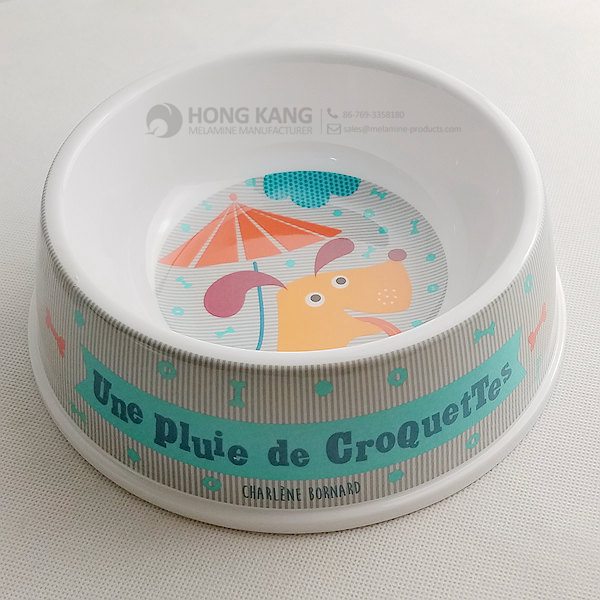
Choosing The Best Dog Bowl and Feeder for Your Dog
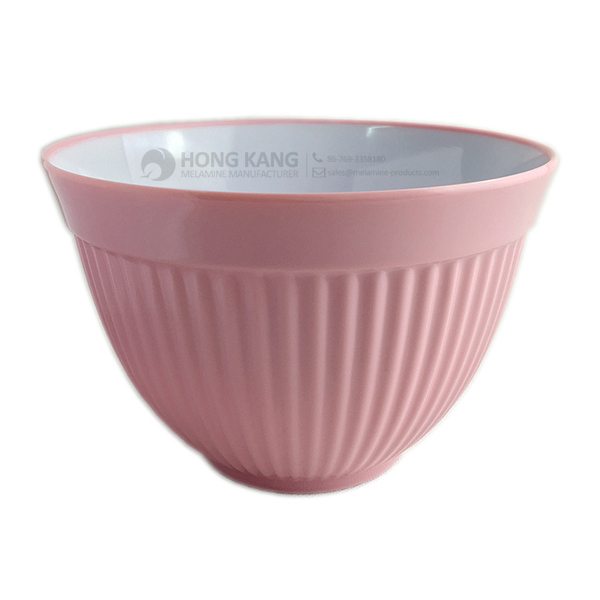
Affordable Types of Dinnerware Sets
To be able to give you benefit and enlarge our business, we also have inspectors in QC Team and assure you our greatest service and products for factory customized christmas melamine dinnerware for Victoria Manufacturers, The product will supply to all over the world, such as: Holland , French , Australia , During in 11 years,We have participated in more than 20 exhibitions,obtains the highest praise from each customer. Our company always aim to provide the customer best products with lowest price. We are making great efforts to achieve this win-win situation and sincerely welcome you to join us. Join us, show your beauty. We will always be your first choice. Trust us, you will never lose heart.
FAQ: 1.Q: Where is your factory located? How can I visit there? A: Our factory is located in Guangdong province, China. Warmly welcome to visit us! 2.Q: What is the material of your products? A: The material is melamine. 3.Q: How can I get some samples? A: We can send the samples by Express/DHL/FedEx/UPS etc. 4.Q: How does your company do regarding quality control? A: We have a very strict QC system. Our inspectors have been closely monitoring the production process from the selection of raw materials to the final step of the finished products. 5.Q: Can you print our logo on the product & packing? A: Yes, We can print your logo on our products. 
| * Do Not Touch On Fire Directly | |
|---|---|
| * Do Not Washing By Steelwire Ball | |
| * Non-Microwave Ovens | |
| * Dishwasher Safe |
Over 200 motorsports-oriented videos, thrilling and action-packed! Share our passion on YouTube, susbcribe to Motul Channel now ![]() http://www.youtube.com/motul
http://www.youtube.com/motul
Follow us on Twitter: http://www.twitter.com/motul
Join us on Facebook: http://www.facebook.com/motul
Visit us: http://www.motul.com
Music: “The Glitch Mob-Warrior Concerto”
Daiso has all your baking essentials from:
- silicone utensils
- baking trays/tins
- pretty baking paper
- mittens
- silicone mittens
and more
The factory can meet continuously developing economic and market needs, so that their products are widely recognized and trusted, and that's why we chose this company.