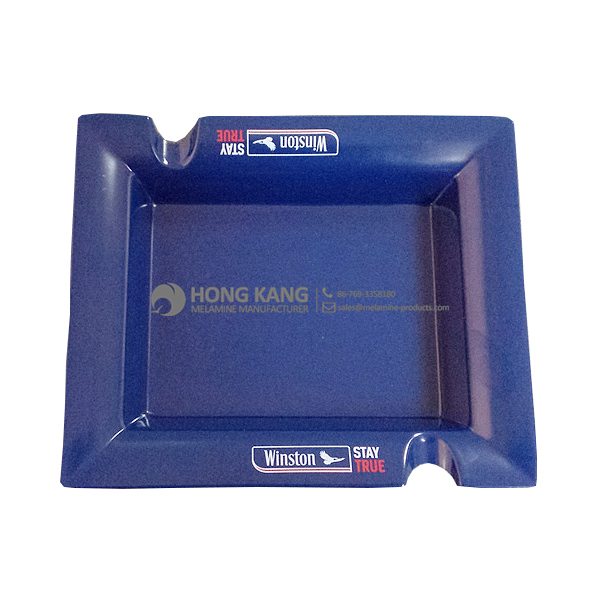
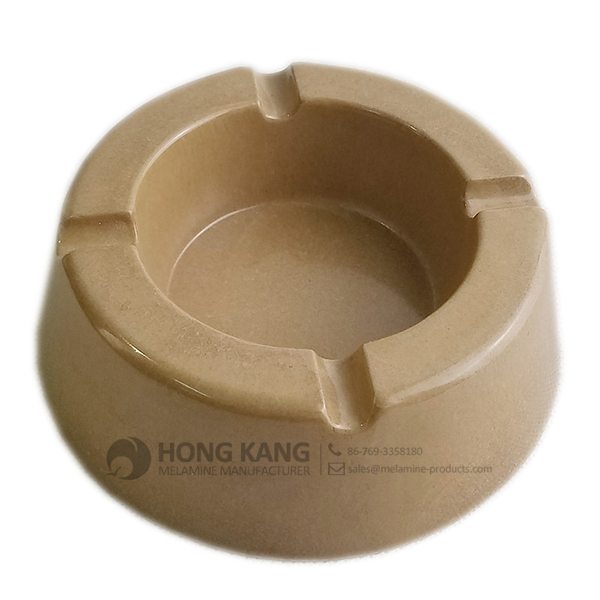
China Wholesale for melamine gift ashtray for Tanzania Manufacturer
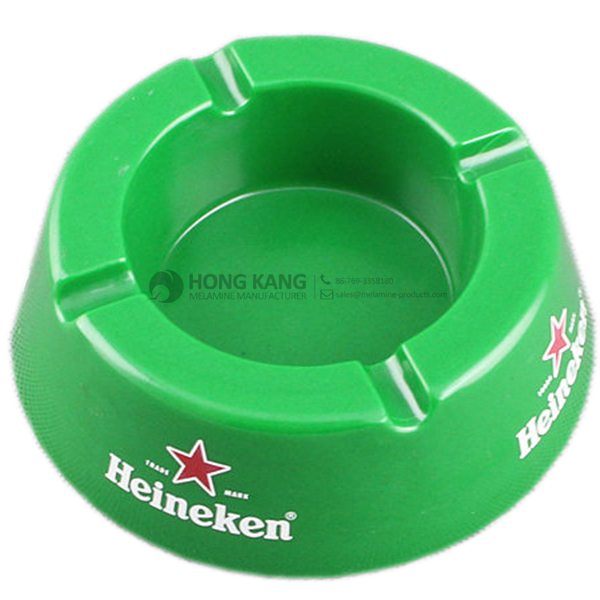
China Wholesale for melamine gift ashtray for Tanzania Manufacturer Detail:
| Specification | |
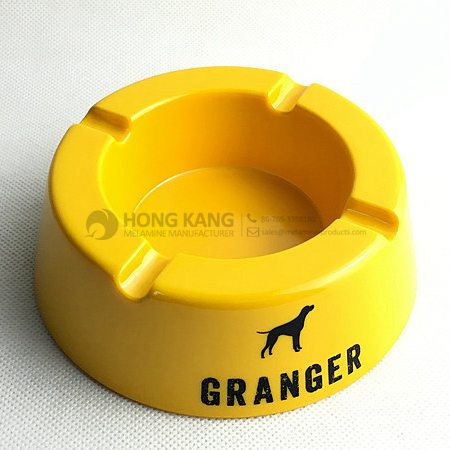
| Item Name | 4inch Round Melamine Promotional Gift Ashtray |
| Item No. | AT056 |
| Shape | Round |
| Body Color | Yellow |
| Decal Color | 4 colors print (if need) |
| Finish | Glossy |
| Style | Fashion |
| Motif Design | Customized |
| Shape Design | OEM/ODM |
| Test Standard | FDA,PROP 65,EN71,LFGB etc. by SGS or ITS |
| Packaging | 12pcs/box,72pcs/carton |
| Dimensions | |
| Length | 10.5 cm |
| Width | 10.5 cm |
| Height | 4 cm |
| Capacity | N/A |
| Material | |
| Body Material | 100%melamine |
| Decal Material (if need) | 4 colors print (CMYK), or spot color printing, RoHS certificate |
| Imprint (if need) | Seiko ink type 1000 or other type, RoHS certificate |
| Accessories Information | |
| Lid included | No |
| Other | No |
| Weights | |
| Net Weight (kg) | 8.7 |
| Shipping Weight (kg) | 10 |
Product detail pictures:
Related Product Guide:
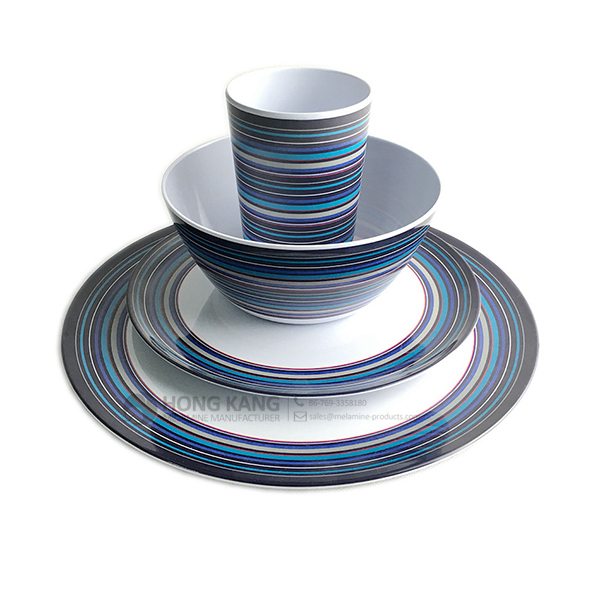
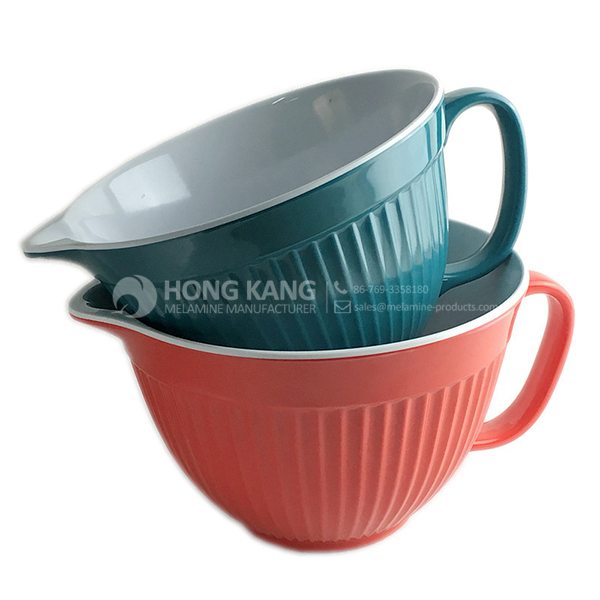
Affordable Types of Dinnerware Sets
Benefits of Melamine Dinnerware
We retain bettering and perfecting our merchandise and service. At the same time, we do the job actively to do research and improvement for China Wholesale for melamine gift ashtray for Tanzania Manufacturer, The product will supply to all over the world, such as: Salt Lake City , Roman , Bangladesh , We are your reliable partner in international markets with the best quality products. Our advantages are innovation, flexibility and reliability which have been built during the last twenty years. We focus on providing service for our clients as a key element in strengthening our long-term relationships. Our continual availability of high grade products in combination with our excellent pre-sales and after-sales service ensures strong competitiveness in an increasingly globalized market.
FAQ: 1.Q: Where is your factory located? How can I visit there? A: Our factory is located in Guangdong province, China. Warmly welcome to visit us! 2.Q: What is the material of your products? A: The material is melamine. 3.Q: How can I get some samples? A: We can send the samples by Express/DHL/FedEx/UPS etc. 4.Q: How does your company do regarding quality control? A: We have a very strict QC system. Our inspectors have been closely monitoring the production process from the selection of raw materials to the final step of the finished products. 5.Q: Can you print our logo on the product & packing? A: Yes, We can print your logo on our products. 
| * Do Not Touch On Fire Directly | |
|---|---|
| * Do Not Washing By Steelwire Ball | |
| * Non-Microwave Ovens | |
| * Dishwasher Safe |
For More Info or to Buy Now: http://www.hsn.com/products/seo/7580890?rdr=1&sourceid=youtube&cm_mmc=Social-_-Youtube-_-ProductVideo-_-377641
Ecolution with Ryan Scott Armor Shield Nonstick 8piece Cookware Set
Ready to make some magic in the kitchen? Well, get your hands on this set and start cookin’! It boasts Armor Shield nonstick…
Prices shown on the previously recorded video may not represent the current price. View hsn.com to view the current selling price. HSN Item #377641
We always believe that the details decides the company's product quality, in this respect, the company conform our requirements and the goods are meet our expectations.