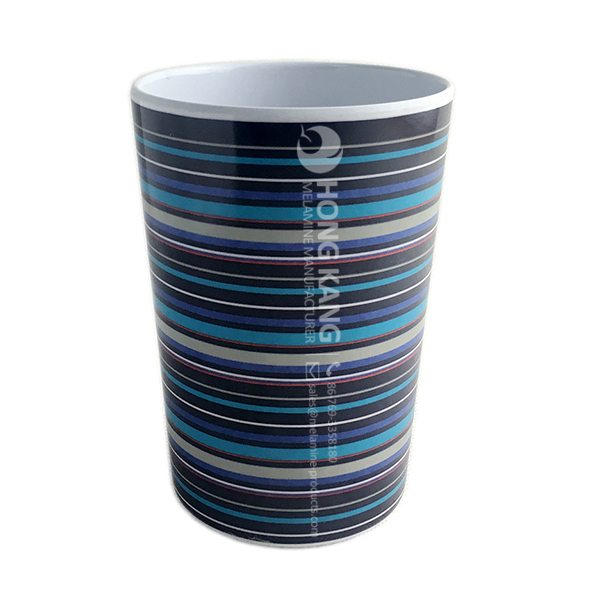
2017 Super Lowest Price christmas melamine dinnerware to Liberia Factory
2017 Super Lowest Price christmas melamine dinnerware to Liberia Factory Detail:
| Specification | |
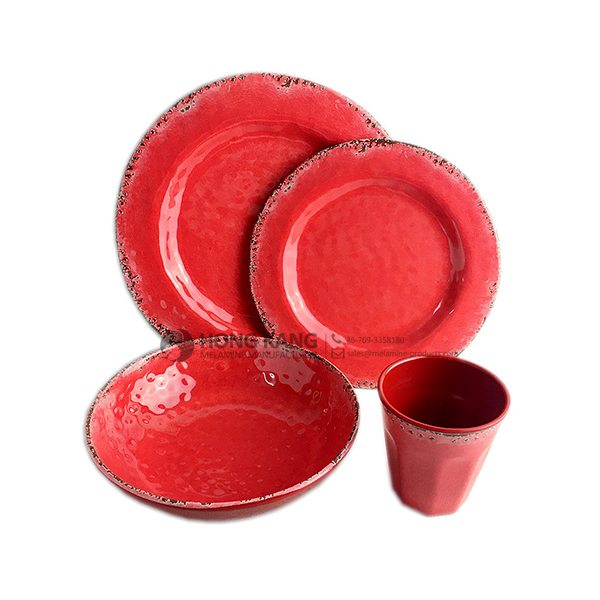
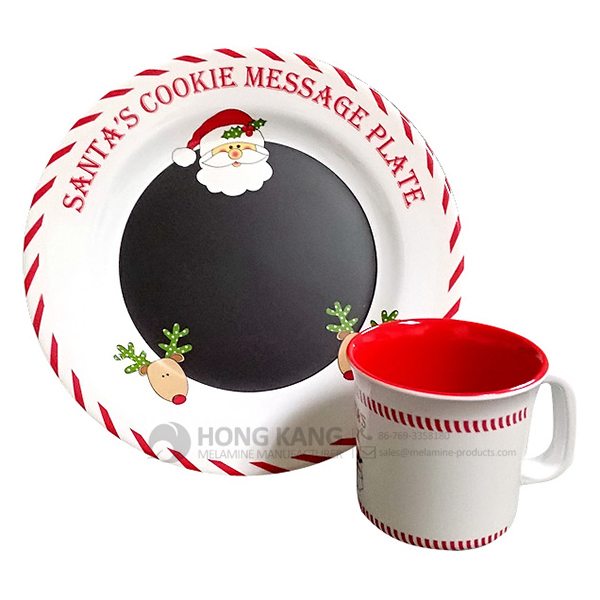
| Item Name | Christmas Melamine Dinner set |
| Item No. | TZ001 |
| Shape | Round |
| Body Color | White |
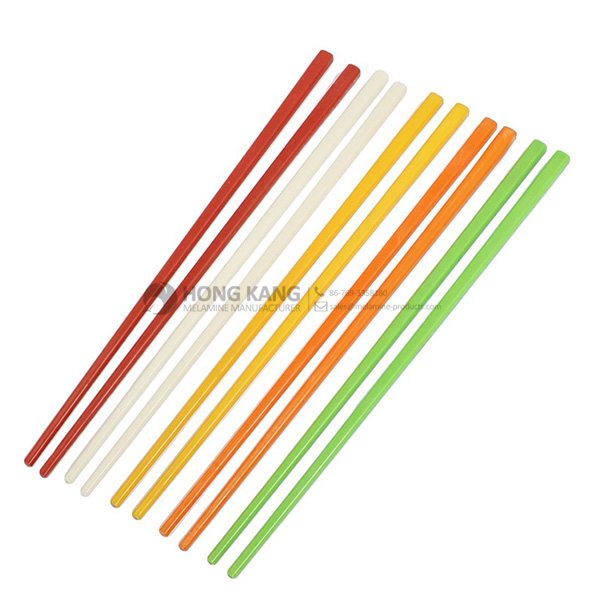
| Decal Color | 4 colors print (if need) |
| Finish | Glossy |
| Style | Fashion |
| Motif Design | Customized |
| Shape Design | OEM/ODM |
| Test Standard | FDA,PROP 65,EN71,LFGB etc. by SGS or ITS |
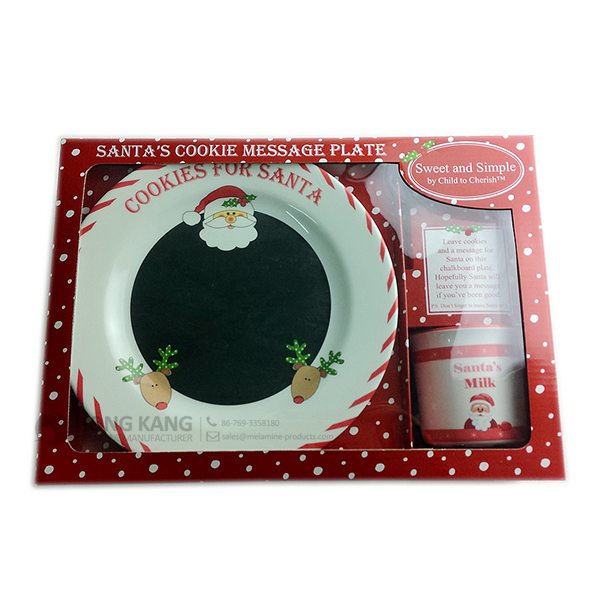
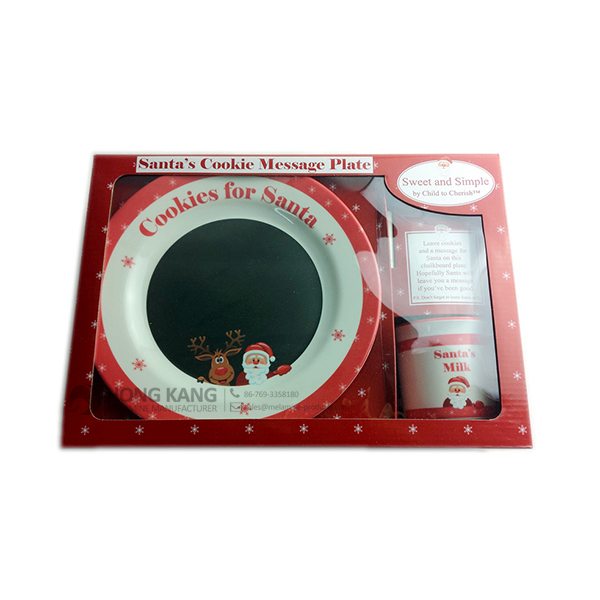
| Packaging | 10sets/carton |
| Dimensions | |
| Length | 37 cm |
| Width | 9 cm |
| Height | 27 cm |
| Capacity | N/A |
| Material | |
| Body Material | 100%melamine |
| Decal Material (if need) | 4 colors print (CMYK), or spot color printing, RoHS certificate |
| Imprint (if need) | Seiko ink type 1000 or other type, RoHS certificate |
| Accessories Information | |
| Lid included | No |
| Other | No |
| Weights | |
| Net Weight (kg) | 5.9 |
| Shipping Weight (kg) | 6.8 |
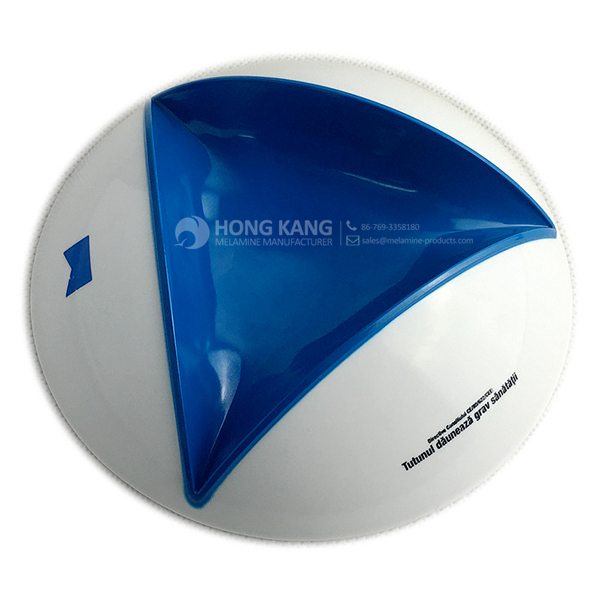
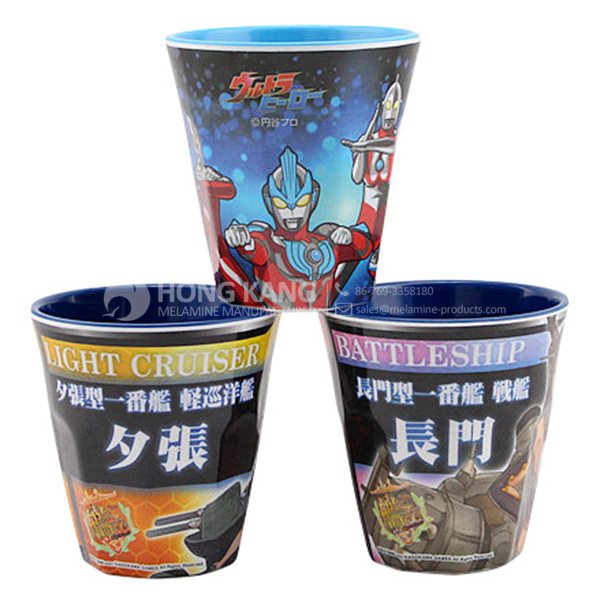
Product detail pictures:
Related Product Guide:
Top Ten Power Toothbrushes
Benefits of Melamine Dinnerware
Our target should be to consolidate and improve the high-quality and repair of current goods, in the meantime regularly produce new solutions to meet unique customers' needs for 2017 Super Lowest Price christmas melamine dinnerware to Liberia Factory, The product will supply to all over the world, such as: Rwanda , Swiss , Afghanistan , If you are for any reason unsure which product to select, do not hesitate to contact us and we will be delighted to advise and assist you. This way we will be providing you with all the knowledge needed to make the best choice. Our company strictly follows "Survive by good quality, Develop by keeping good credit. " operation policy. Welcome all the clients old and new to visit our company and talk about the business. We are looking for more and more customers to create the glorious future.
FAQ: 1.Q: Where is your factory located? How can I visit there? A: Our factory is located in Guangdong province, China. Warmly welcome to visit us! 2.Q: What is the material of your products? A: The material is melamine. 3.Q: How can I get some samples? A: We can send the samples by Express/DHL/FedEx/UPS etc. 4.Q: How does your company do regarding quality control? A: We have a very strict QC system. Our inspectors have been closely monitoring the production process from the selection of raw materials to the final step of the finished products. 5.Q: Can you print our logo on the product & packing? A: Yes, We can print your logo on our products. 
| * Do Not Touch On Fire Directly | |
|---|---|
| * Do Not Washing By Steelwire Ball | |
| * Non-Microwave Ovens | |
| * Dishwasher Safe |
For the full review, where it’s in stock, and how much it costs, visit http://www.timetoplaymag.com/product/7978/educational-insights/chet-the-cat-and-friends-yummy-adventures-baking-set/
Viewing on mobile? Download our free Shop for Kids app for instant price comparison and more. http://ShopForKids.com
Your budding chef will enjoy the Chet the Cat and Friends! Yummy Adventures Baking Set. This is a whimsical nine-piece Melamine play baking set for young kids. It comes with a rolling pin, a mixing bowl, a pie pan, three measuring cups, a mixing spoon, a spatula, and a cookie sheet. What makes this unique are the colorful and playful graphics by artist Michael Slack. These unique designs are very playful and engaging. This playset is dishwasher-safe and is food grade-safe but is not for use in microwaves, ovens, or stovetops. Your young future chef will love roleplaying with his own pastry recipes or helping out with batter mixing and serving with these food-safe tools.
Adhering to the business principle of mutual benefits, we have a happy and successful transaction, we think we will be the best business partner.