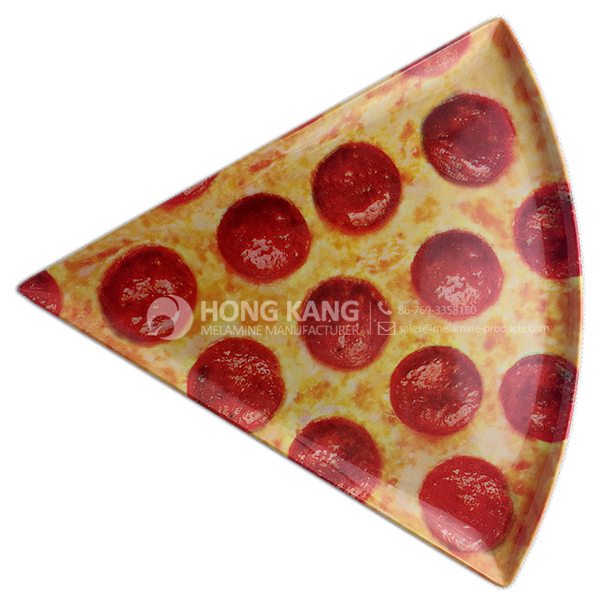
13 Years Manufacturer melamine divided tray for Johor Factory
13 Years Manufacturer melamine divided tray for Johor Factory Detail:
| Specification | |
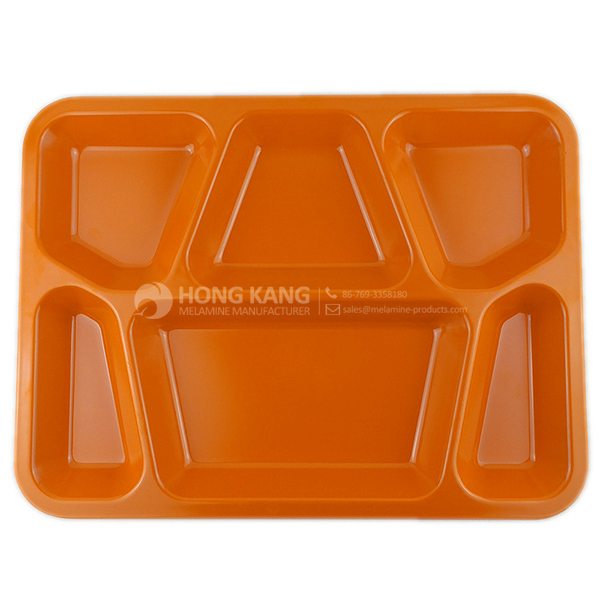
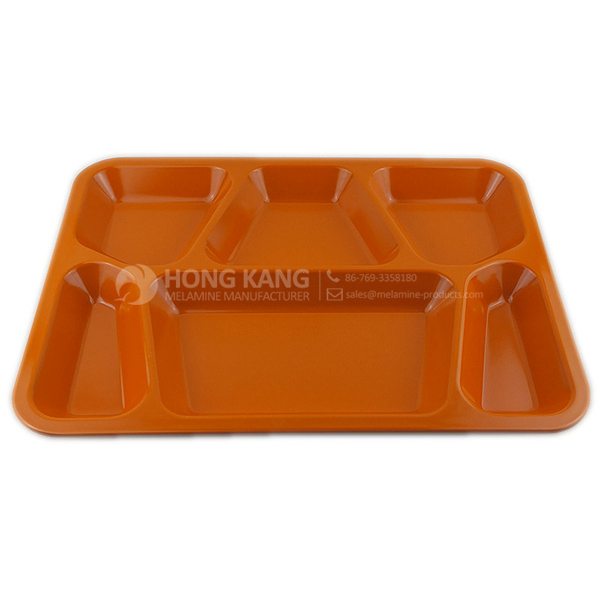
| Item Name | 15.5inch Melamine Divided Tray |
| Item No. | TR088 |
| Shape | Rectangle |
| Body Color | Orange |
| Decal Color | 4 colors print (if need) |
| Finish | Glossy |
| Style | Fashion |
| Motif Design | Customized |
| Shape Design | OEM/ODM |
| Test Standard | FDA,PROP 65,EN71,LFGB etc. by SGS or ITS |
| Packaging | 3pcs/box,12pcs/carton |
| Dimensions | |
| Length | 29.5 cm |
| Width | 39.5 cm |
| Height | 2.8 cm |
| Capacity | N/A |
| Material | |
| Body Material | 100%melamine |
| Decal Material (if need) | 4 colors print (CMYK), or spot color printing, RoHS certificate |
| Imprint (if need) | Seiko ink type 1000 or other type, RoHS certificate |
| Accessories Information | |
| Lid included | No |
| Other | No |
| Weights | |
| Net Weight (kg) | 7.8 |
| Shipping Weight (kg) | 8.8 |
Product detail pictures:
Related Product Guide:
Choosing The Best Dog Bowl and Feeder for Your Dog
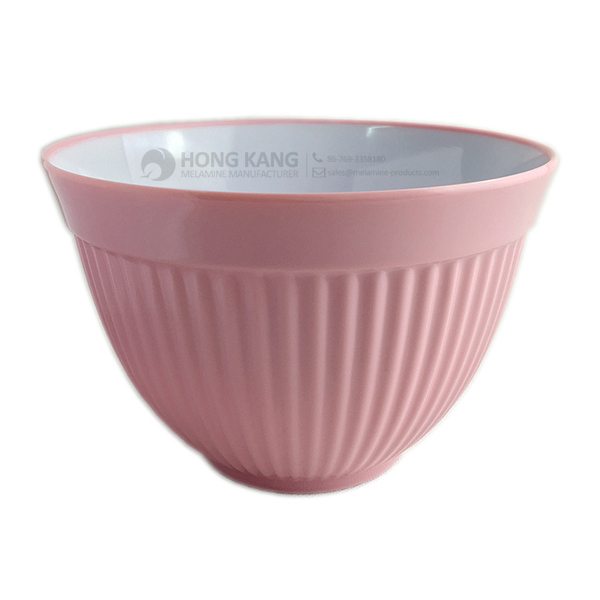
Benefits of Melamine Dinnerware
Just about every member from our large efficiency income crew values customers' wants and enterprise communication for 13 Years Manufacturer melamine divided tray for Johor Factory, The product will supply to all over the world, such as: France , Birmingham , Armenia , we always keep our credit and mutual benefit to our client, insist our high quality service to moving our clients. always welcome the our friends and clients to come and visit our company and guid our business, if you are interested in our products, you can also submit your purchase information online, and we will contact you immediately, we keep our highly sincere cooperation and wish everything in your side are all well.
FAQ: 1.Q: Where is your factory located? How can I visit there? A: Our factory is located in Guangdong province, China. Warmly welcome to visit us! 2.Q: What is the material of your products? A: The material is melamine. 3.Q: How can I get some samples? A: We can send the samples by Express/DHL/FedEx/UPS etc. 4.Q: How does your company do regarding quality control? A: We have a very strict QC system. Our inspectors have been closely monitoring the production process from the selection of raw materials to the final step of the finished products. 5.Q: Can you print our logo on the product & packing? A: Yes, We can print your logo on our products. 
| * Do Not Touch On Fire Directly | |
|---|---|
| * Do Not Washing By Steelwire Ball | |
| * Non-Microwave Ovens | |
| * Dishwasher Safe |
It’s hard to eat less when your plate isn’t cooperating. Meet HALVED, a tongue in cheek dinnerware set that is funny and useful.
HALVED is exactly what it is- a ceramic plate, mug and bowl set that has been halved.
It comes in 5 colours- green, blue, yellow, white and brown (only 3 colours shown).
We’ve launched HALVED project on Kickstarter, so if you’re interested, go to our kickstarter page and help us fund it.
The Great Gildersleeve (1941–1957), initially written by Leonard Lewis Levinson, was one of broadcast history’s earliest spin-off programs. Built around Throckmorton Philharmonic Gildersleeve, a character who had been a staple on the classic radio situation comedy Fibber McGee and Molly, first introduced on Oct. 3, 1939, ep. #216. The Great Gildersleeve enjoyed its greatest success in the 1940s. Actor Harold Peary played the character during its transition from the parent show into the spin-off and later in a quartet of feature films released at the height of the show’s popularity.
On Fibber McGee and Molly, Peary’s Gildersleeve was a pompous windbag who became a consistent McGee nemesis. “You’re a haa-aa-aa-aard man, McGee!” became a Gildersleeve catchphrase. The character was given several conflicting first names on Fibber McGee and Molly, and on one episode his middle name was revealed as Philharmonic. Gildy admits as much at the end of “Gildersleeve’s Diary” on the Fibber McGee and Molly series (Oct. 22, 1940).
He soon became so popular that Kraft Foods—looking primarily to promote its Parkay margarine spread — sponsored a new series with Peary’s Gildersleeve as the central, slightly softened and slightly befuddled focus of a lively new family.
Premiering on August 31, 1941, The Great Gildersleeve moved the title character from the McGees’ Wistful Vista to Summerfield, where Gildersleeve now oversaw his late brother-in-law’s estate and took on the rearing of his orphaned niece and nephew, Marjorie (originally played by Lurene Tuttle and followed by Louise Erickson and Mary Lee Robb) and Leroy Forester (Walter Tetley). The household also included a cook named Birdie. Curiously, while Gildersleeve had occasionally spoken of his (never-present) wife in some Fibber episodes, in his own series the character was a confirmed bachelor.
In a striking forerunner to such later television hits as Bachelor Father and Family Affair, both of which are centered on well-to-do uncles taking in their deceased siblings’ children, Gildersleeve was a bachelor raising two children while, at first, administering a girdle manufacturing company (“If you want a better corset, of course, it’s a Gildersleeve”) and then for the bulk of the show’s run, serving as Summerfield’s water commissioner, between time with the ladies and nights with the boys. The Great Gildersleeve may have been the first broadcast show to be centered on a single parent balancing child-rearing, work, and a social life, done with taste and genuine wit, often at the expense of Gildersleeve’s now slightly understated pomposity.
Many of the original episodes were co-written by John Whedon, father of Tom Whedon (who wrote The Golden Girls), and grandfather of Deadwood scripter Zack Whedon and Joss Whedon (creator of Buffy the Vampire Slayer, Firefly and Dr. Horrible’s Sing-Along Blog).
The key to the show was Peary, whose booming voice and facility with moans, groans, laughs, shudders and inflection was as close to body language and facial suggestion as a voice could get. Peary was so effective, and Gildersleeve became so familiar a character, that he was referenced and satirized periodically in other comedies and in a few cartoons.
http://en.wikipedia.org/wiki/Great_Gildersleeve
The company account manager has a wealth of industry knowledge and experience, he could provide appropriate program according our needs and speak English fluently.